Well the clearance list is proving to be very popular – if there is anything you want form any of the weeks lists let me know ASAP, then I can try to submit the order as soon as that week starts to try to avoid the disappointment some of you have had this week. The links for all the weeks are here.
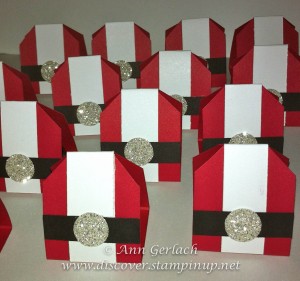
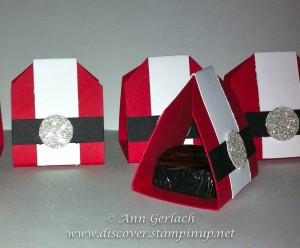
I used the large tag punch form the list, now just $15.50 to make up these little chocolate treat holders after seeing something similar on Julie Davidson’s blog last year. I made them such that they fit our Dove chocolates.
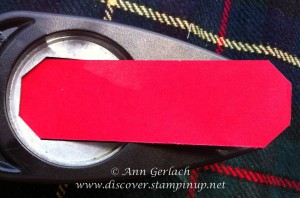
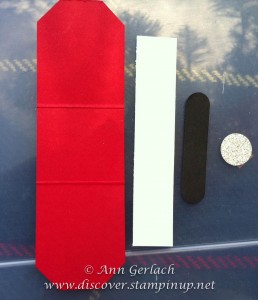
They were fairly quick to make and look really cute lined up in a row! The Real Red base card stock is 11cm x 3.2cm and then punched each end with the large tag punch.
Score this piece 4cm from each end, the Whisper White strip is 8cm x 1.6cm and the Basic Black is punched from the word window punch, the silver glimmer paper is a 1/2″ circle.
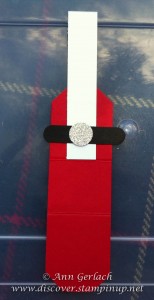
Sorry for the very average photos – they were all done whilst I was at the river with the boys on the weekend – they dive/swim/build sandcastle forts and I get to craft, talk about a win:win situation! Anyway the pieces get assembled as per below.
I then turn the piece over and snip off the excess black on the word window punch, I find it a cleaner finish snipping form the back. Add a chocolate to the centre and use the extended white piece to close the Santa suit.
Told you it was easy! Hope you enjoyed the tutorial and if you want anything from the clearance list let me know sooner rather than later!

