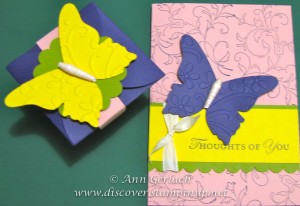
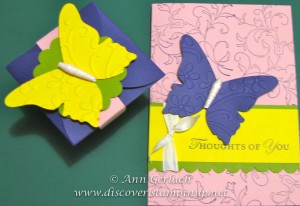
Here’s a quick box & card set that we made in class this week, it was done using the petal cone die and a couple of retiring products……….I am a bit sad to see the lovely Concord Crush going, but the new colours are so lovely, it’s that bitter sweet time of the year! This is on of the sets we made:
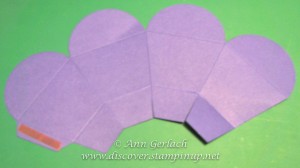
I’ll go through the box step by step so you can recreate this at home, if you don’t own the die then I’d be happy to order it for you. Cut two petal cone dies and do the below to both.
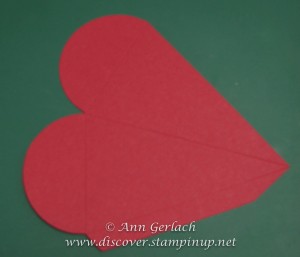
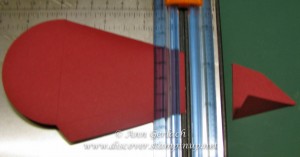
Fold it in half and place it into the paper trimmer so that the top crease line is at 7.5cm and parallel to the cutting blade.
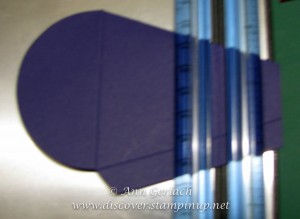
Move the petal cone die cutout to 5cm and score it.
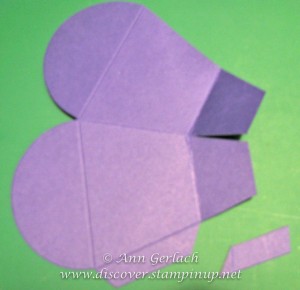
Open it back out and cut off part of the tab and snip the bottom to form two tabs.
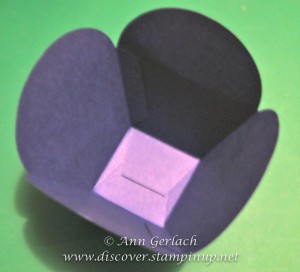
When you have done the above to both petal cone dies, join them together.
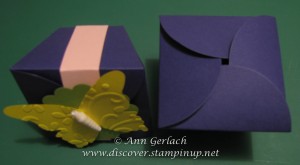
It sort of looks like a mini Chinese noodle box! Fold the top down and decorate it – I added a belly band in a contrast colour.
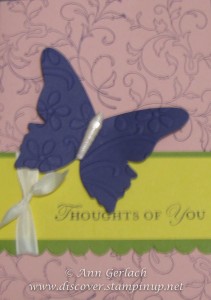
I added a dry embossed butterfly and made a matching card – they featured paper beads (but that’ll be a separate blog post as this one is long enough as it is!).
Stamps: Creative Elements, Loving Thoughts
Ink: Concord Crush
Card Stock: Concord Crush, Daffodil Delight, Blushing Bride, Twitterpated DSP, Lucky Limeade
Accessories: Elegant Bouquet Embossing Folder, Tombow Glue, Crystal Effects, 1cm Whisper White Taffeta Ribbon, scallop edge border punch, Beautiful Butterflies due, Petal Cone die, 6cm scallop circle punch
Want to join me to learn some fun techniques an get new ideas for your stamping products then check out my upcoming classes here.

