For inspiration, ideas, tutorials, techniques and classes on paper crafting, card making, scrapbooking and more using quality Stampin' Up!® products. gerlach@iinet.net.au 0421 482 578
This weeks Weekly Deals include 25% off three framelits, three different classic ink pads, a stamp set and two digital items at 40% off. Items are on offer only until midnight EST on August 12th or whilst stocks last. The current hostess code is 2ZS3ERFS and you can shop online 24/7 here.
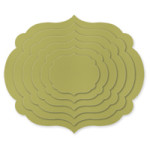
Don’t you love the Labels frame lit in this card? It makes layering elements of a card so simple – no fussy cutting!
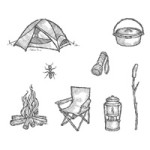
The Great Outdoors Wood Stamp Set RRP$51.95 this week $38.96
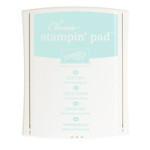
Soft Sky Classic Stampin’ Pad normally $9.95 this week $7.46
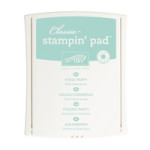
Pool Party Classic Stampin’ Pad normally $9.95 this week $7.46
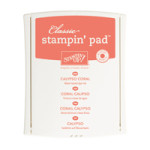
Calypso Coral Classic Stampin’ Pad normally $9.95 this week $7.46
Labels Collection Framelits Die RRP$45.95 on sale for $34.46
Hearts A Flutter Framelits Die normally $42.95 on sale $32.31
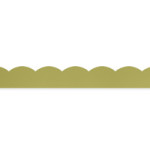
Large Scallop Edgelits Die NOrmally $13.95 this week $10.46
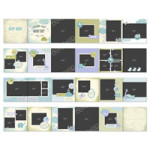
Oh Baby Photobook Template Digital Download RRP $19.50 this week $11.70
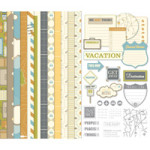
Travel Log Kit Digital Download RRP $10.95 this week $6.57
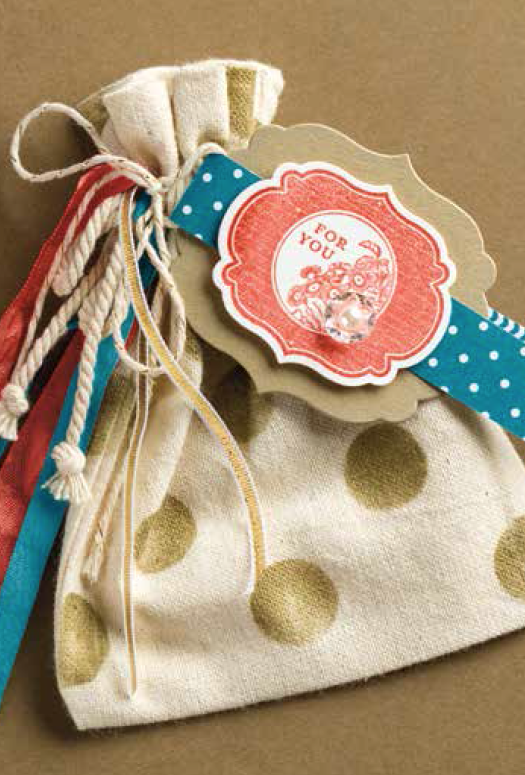
The framelits can also be used to make cut layered tags for gifts, so many possibilities!
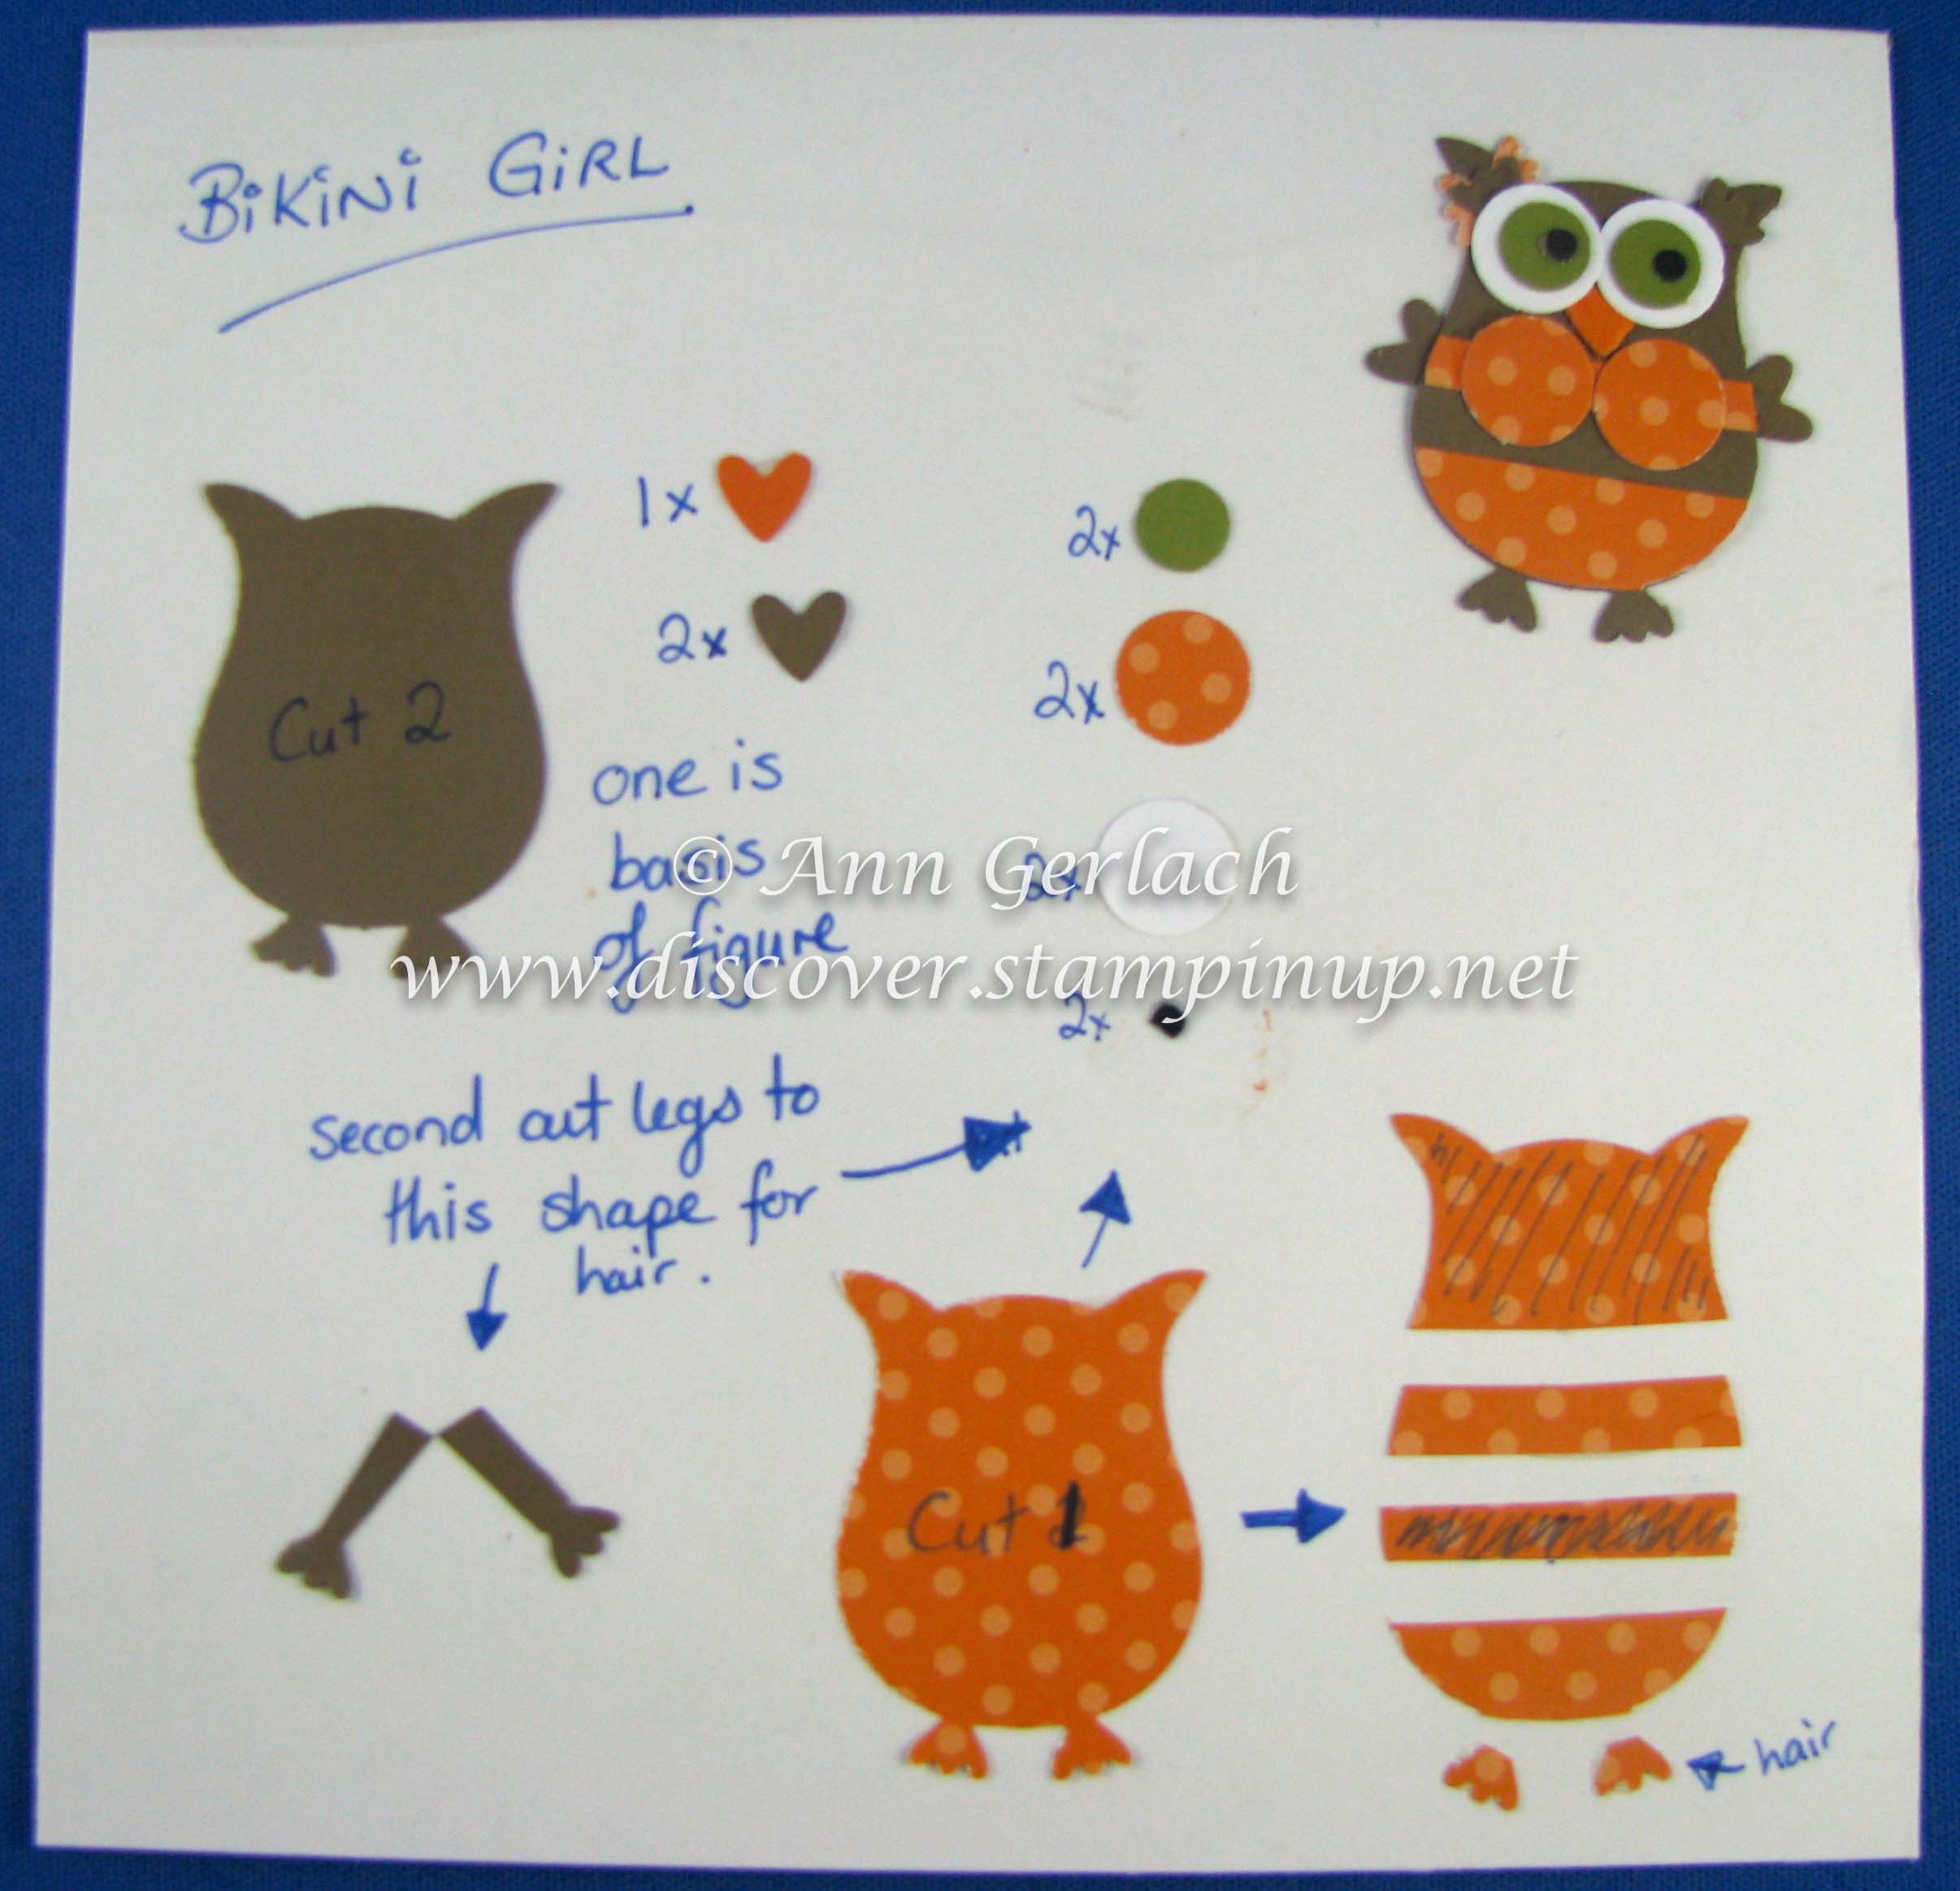
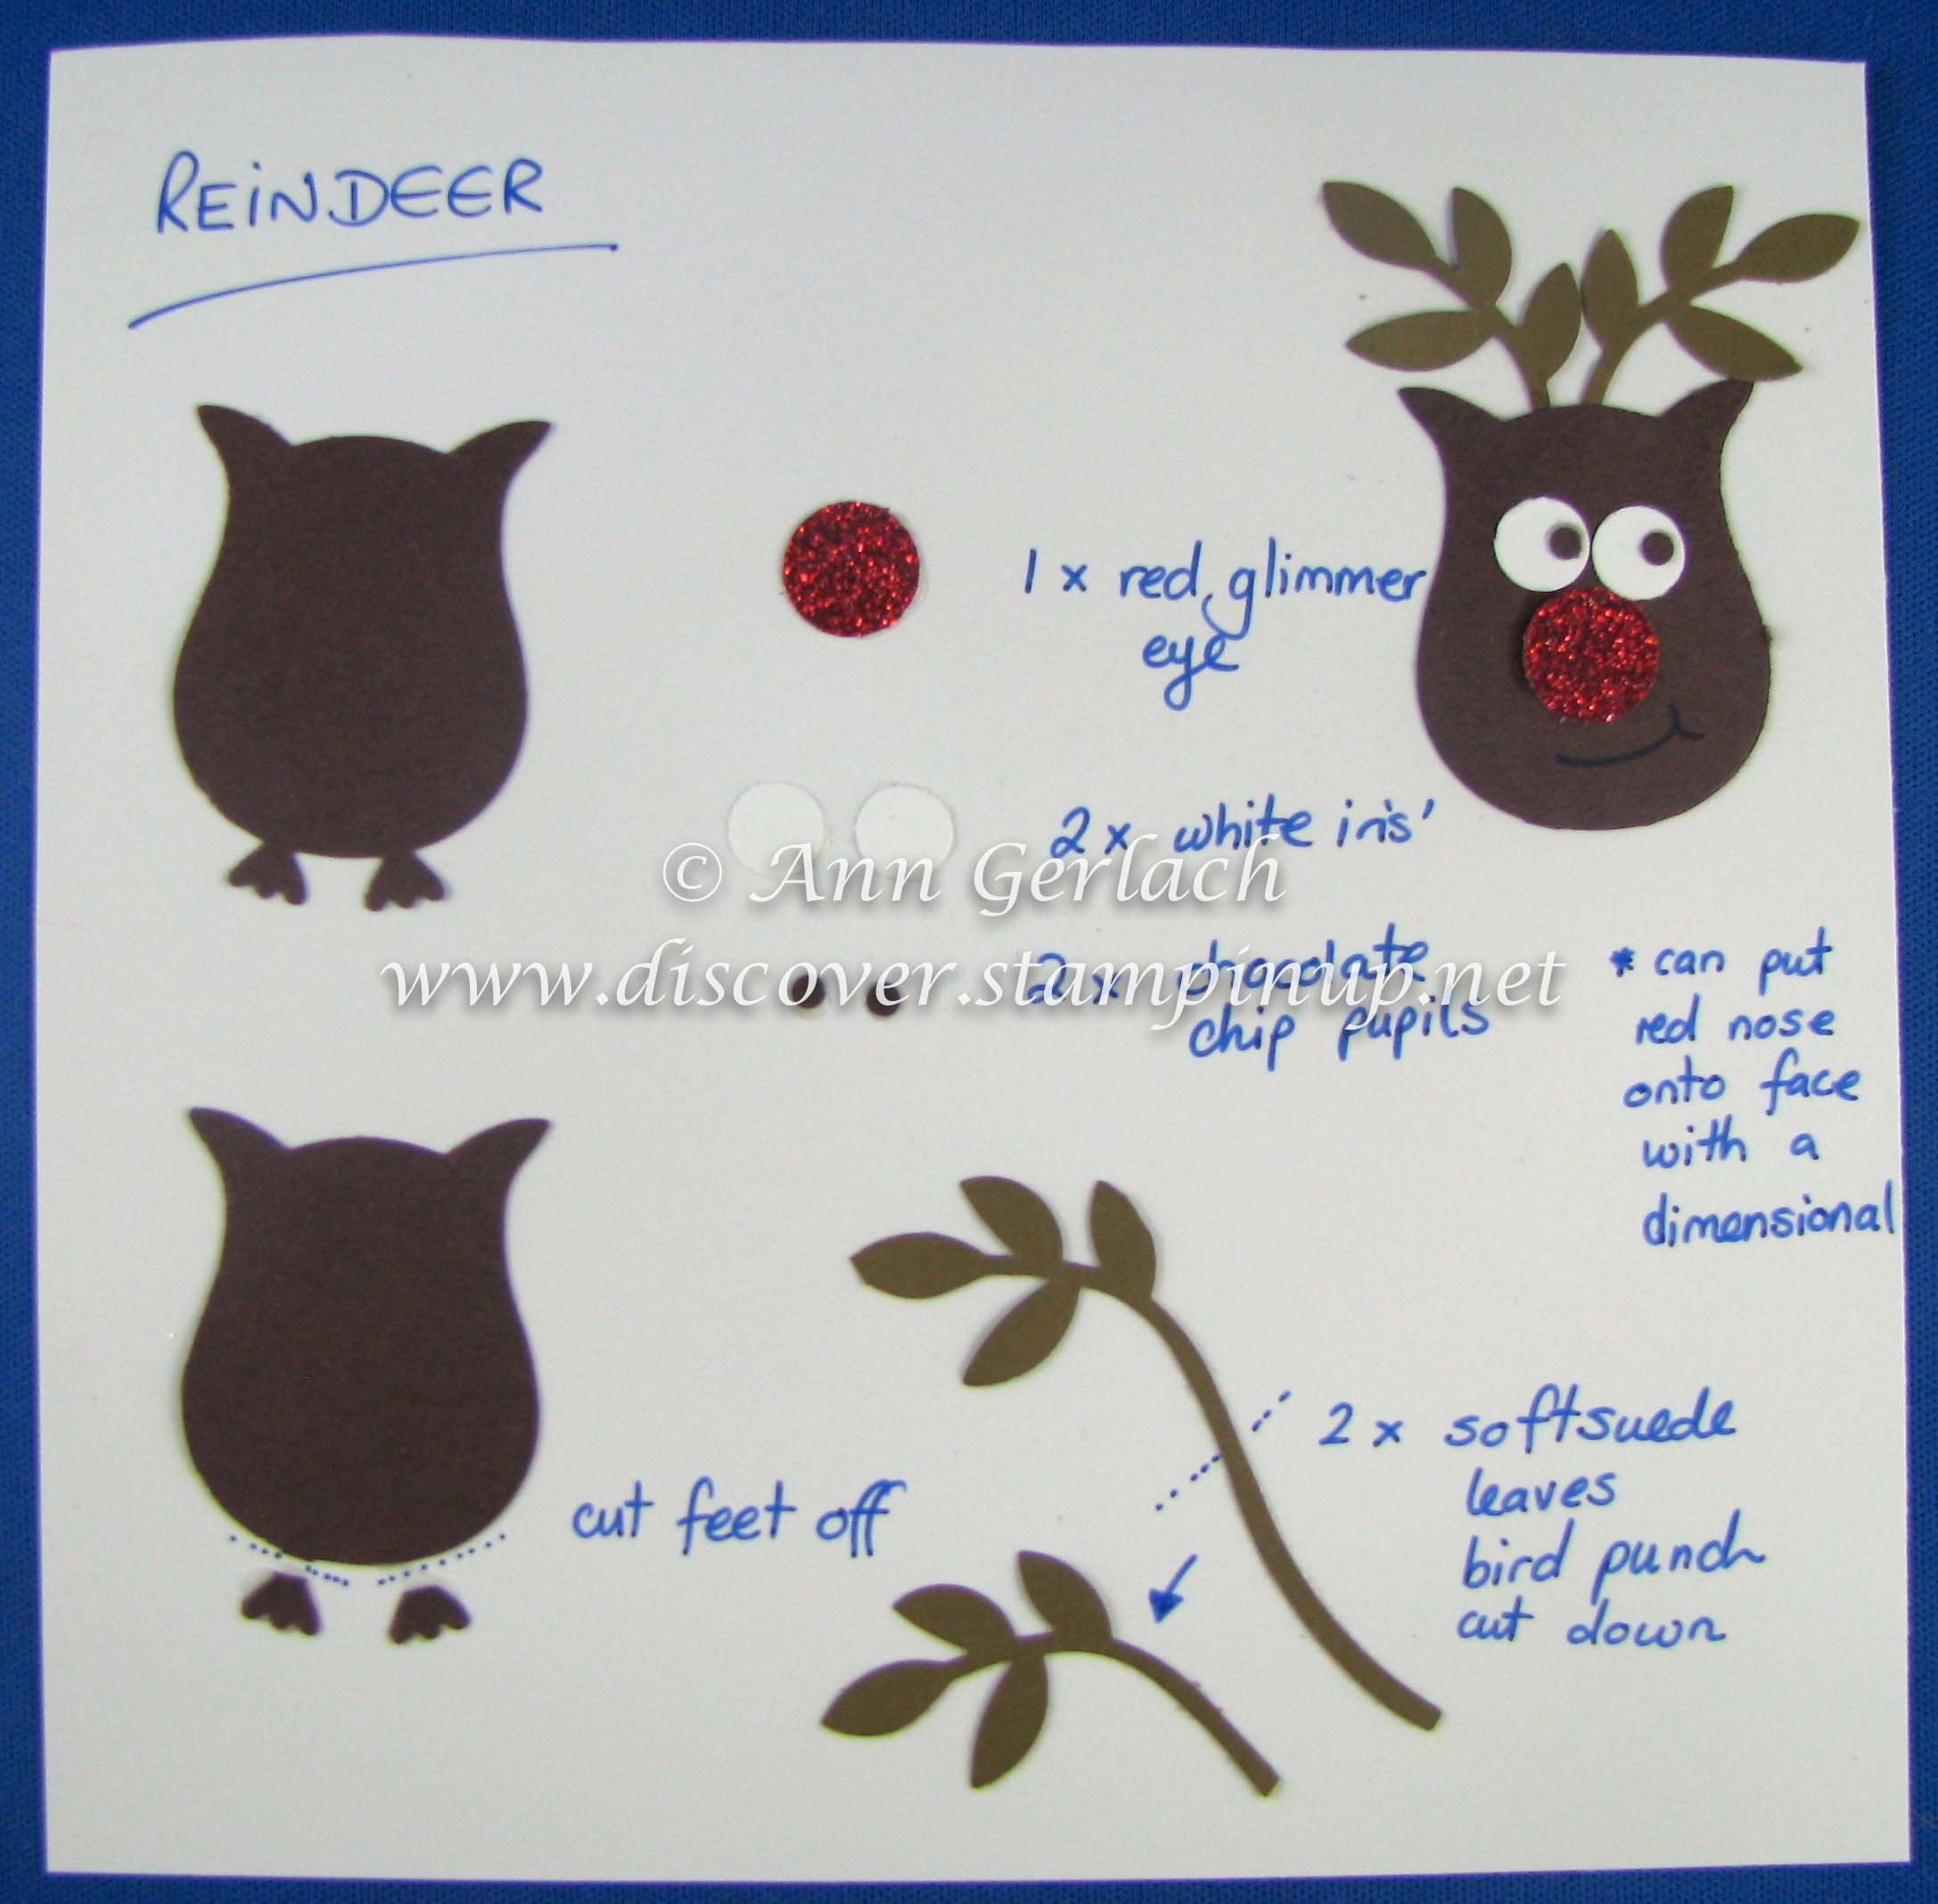
This is the fifth Owl Punch tutorial card I made for my class attendees, you can see the first here, second here, third here and fourth here as I said in my other posts many ideas have been CASEd and modified from years ago and I apologise to their original creators as I have not kept track of who created what first, some I have modified and / or created myself, but my objective here is to share them for your easy reference and I have not intended to infringe any copyright by doing this.
The Pumpkin Pie heart I used for the beak and it is placed behind the eyes and the other two Soft Suede hearts are used as the wings. I prefer using Tombow glue for sticking all the pieces together, but please use whatever adhesive that you prefer to do this.
This cute little beach girl owl would be perfect for any summer themed item. I hope these directions help someone – if you have questions please as me and I will endeavour to assist or if I have time make a video for you to follow.
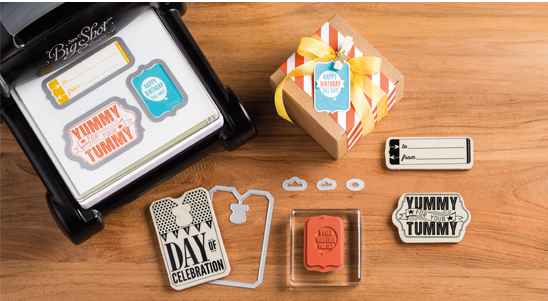
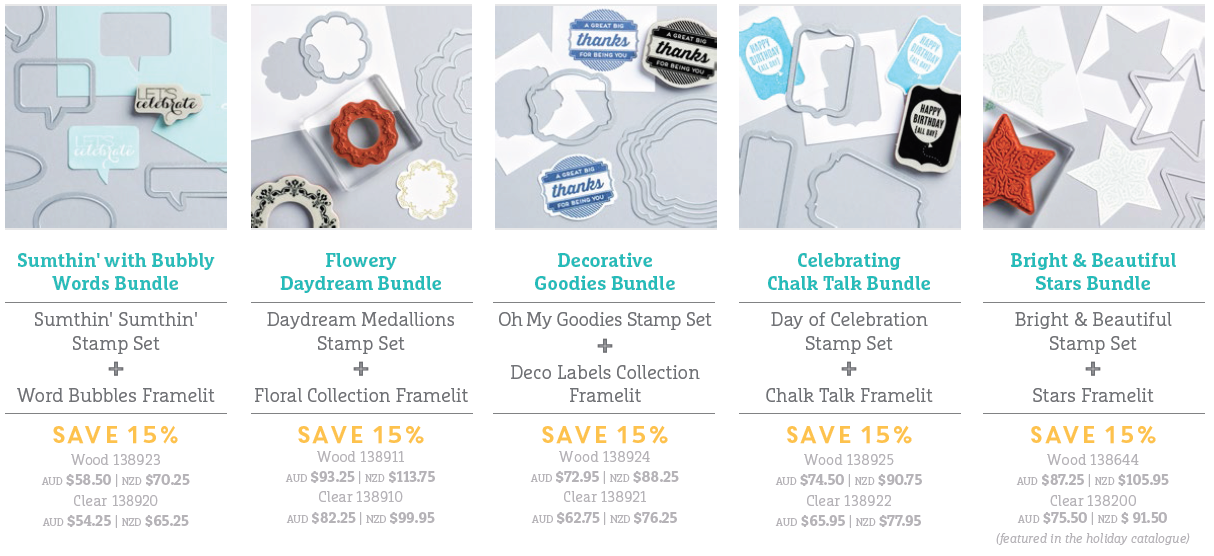
For the month of August there is an amazing Big Shot promotion happening – it is so fantastic it almost makes me want to go and buy another one just so that I can get the savings! For this month if you purchase a Big Shot machine you get to chose a product bundle for FREE!!There are five amazing bundles to chose from.
If you already own a Big Shot machine, you can purchase any or all of the bundles at 15% off for the month of August, there are no limits to the number of bundles you can purchase. If you want to see the Big Shot machine in action you can see it here or get some friends together and I’d be happy to come and show you some of the fantastic things this machine can do.
Please note:
Big Shots and Bundles added to Starter Kits do not qualify for this promotion.
Big Shots and Bundles entered on Hostess Free and 50% off merchandise, do not qualify for promotion.
Bright & Beautiful Stamp Set is part of our holiday catalogue, released August 28th.
Promotion runs until midnight EST August 1-31, 2014
You can order online here using this months hostess code 2ZS3ERFS
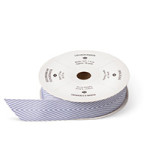
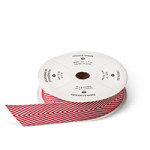
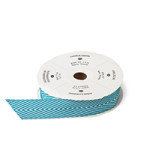
This weeks Weekly Deals include 25% off two dies, three different chevron ribbon colours, an embossing powder and two digital items at 40% off. Items are on offer only until midnight EST on August 5th or whilst stocks last. The current hostess code is AKKXABRA and you can shop online 24/7 here.
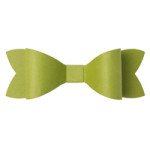
Gift Bow Bigz L Die RRP $55.95 discounted this month to just $41.96
Clear Oval Accent Bigz Die normally $37.95 great value this week at $28.46
This is the fourth Owl Punch tutorial card I made for my class attendees, you can see the first here, second here and third here as I said in my other posts many ideas have been CASEd and modified from years ago and I apologise to their original creators as I have not kept track of who created what first, some I have modified and / or created myself, but my objective here is to share them for your easy reference and I have not intended to infringe any copyright by doing this.
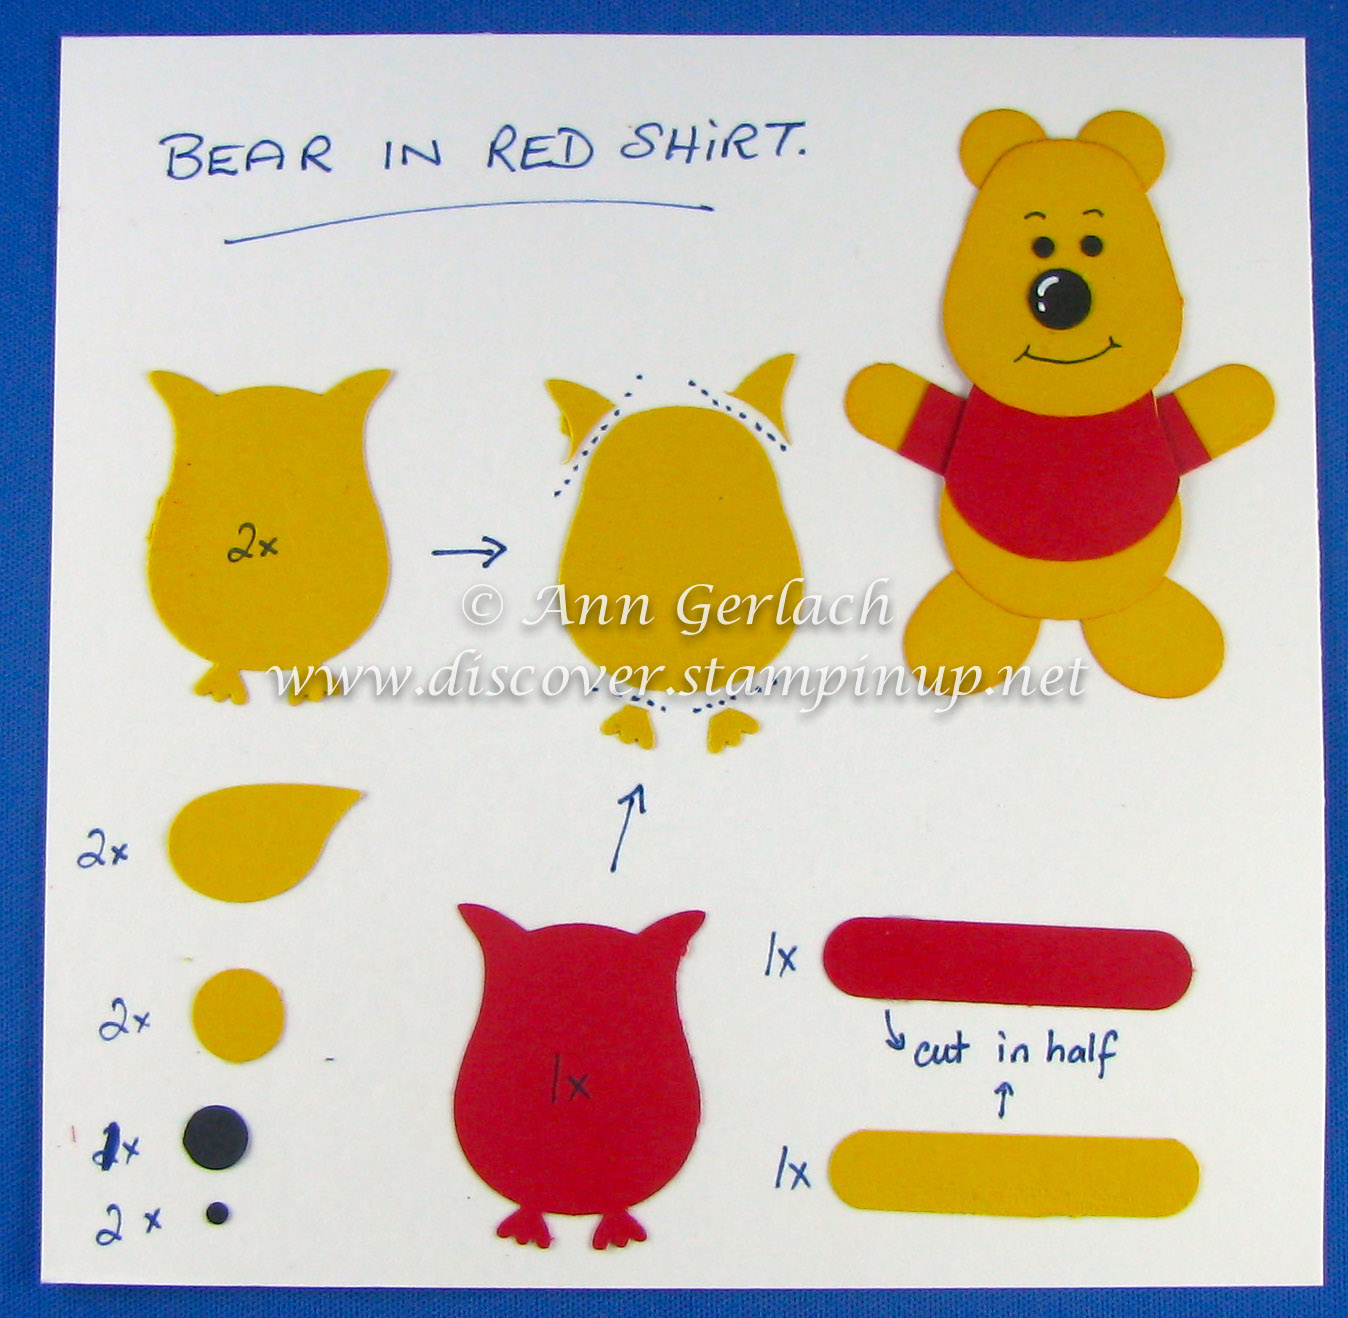
I popped the red glimmer nose up on a Dimensional. If you don’t have the red glimmer paper, you could use Real Red card stock and cover it in Crystal Effects to give a nice shiny red nose instead. I prefer using Tombow glue for sticking all the pieces together, but please use whatever adhesive that you prefer to do this. The 01 journalling pen from the Project Life range I am finding excellent for adding fine detail onto the punch art characters.
These look adorable on cards, gift tags and on the top of cello treats as you can see here I’ve been using them for years. I hope these directions help someone – if you have questions please as me and I will endeavour to assist or if I have time make a video for you to follow.
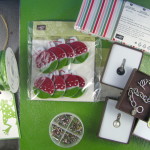
Well I got to spend a lovely afternoon with two friends making up sweet treat items for the participants at the Crafting for Conservation event on this Saturday, August 2nd, to help raise funds for the local Cockburn Wetlands Centre to assist with the amazing work they do.
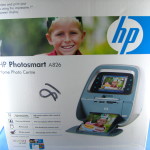
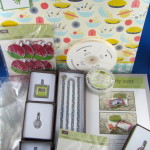
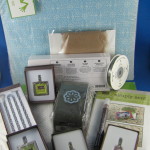
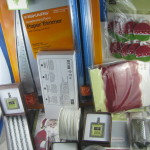
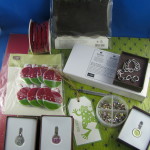
I understand that not everyone could attend this event, due to time, geography, prior commitments, family, work etc. so here is your chance to support a great local not for profit organisation and be in the running to win one of 5 great prizes. You can see pictures of the prizes in the gallery below, please note prize one and two contain 2 parts to them each.
First Prize part 1 – brand new in box HP Photosmart A826 printer
First Prize part 2 – Craft supplies from Stampin’ Up! including designer series paper, jewellery, simply sent card kit, velvet ribbon, brads, coredinations card stock, tags, and more
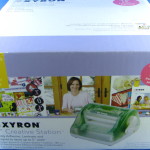
Second Prize part 1 – 5″ Creative Station Xyron – brand new in box
Second Prize part 2 – Craft supplies from Stampin’ Up! including designer series paper, jewellery, simply sent card kit, ribbon, coredinations card stock, punch, and more
Third Prize – Craft supplies from Stampin’ Up! including Fiskers Paper Trimmer, designer series paper, jewellery, simply sent card kit, punch, buttons, fabric, coredinations card stock and more
Fourth Prize – Craft supplies from Stampin’ Up! including designer series paper, jewellery, punch, buttons, fabric, coredinations card stock and more
Fifth Prize – Craft supplies from Stampin’ Up! including designer series paper, jewellery, punch, buttons, fabric, coredinations card stock and more
Tickets are 3 for $5 they are on sale online from now until midnight WST on Friday August 1st. The raffle draw will be drawn on Saturday during the event itself.
How to purchase tickets:
1. Either pay by PayPal below OR email me gerlach@iinet.net.au with your name, contact details and number of tickets you would like to purchase.
2. Make a deposit into the ANZ bank account BSB: 016016 Account: 476967137 under name Ann Gerlach. Please leave your SURNAME as reference for me.
3. You will receive a confirmation email from me with your ticket numbers for your reference within 12 hours of payment.
If you are doing the ESAD blog hop, welcome – weren’t Narelle’s items at just beautiful? I might have to add Work of Art to my wish list!
What is ESAD? ESAD stands for “Extra Special Australasian Demonstrators” and is a facebook group just for Australian and New Zealand Independent Stampin’ Up! demonstrators.
We love what we do & love to share with our customers, friends and blog visitors. We also share what we love in our ESAD Demonstrator community, through swaps, challenges, sharing knowledge, ideas& friendship and we’re always there to help and support each other.
So if you are a Stampin’ Up! demonstrator located in Australia or New Zealand then please feel free to leave me a comment with your email address then I’ll contact you with information on how to join our group.
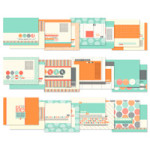
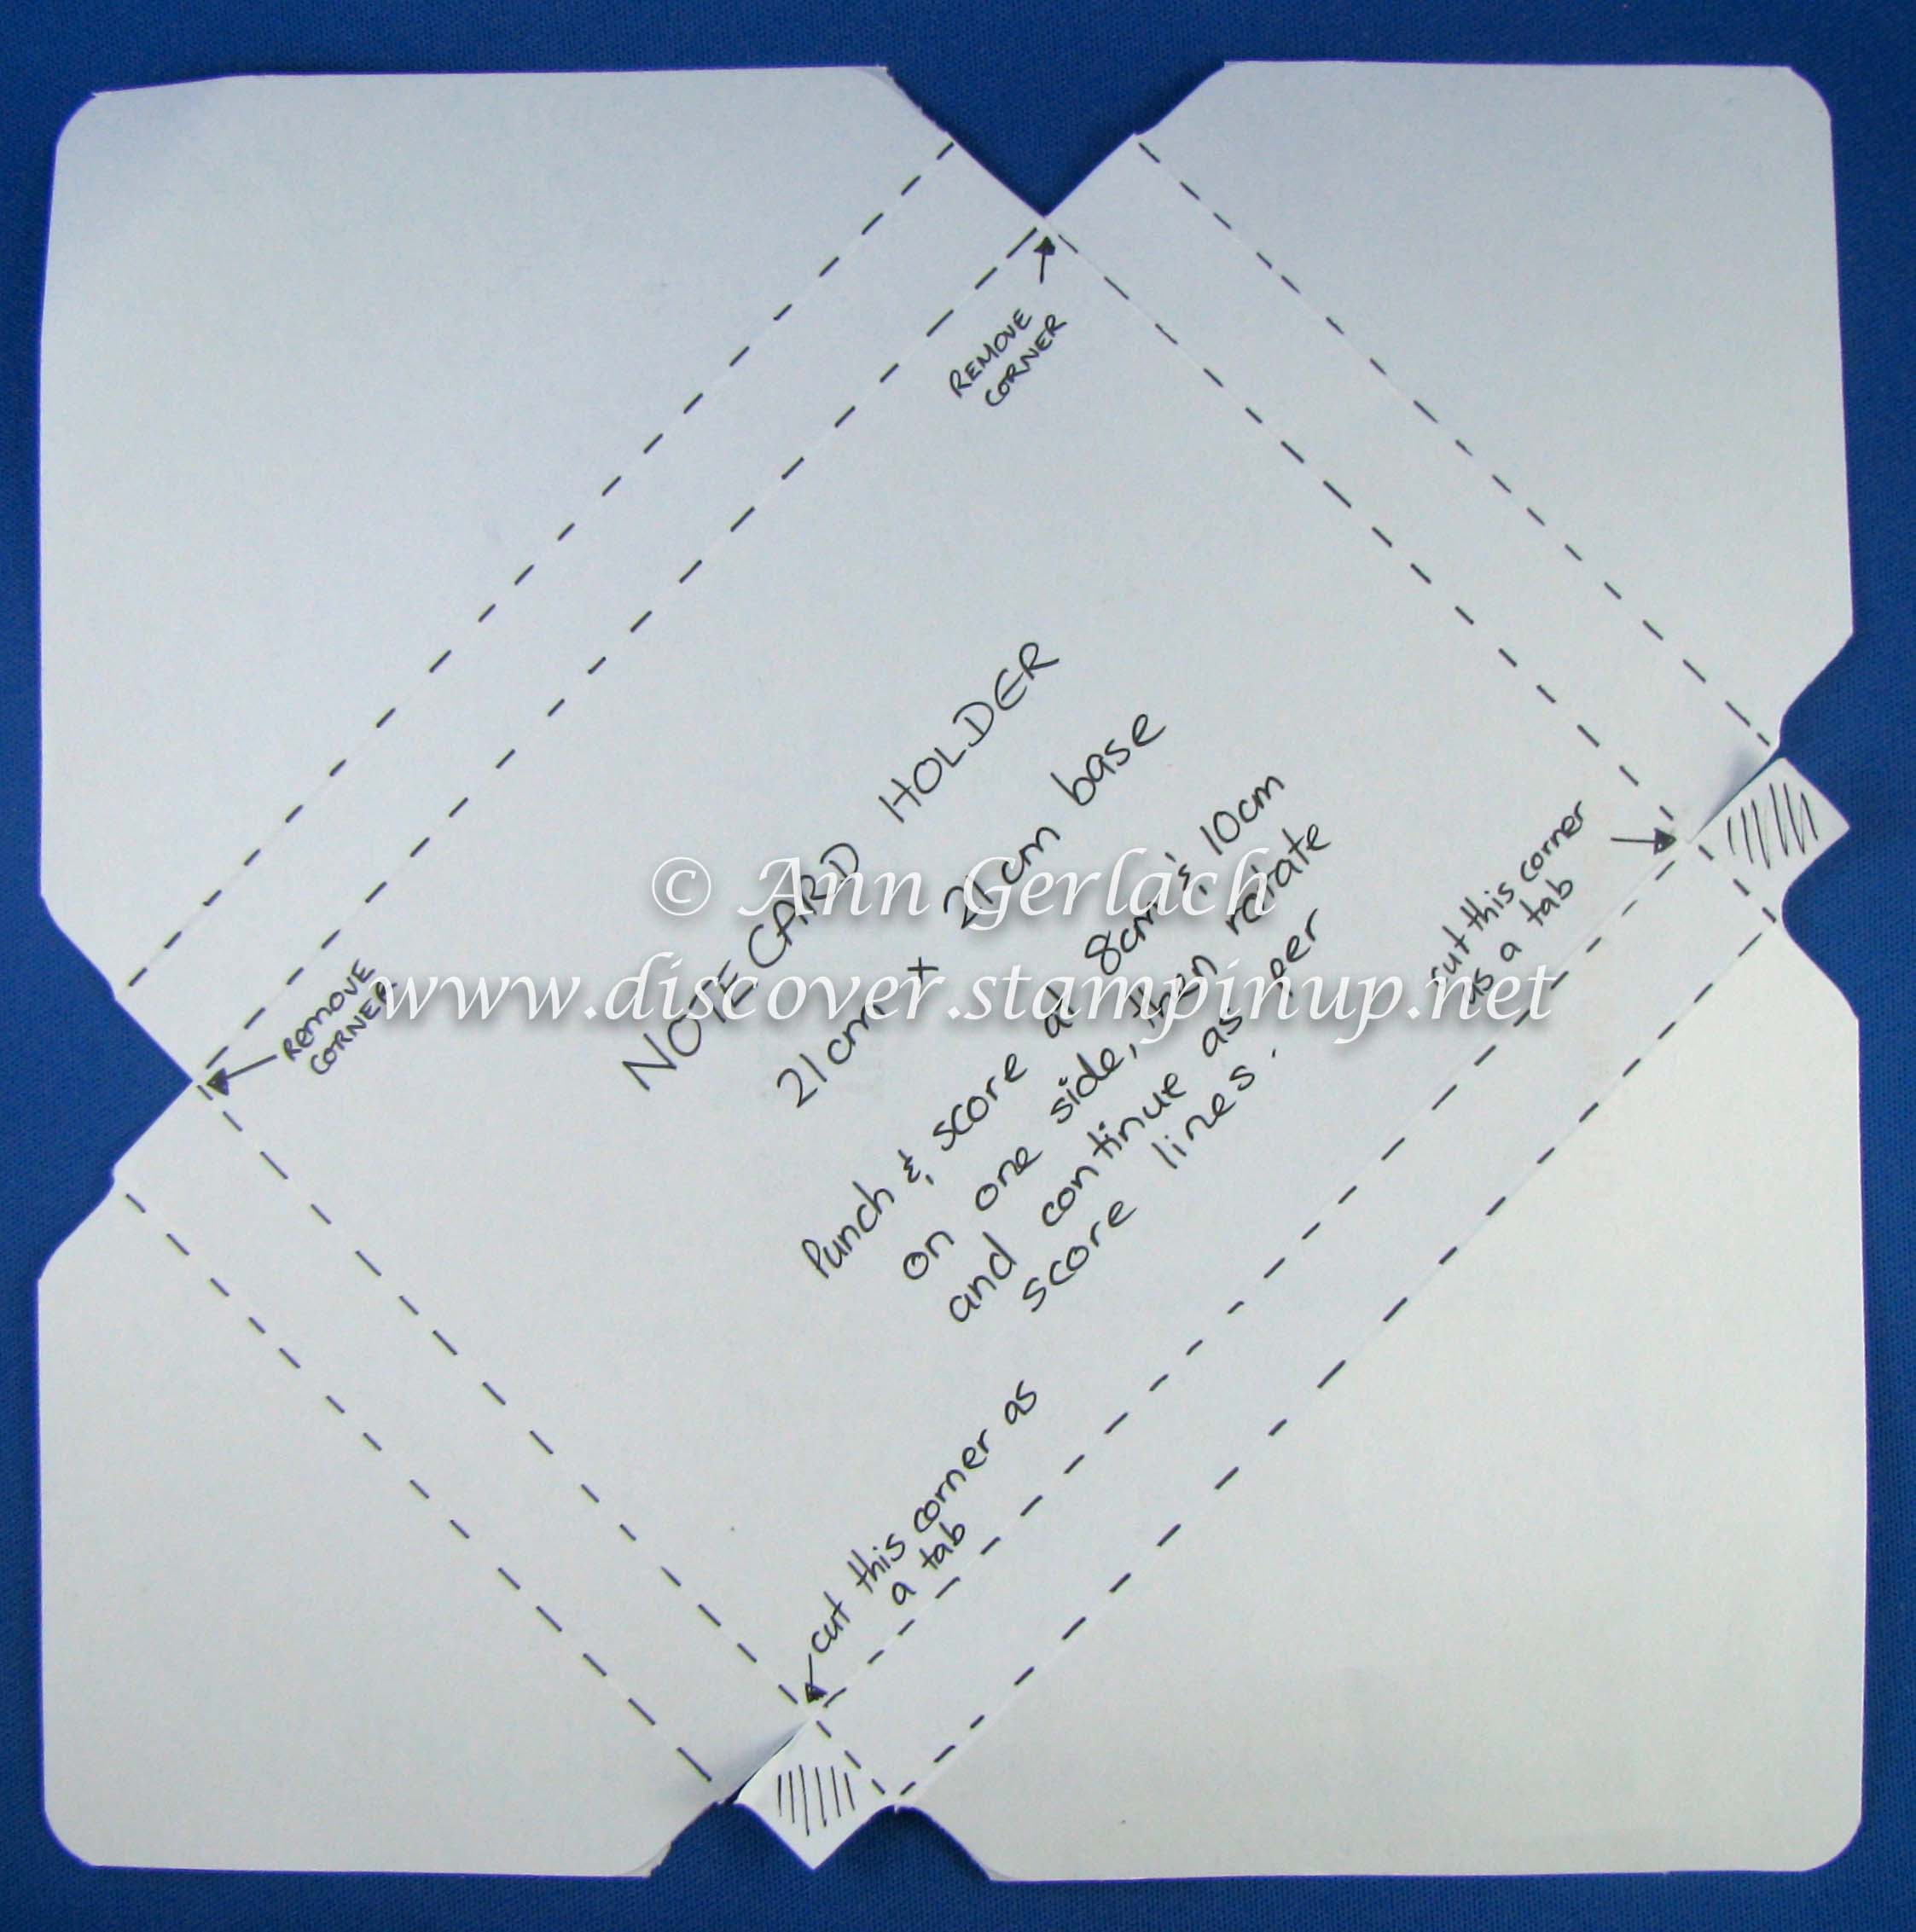
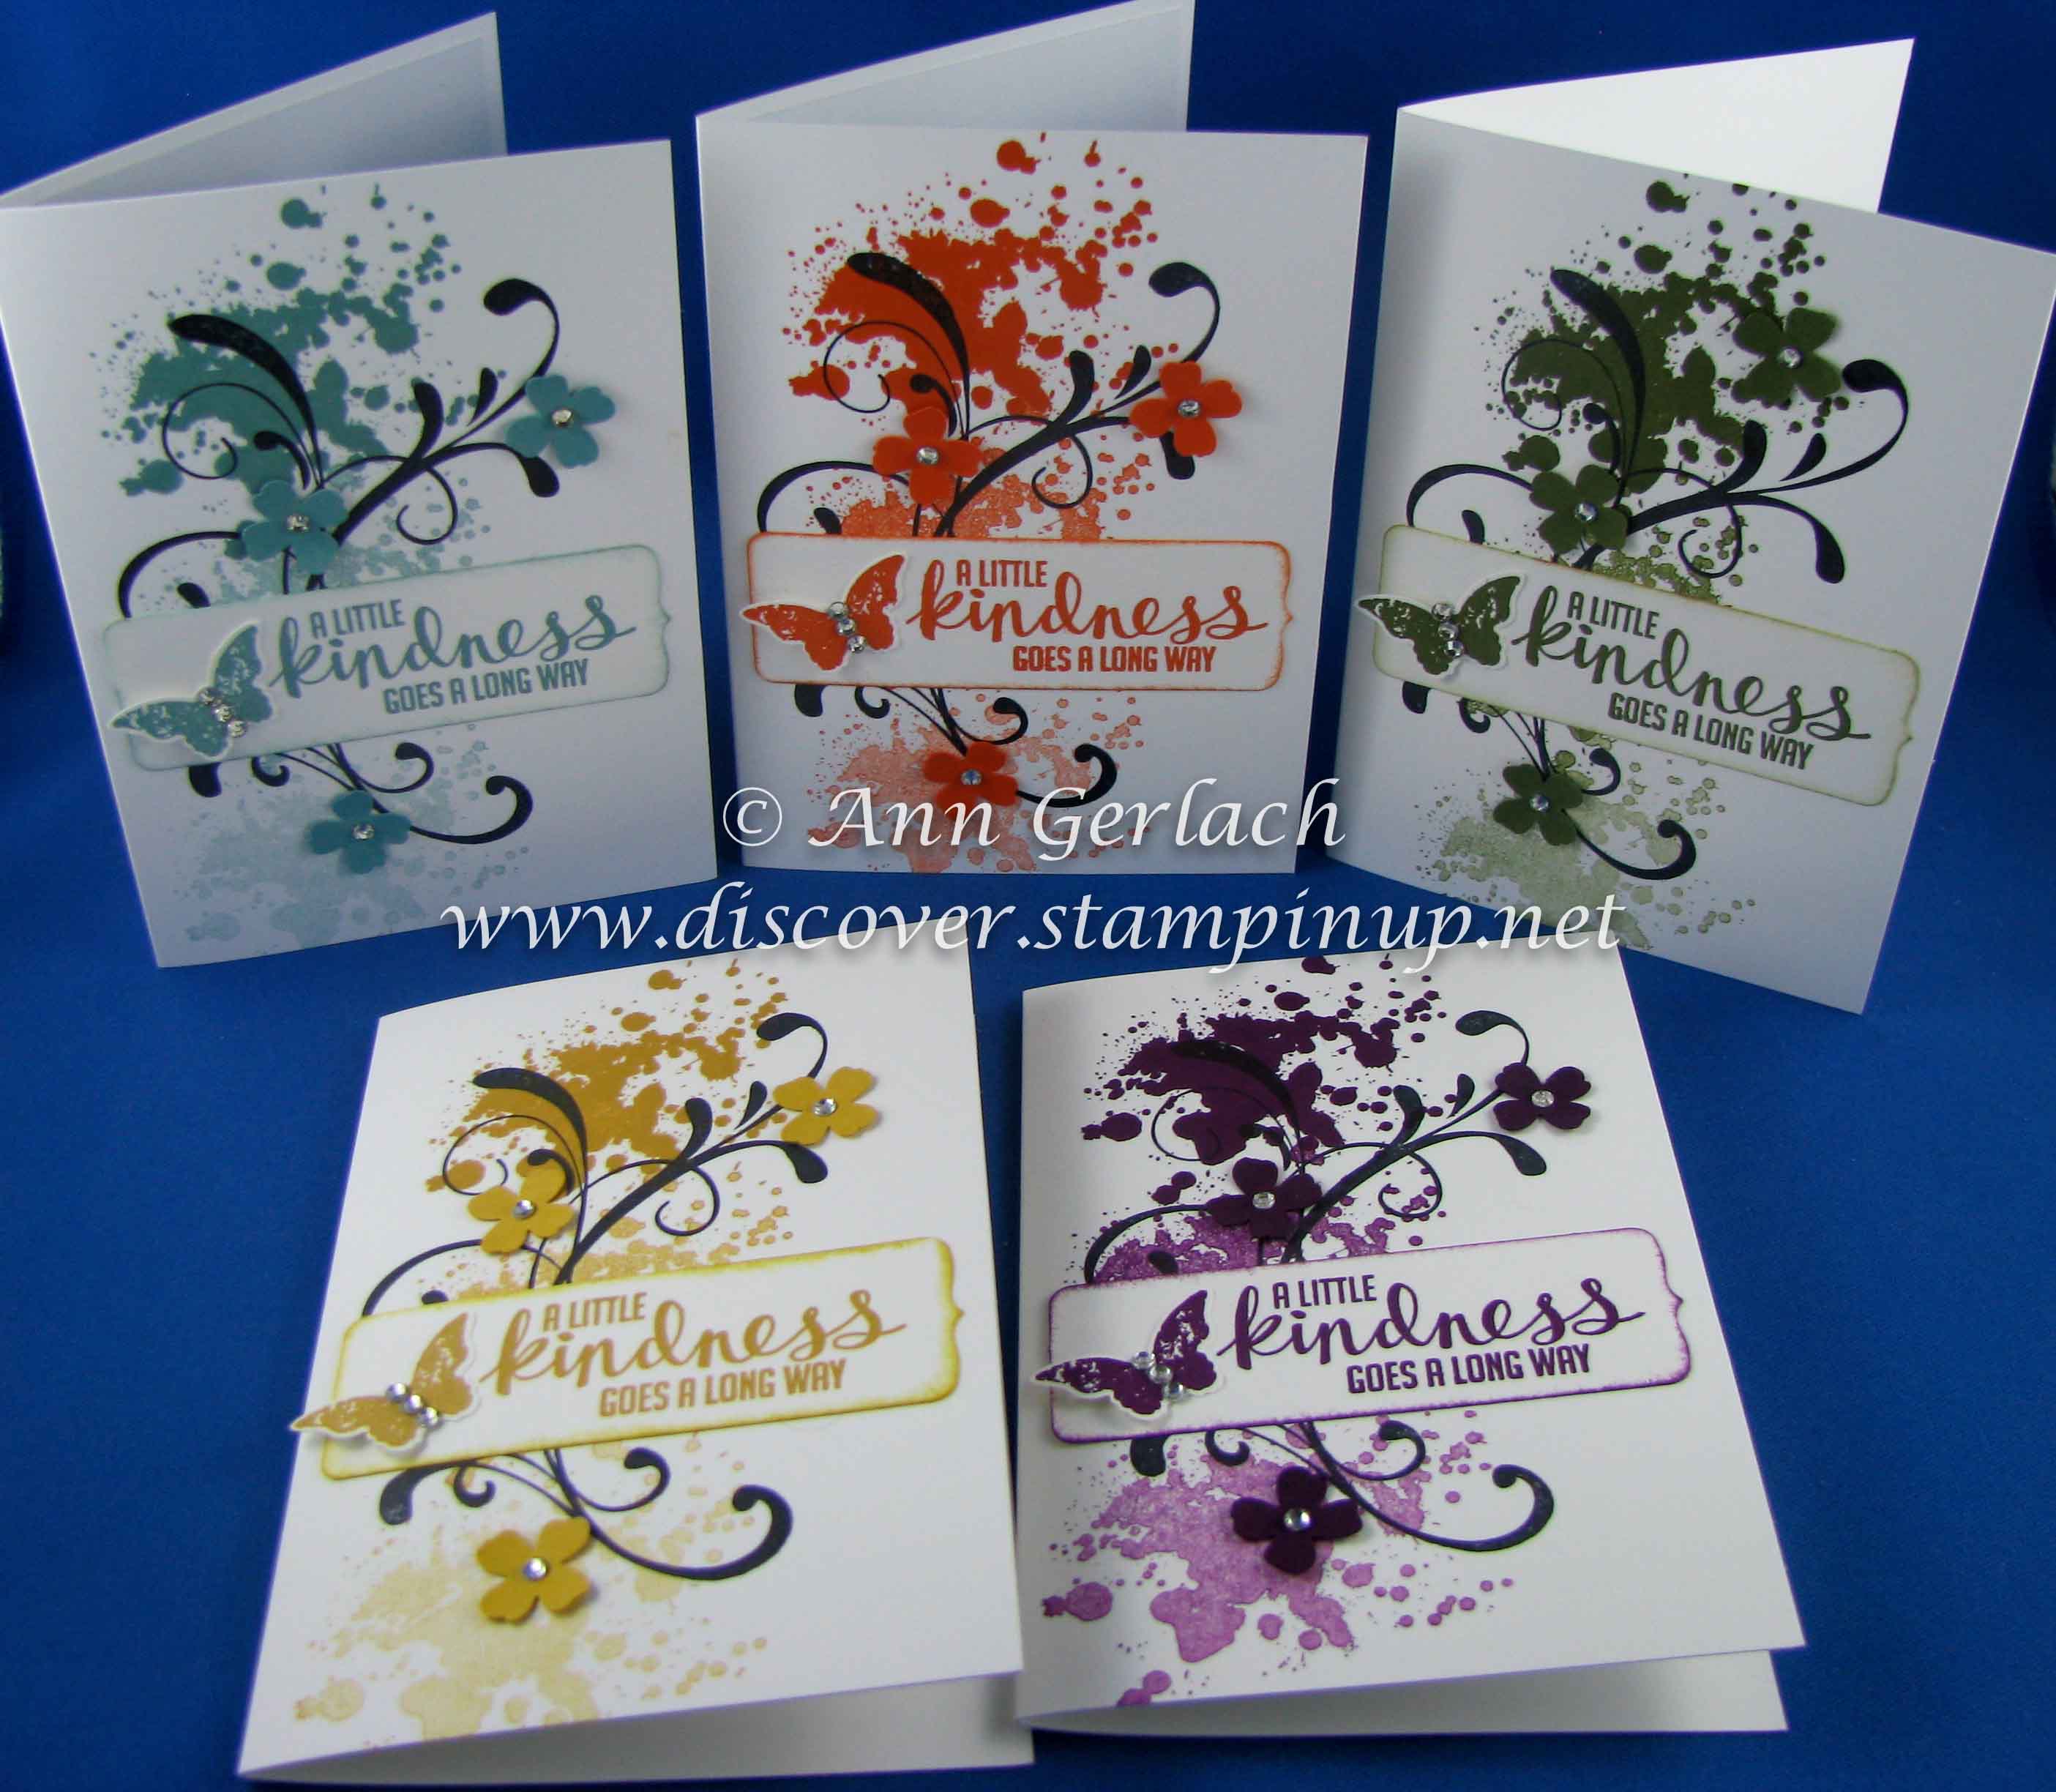
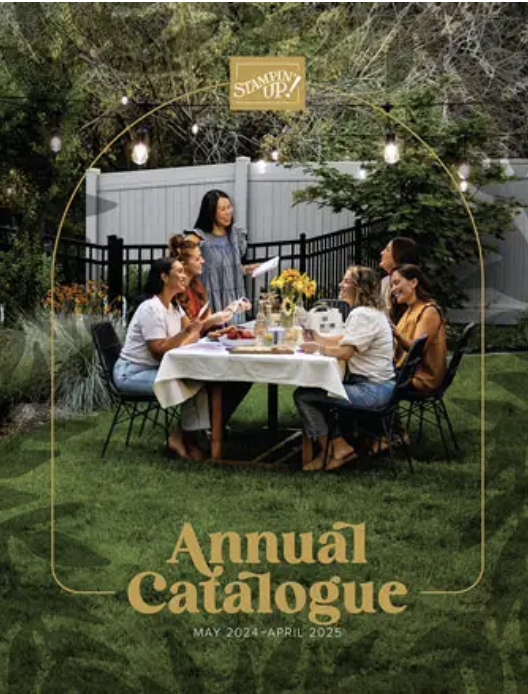
Isn’t the new catalogue exciting – so many beautiful things, inspiring new ones and classic carry over items. One of the things that I love best about the new catalogue are the new In Colors – I’m so excited that world trends are moving on from pastels and pink (yes I do have colour aversion). Given that Regals are also my favourite colour family, I am doubly happy with this years five new colours, I used them with one of my other favourite products, the envelope notecards to make a set of cards and then a box to hold them to create a lovely gift.
I designed the box to be made from an A4 piece of card stock, the initial starting size is 21cm x 21cm. The measurements for punching and scoring on the envelope punch board are 8cm and 10cm as per my sketch below.
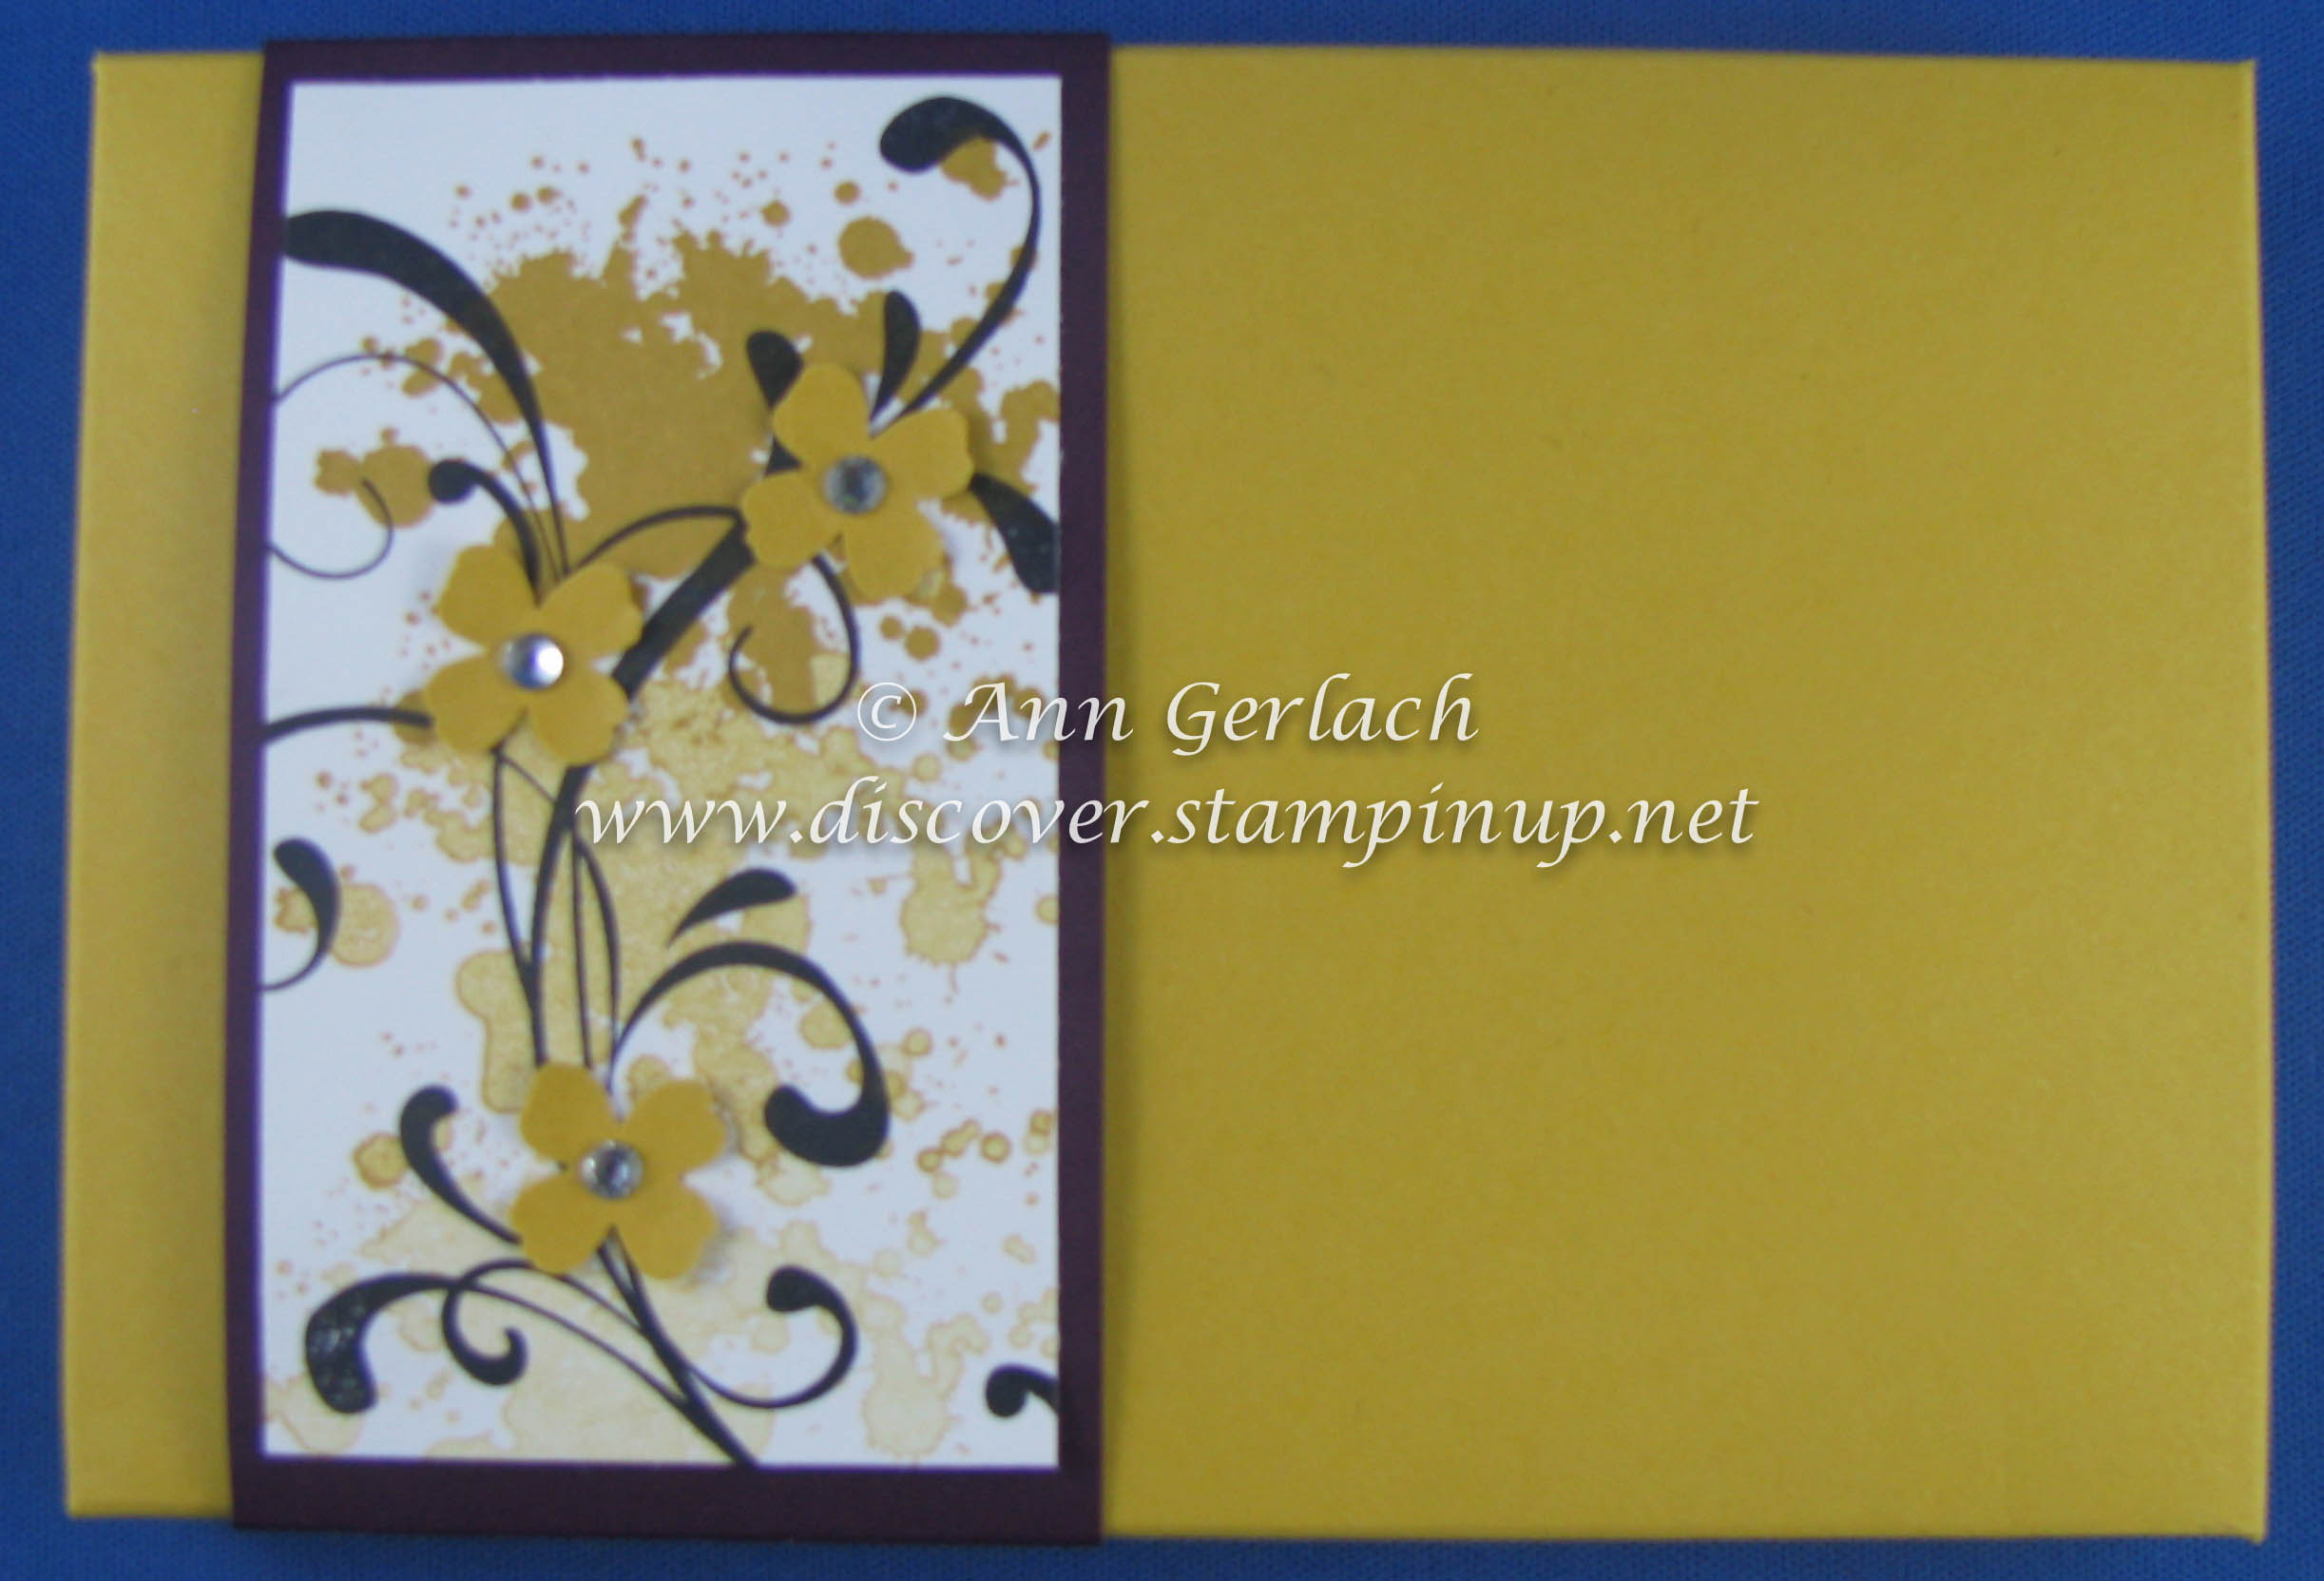
The box was made in Hello Honey, with a Blackberry Bliss belly band and a white overlay, I was so happy that Gorgeous Grunge and Everything Eleanor stamp sets carried over this year as I love using both of them.
The cards that I made matched the box (or was it vice versa?) all similar design and CASEd from my catalogue launch card here, they were embellished with a sentiment and butterfly from Kinda Eclectic cut with the Chalk Talk framelits and sponged with the same ink.
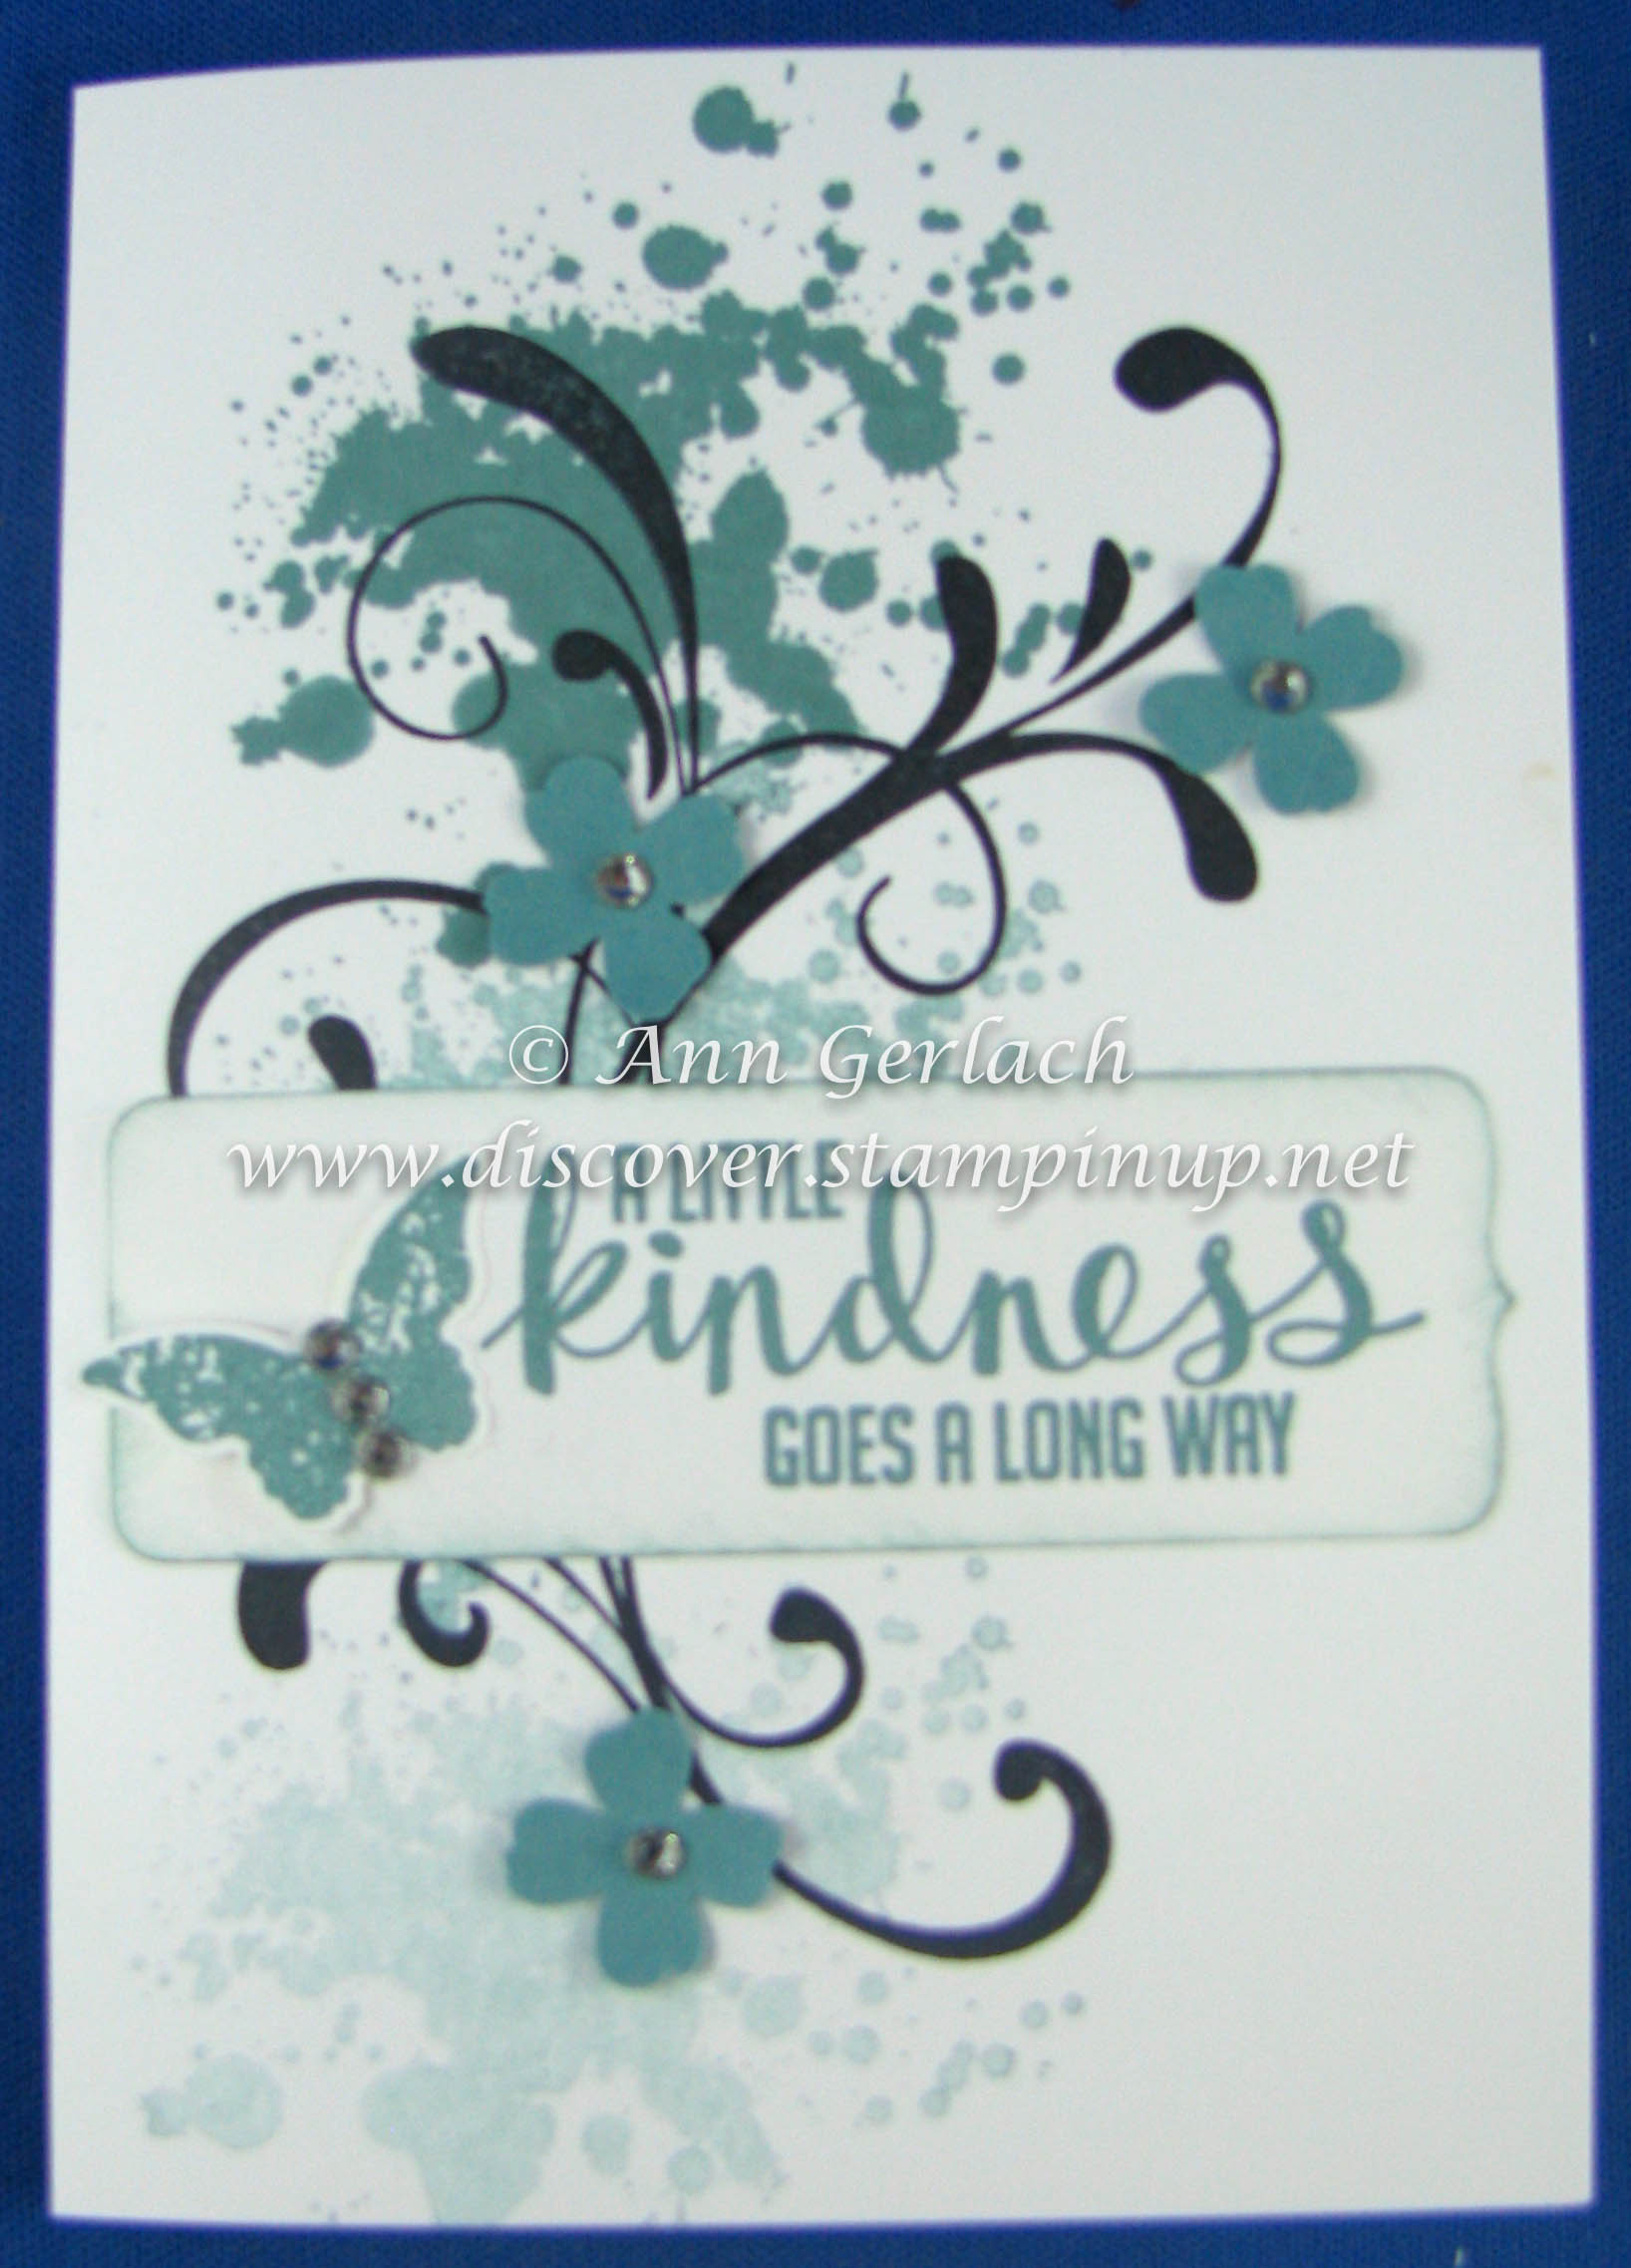
Here is a close up of one of the cards, the flower is from Itty Bitty Accents and highlighted with some basic rhinestones.
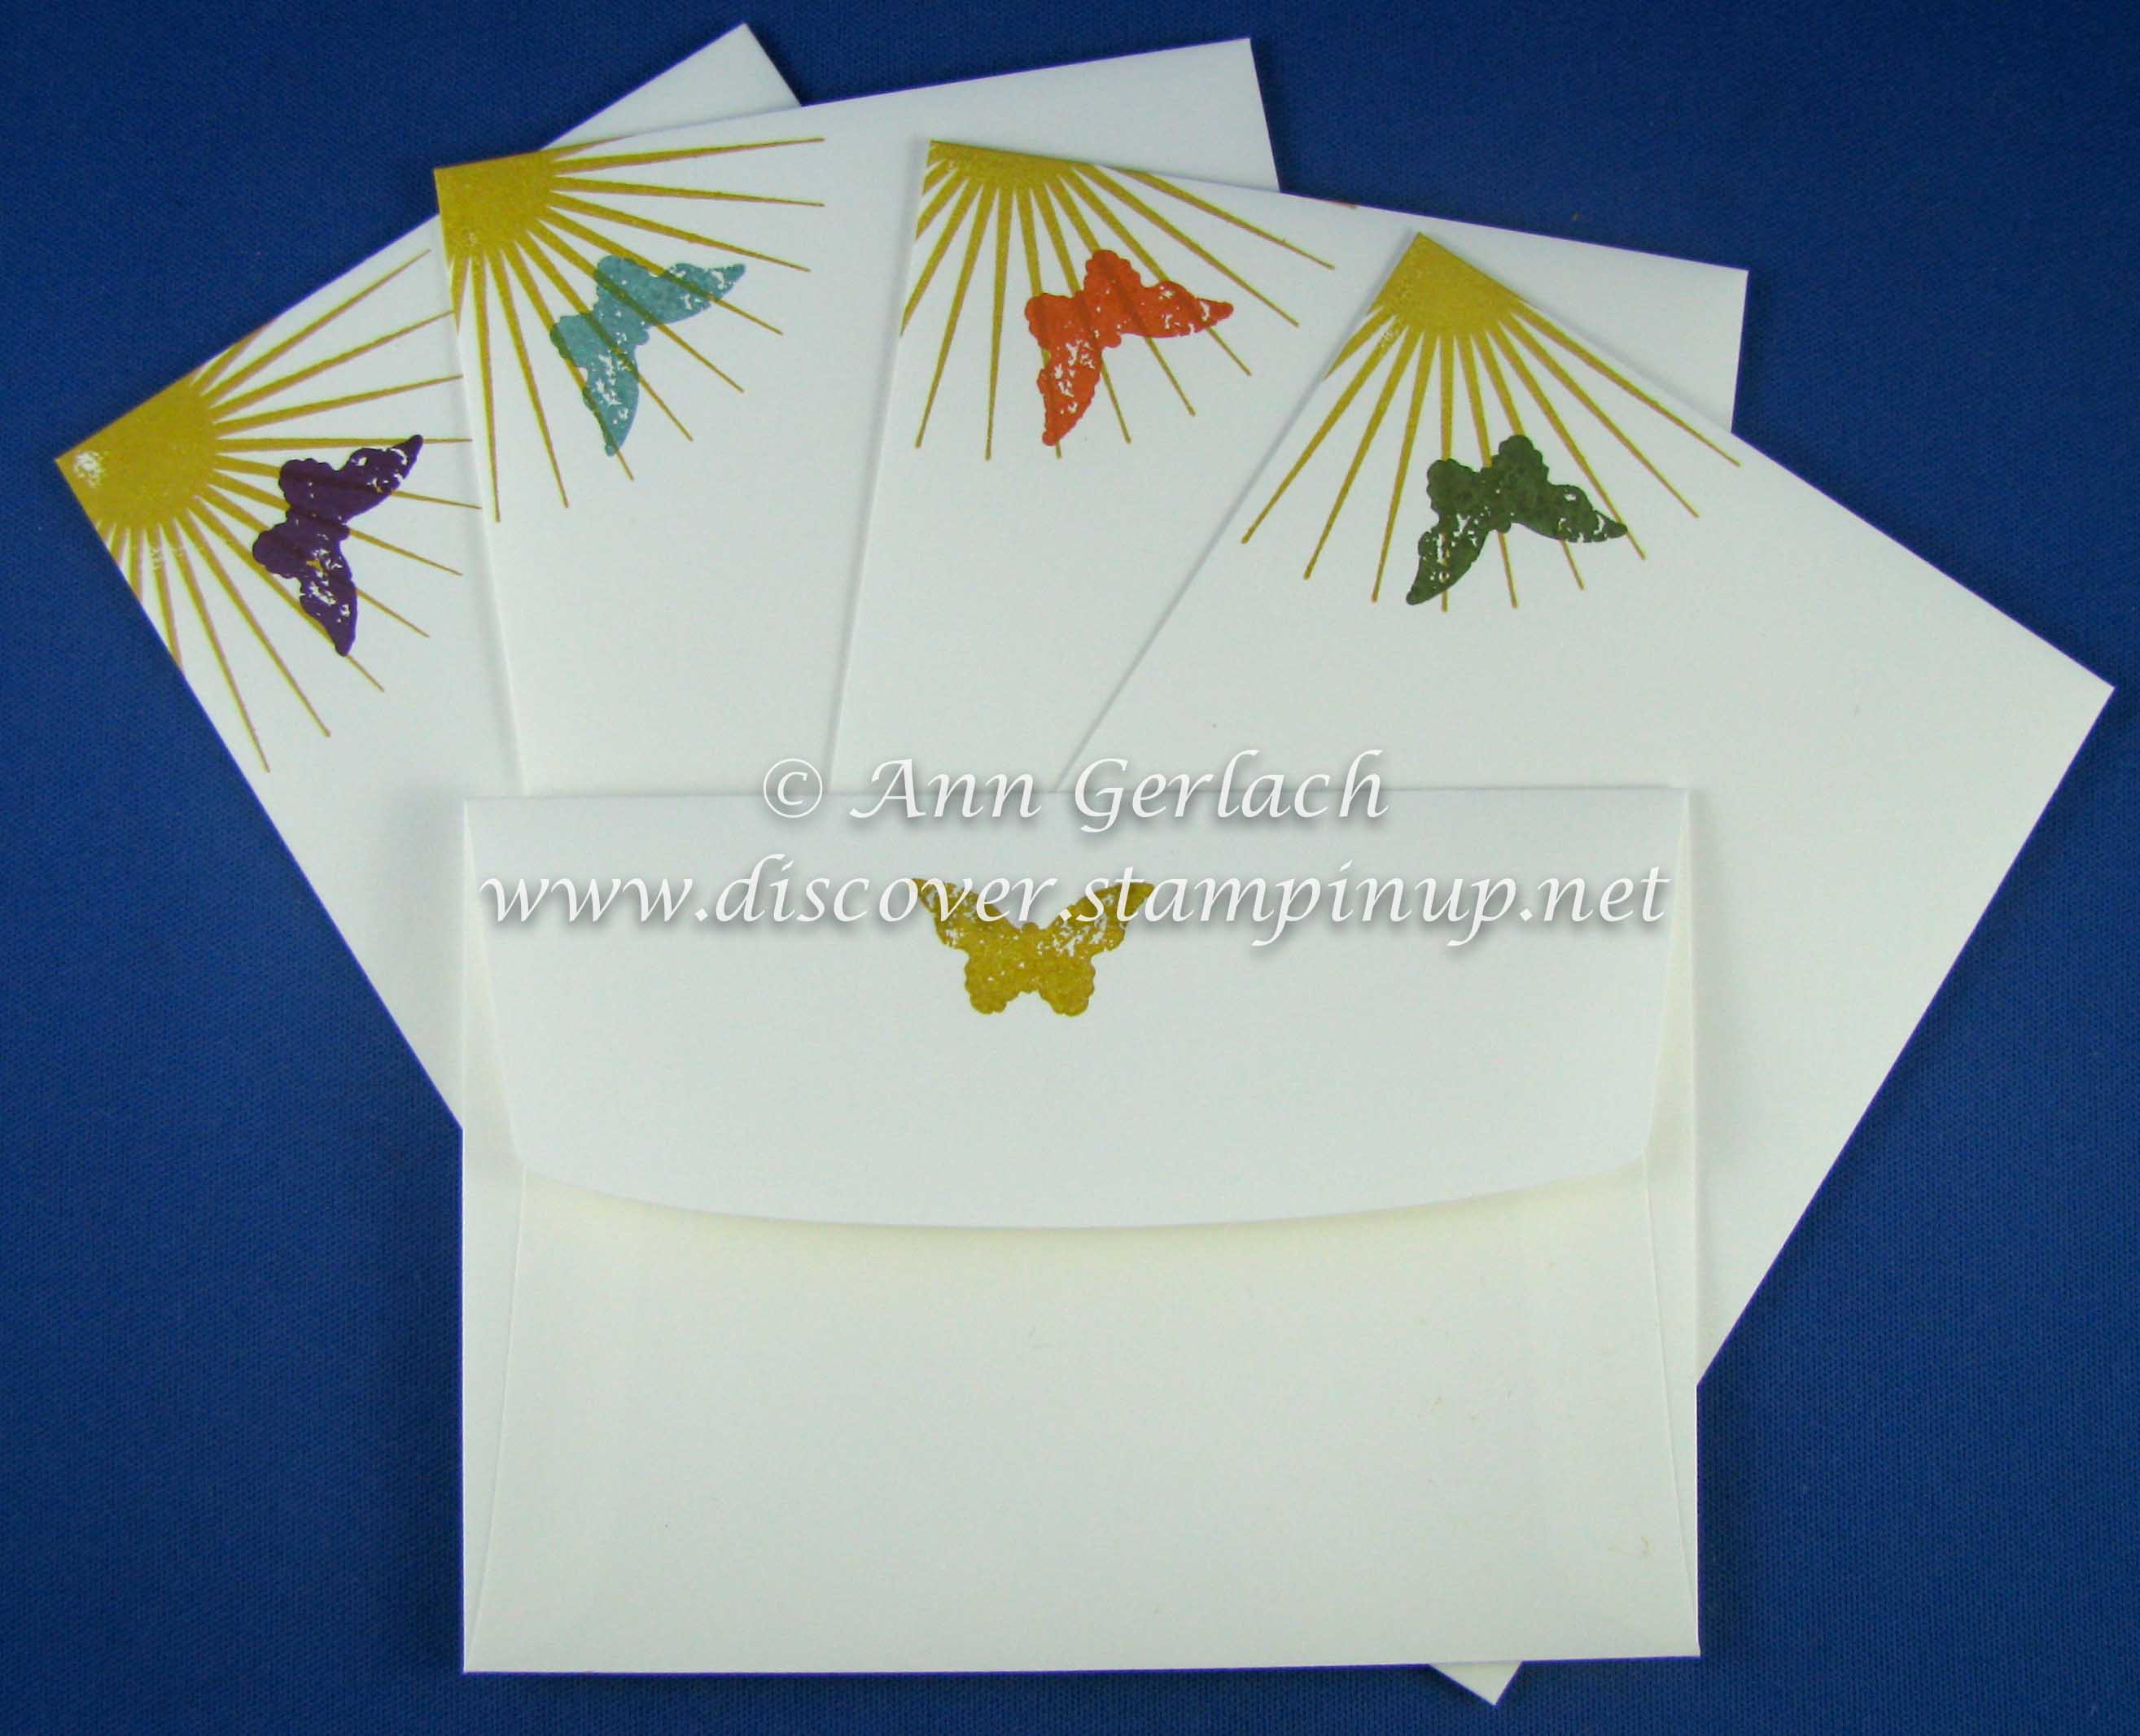
Of course I had to decorate the envelopes to match as I can’t abide naked envelopes – so they were adorned with images from Kinds Eclectic front and back. I made a several of these cards this week, and sent them off as RAKs (random acts of kindness) to recipients who hopefully will get a smile at receiving them. I try to send of RAKs every month to share the love of what I do – if you ever want to be added to my list of recipients, leave me a comment and I will endeavour to get a card to you sooner rather than later!
The next blog on the ESAD hop is Libby’s blog here – enjoy & don’t forget if you have any questions about what I made, please feel free to leave me a comment.
So the biggest complaint I hear from crafters is that they have no TIME to craft……well here’s you chance! I have organised 12 hours of dedicated crafting time with all meals provided and a full trestle table of space just for you plus a goodie bag, door prizes, raffles, a guest speaker, displays and more all whilst raising funds for the local Cockburn Wetlands Centre.
When: Saturday August 2nd 10am – 10pm
Where: Cockburn Wetlands Centre, Hope Road, Bibra Lake.
Cost: $40
Full details can be found here as well as the PayPal link to secure your spot.
If you can’t make it along to the day, but would like to purchase raffle tickets to support the Wetlands Centre, they will go on sale on Sunday 27th of July and the raffle will be drawn on Saturday 2nd of August during the event. There are some amazing prizes up for grabs including a HP photosmart printer, Xyron, Stampin’ Up! supplies, wine and more!
This is the third Owl Punch tutorial card I made for my class attendees, you can see the first here and second here, as I said in my other posts many ideas have been CASEd and modified from years ago and I apologise to their original creators as I have not kept track of who created what first, some I have modified and / or created myself, but my objective here is to share them for your easy reference and I have not intended to infringe any copyright by doing this.
I sponged the edges of all of my Crushed Curry pieces in Crisp Cantelope ink to give a little more dimension, but that is up to you. His feet are the bird wing (sorry I forgot to write that on the direction card). I prefer using Tombow glue for sticking all the pieces together, but please use whatever adhesive that you prefer to do this. The 01 journalling pen from the Project Life range I am finding excellent for adding fine detail onto the punch art characters.
This little bear would be perfect for any baby card or tag. I hope these directions help someone – if you have questions please as me and I will endeavour to assist or if I have time make a video for you to follow.
So most of you who have ever received a card from me might have noticed that the card insert is usually removable, they are designed like giant post-it notes so that the card can be regifted and the love can be shared. It makes the card that I made a mini gift as not only is it reducing waste (physically we can’t keep every handmade card that we’ve ever received and re-gifting them seems a lot better than binning them), but it also saves the recipient from purchasing another card for someone thus reducing consumerism by a tiny fraction.
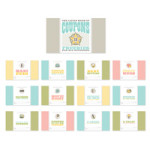
I had the privilege of meeting the owner and designer, Heather, last year at the USA Stampin’ Up! Convention and she was just delightful, although it did take us 2 days to find each other amidst the +6000 other demonstrators and I’d lost my voice, but trust me when I say in my opinion she’s a beautiful person. Sadly I haven’t found these simple, but awesome card inserts in Australia, so yes the carbon miles on them are huge (although my last batch I brought back from the USA with me myself), but I do know some other people have Australian’s who have purchased from her and they have been happy with the service and product. Heather’s website is here and you can tell her I sent you – I don’t get a benefit from it other than letting her know that she has happy customers all over the world. They come in landscape or portrait orientation and you can get them customised like my business ones below or you can get generic ones with beautiful sentiments on them.
This blog post isn’t an advertorial, it’s just my genuine personal opinion about a product that I use regularly and I get asked periodically about where I purchased them – so I thought that I would write it down here so everyone can see the answer and that it’s not a secret that I don’t want to share as I’d love everyone to make more sustainable changes in their lives.