For inspiration, ideas, tutorials, techniques and classes on paper crafting, card making, scrapbooking and more using quality Stampin' Up!® products. gerlach@iinet.net.au 0421 482 578
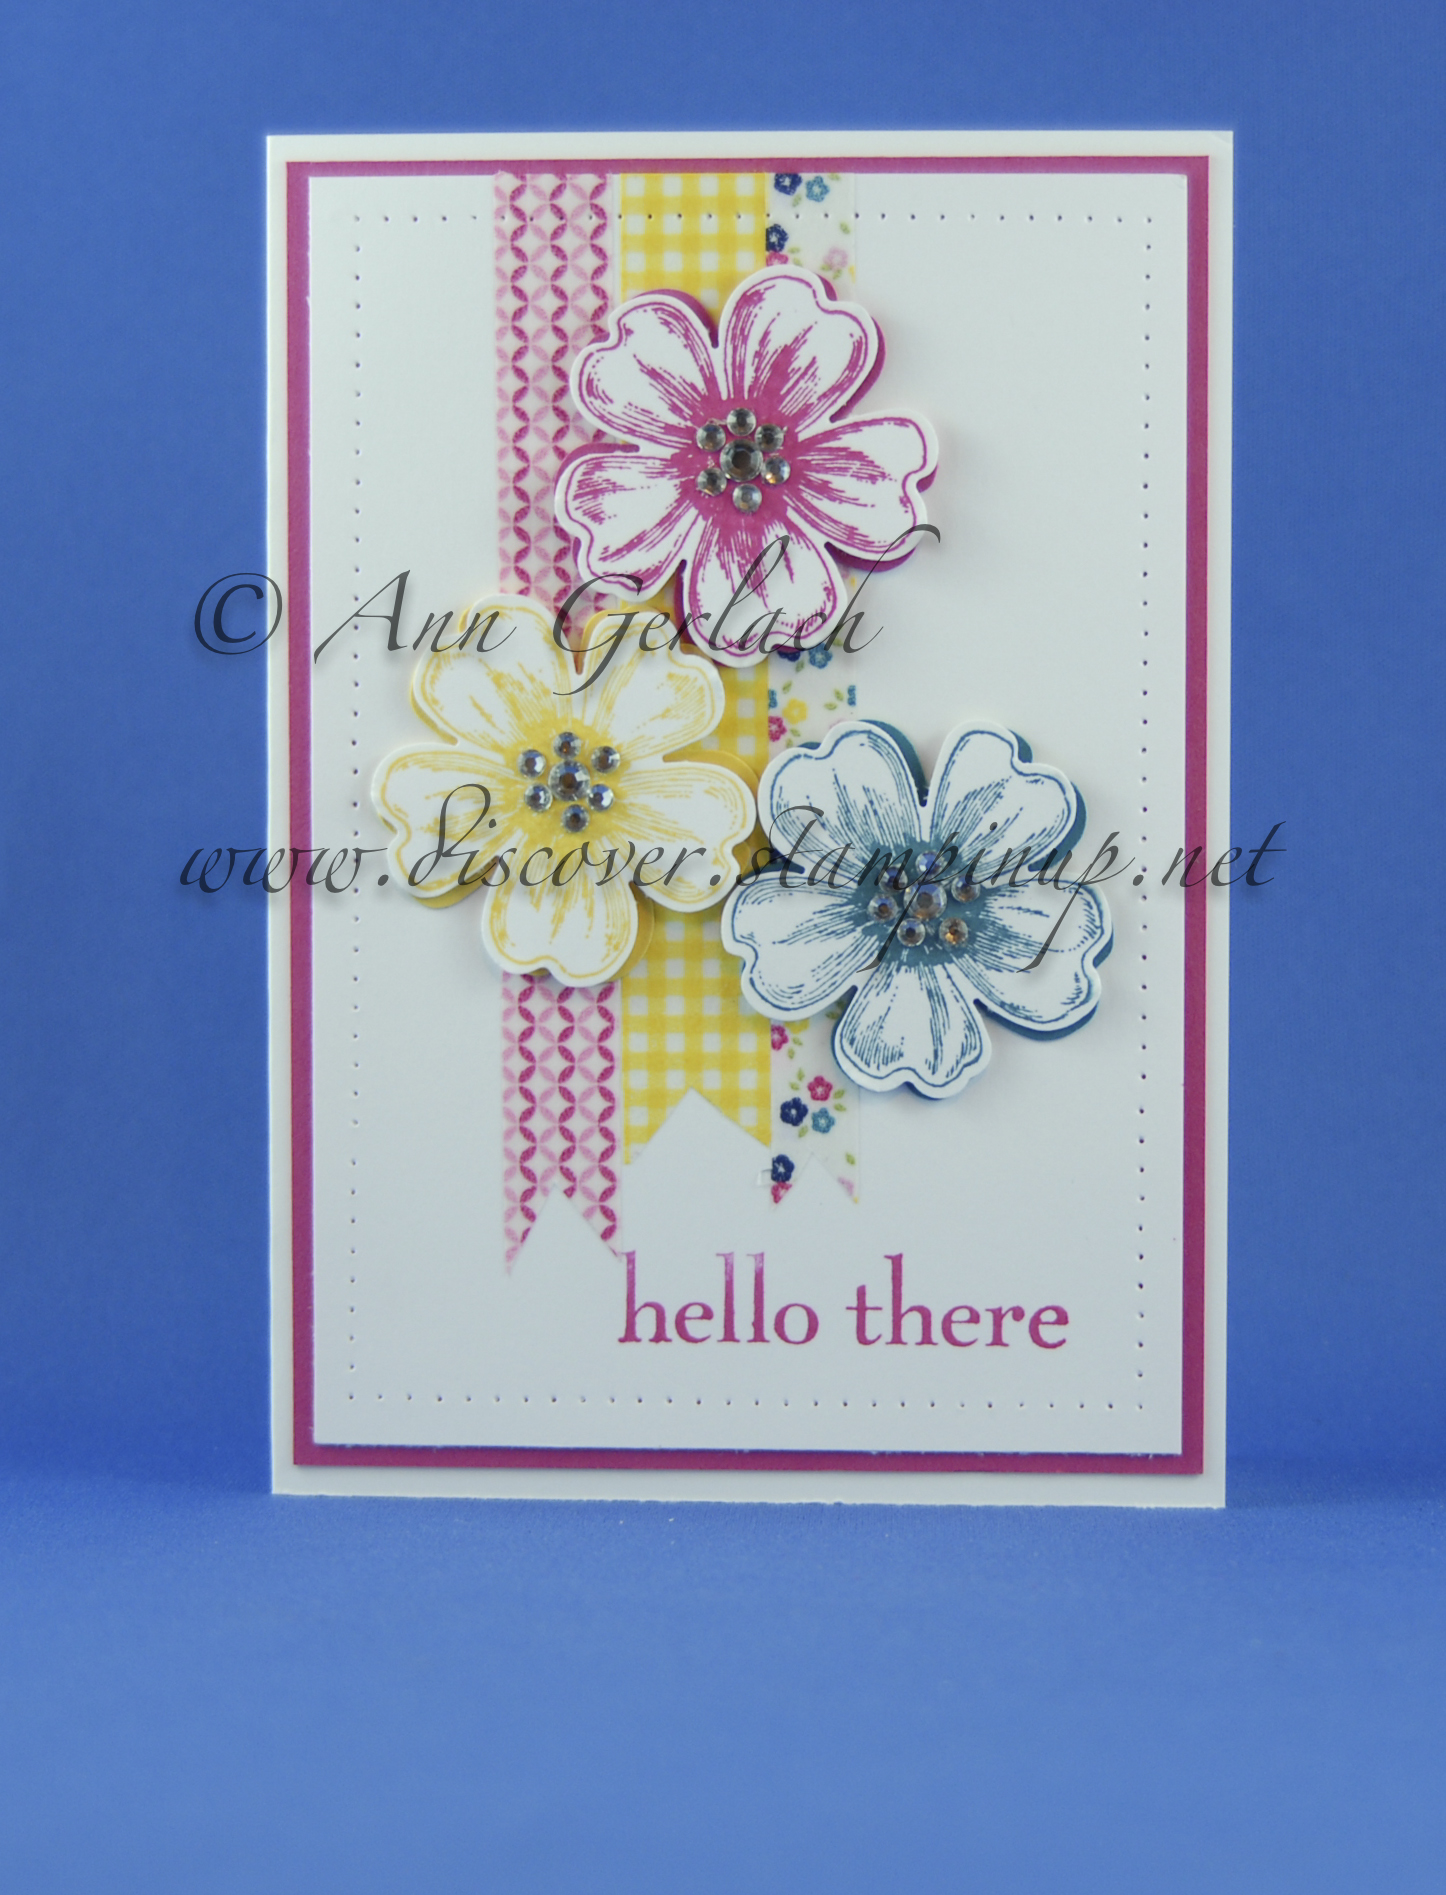
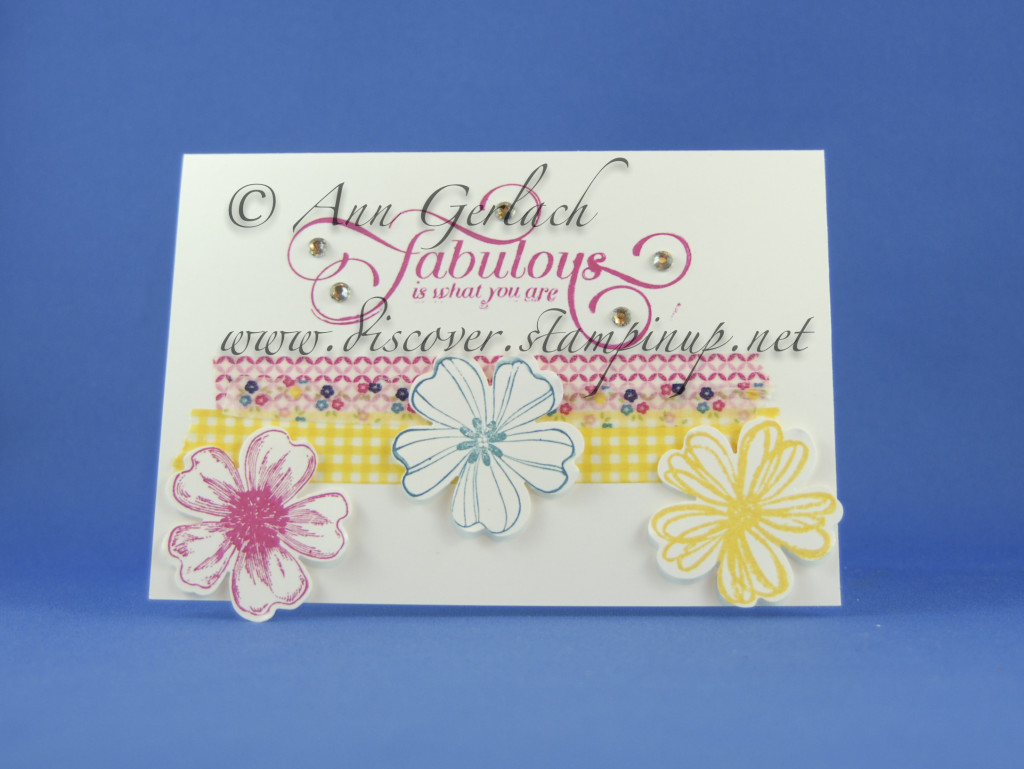
Each term during Crafternoon we generally do some scrap layouts, but some people aren’t into scrapbooking, so they got given a choice – to do a double scrap layout or a set of 4 cards with the same stamp set. Here are the first two cards they made using the Flower Shop bundle – I love stamp sets that have matching punches!
The paper piercing really made this card in my opinion, it’s a super cheap and yet so effective way of really adding detail and wow to a card.
By purchasing the Flower Shop stamp set in a bundle with the co-ordinating pansy punch you save 15%, there are lots of these awesome bundles in the new catalogue, contact me if you don’t already have a copy of the catalogue or you can download it here.
I have a guest stamper today, our 7 year old. On Friday evening after school we went to collect two new little Pekin chicks that are ~6 weeks old to add to our “flock” of 3 (we like to have a succession plan and get a couple of new ones each year). He was so excited about going to school on Monday and telling one of his teachers about it, that also has chickens and has taken an interest in his chickens since he had her as a teacher in Kindergarten 4 years ago. Sadly though we received the very sad news late on Friday night she was no longer going to continue working at the school. Whenever Mrs. B. saw him, she would always take time to chat to him and take an interest in whatever he was doing and remembered things he has told her previously – given the hundreds of students she has taught in the last few decades I am in awe of her memory!
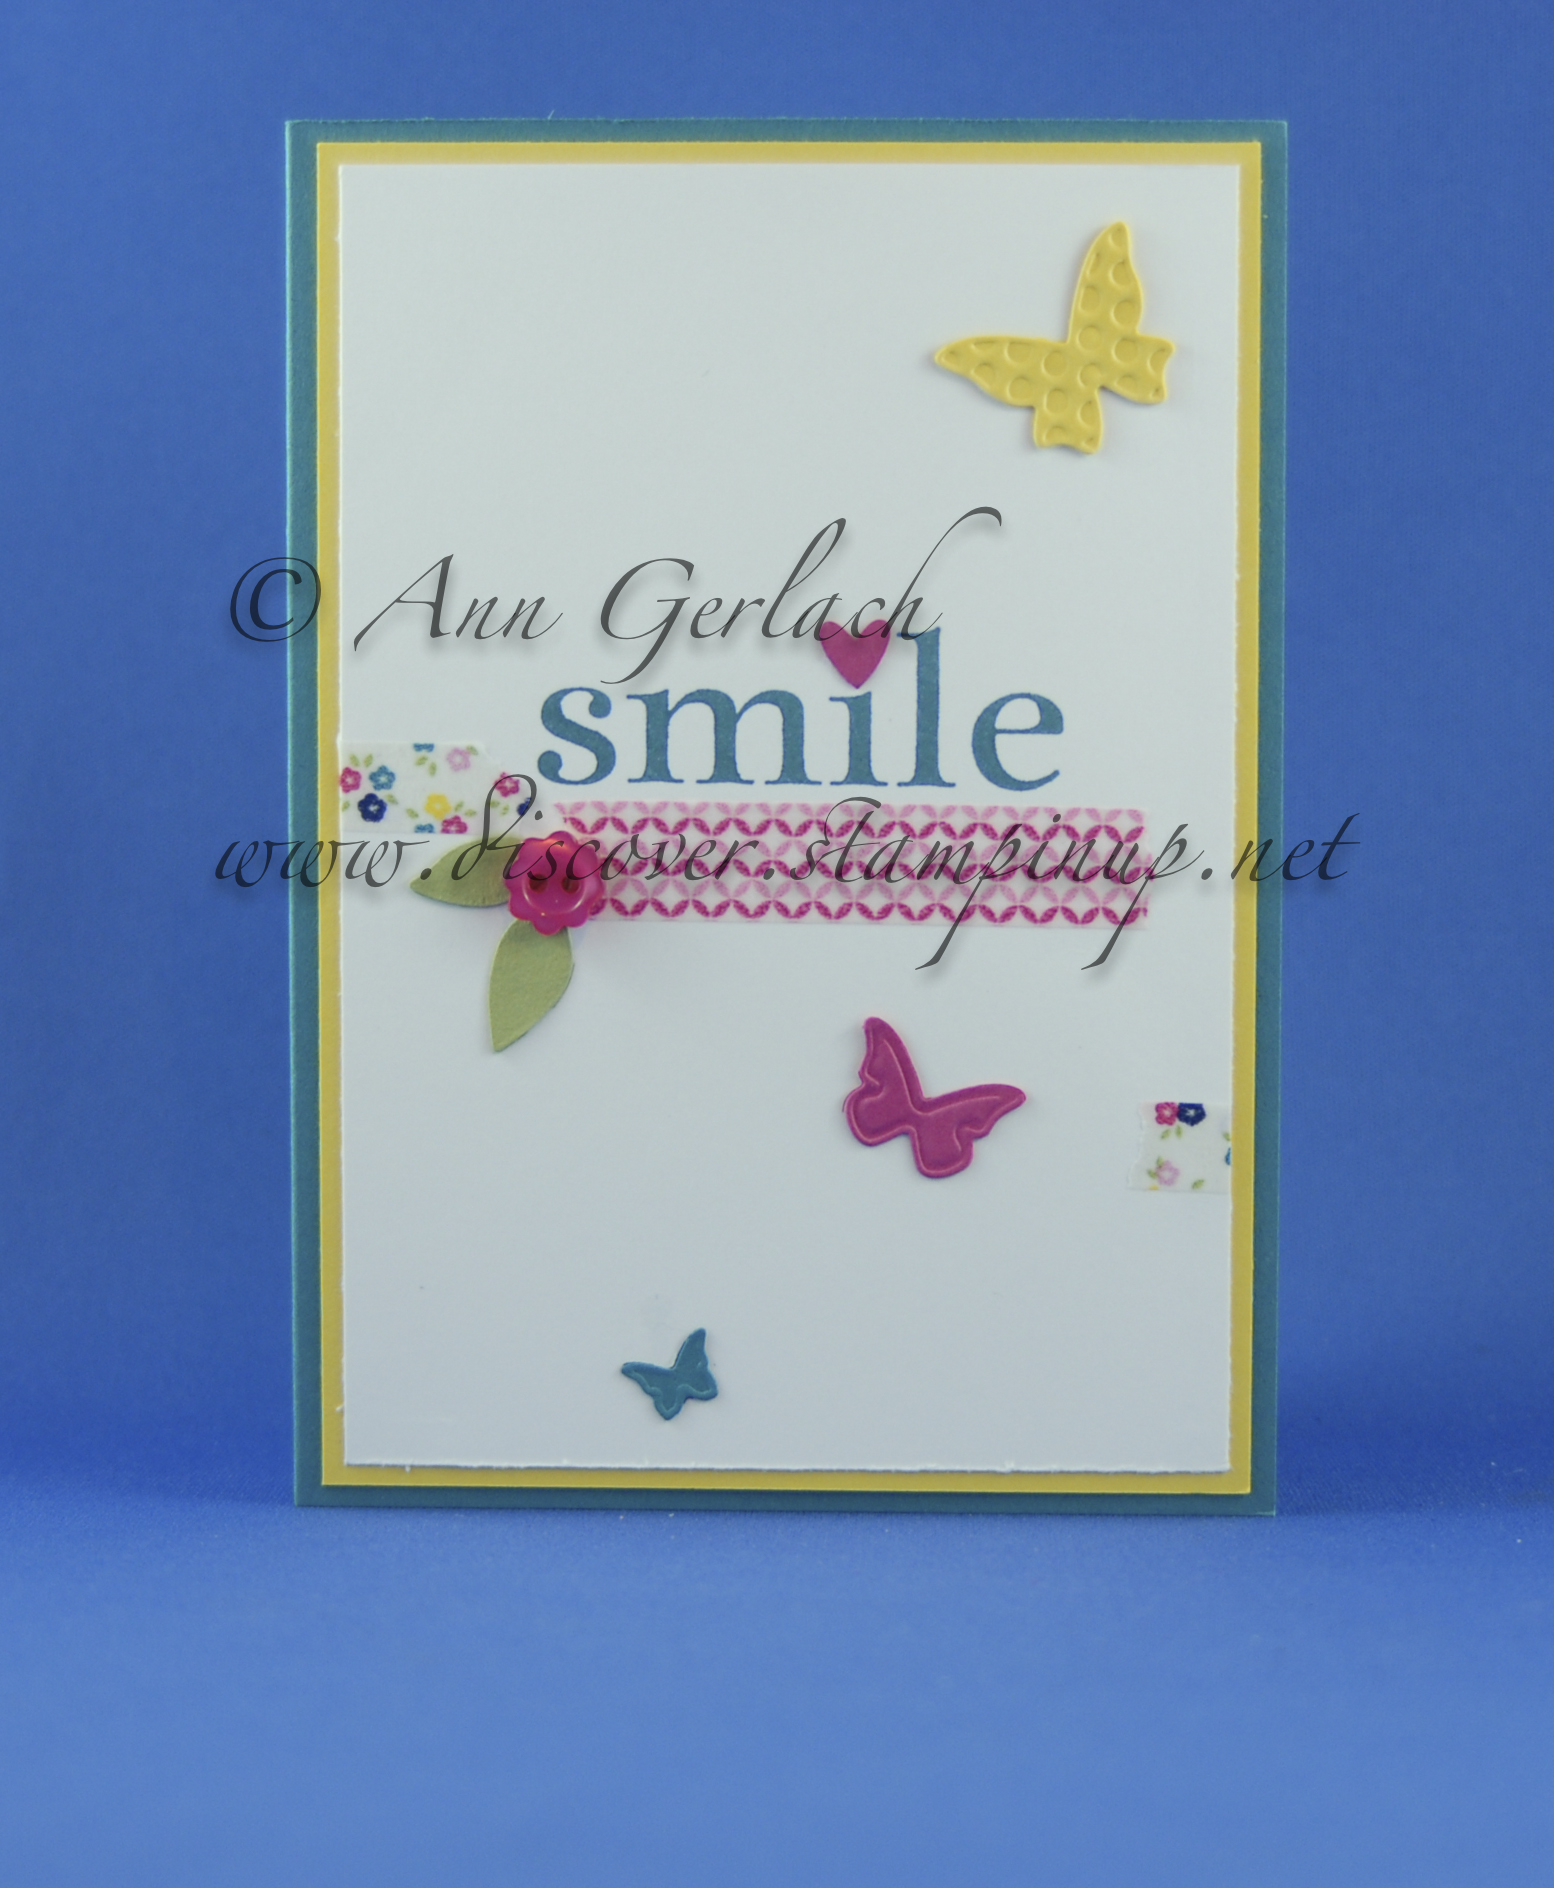
When I was putting stuff away today from last weeks class, he asked if he could make her a card – to ask her to stay at school and not leave (that’s what he wrote inside)……..he used a brand new stamp set (as he liked the fancy writing) and it had to have lots of sparkles and be pink (as apparently girls like pink). The card was designed and made entirely by him – the only parts I helped with were cutting and scoring the base card stock and helping align the flower punch – the rest was all his doing – not bad for a boy who’s only recently turned 7 is it??
The stamp set he chose is called Million & One and I must say that Mrs. B. was definitely one of those teachers that really make a difference – thank you so much for making a positive difference in our son’s life, we’ll miss you a lot in so many ways.
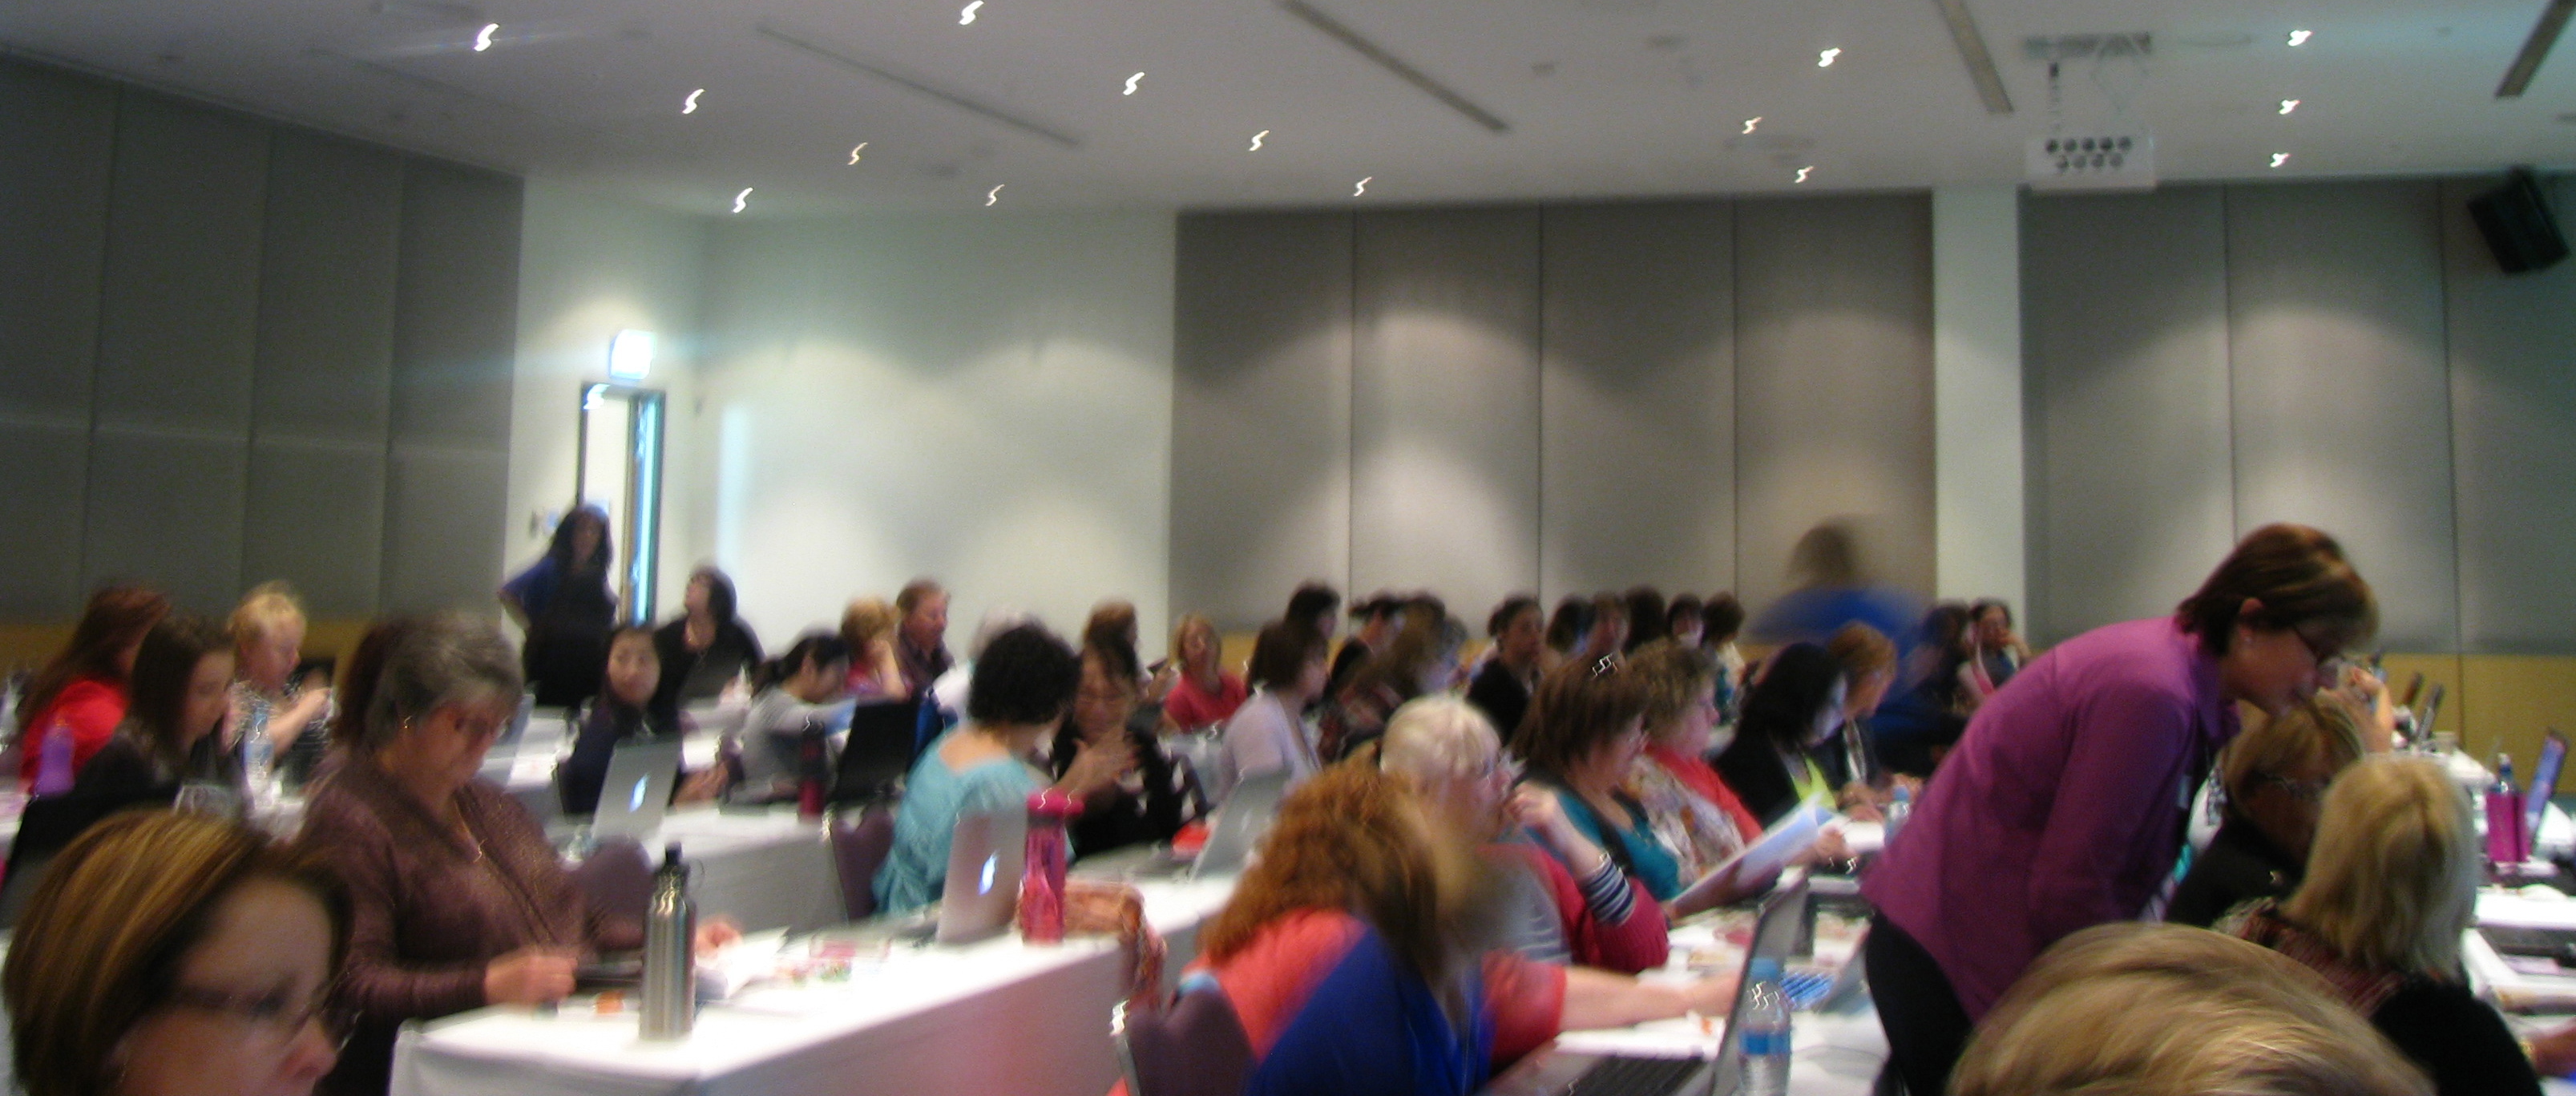
I got to join a host of lovely ladies (and one gentleman) today at the Make A Statement Digital Tour in Perth, the 4 hour training session was suitable for beginners or advanced uses as I think everyone learnt some awesome tips from it!
I’m not entirely sure what the power usage at the Convention Centre today was whilst we all had our laptop computers plugged in, but we had a lot of fun – although of course when you add technology into the mix you always get some hiccups, but the wonderful helpers in the room were on hand to assist which removed a lot of anxieties.
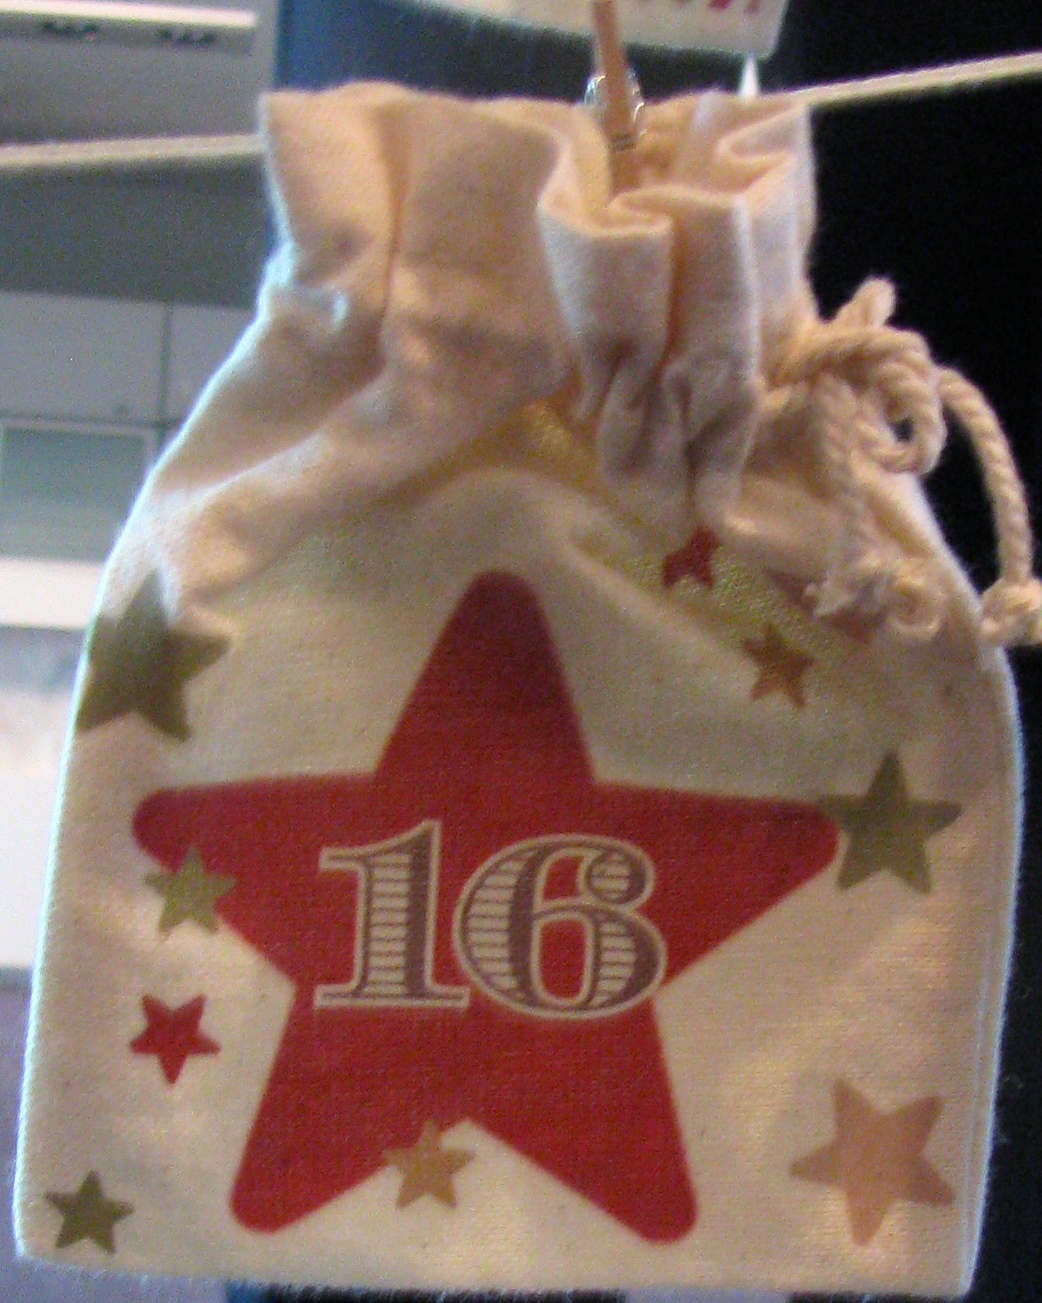
There were some fantastic displays up as well – these included photo books, menu plans, home decor, birthday party decorations, treat packaging, wall prints, cards, tags, bookmarks – honestly the variety of items you can make with MDS is virtually limitless! Here are a few – the first is a sneak peek from the new Holiday mini with fabric transfer paper ironed onto it.
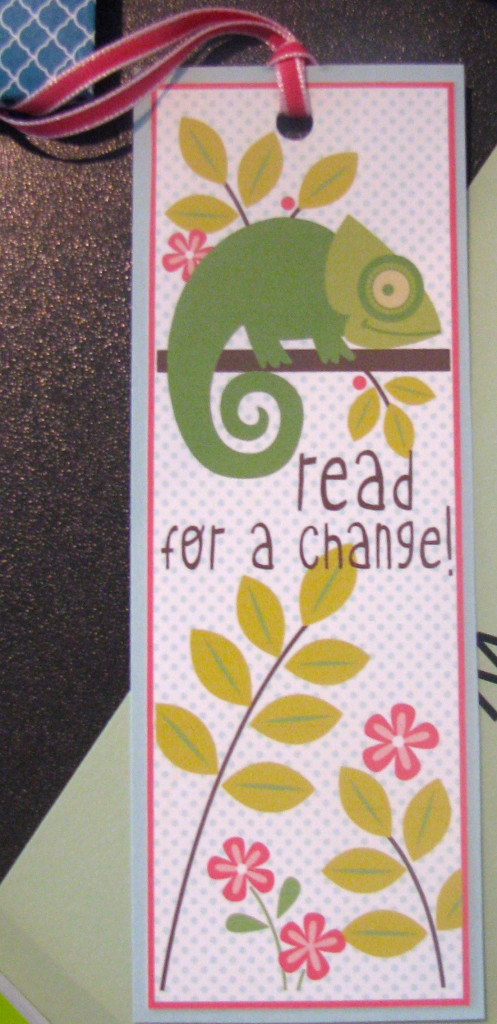
A super cute bookmark from a cute digital download called Book Buddies:
A beautiful framed print
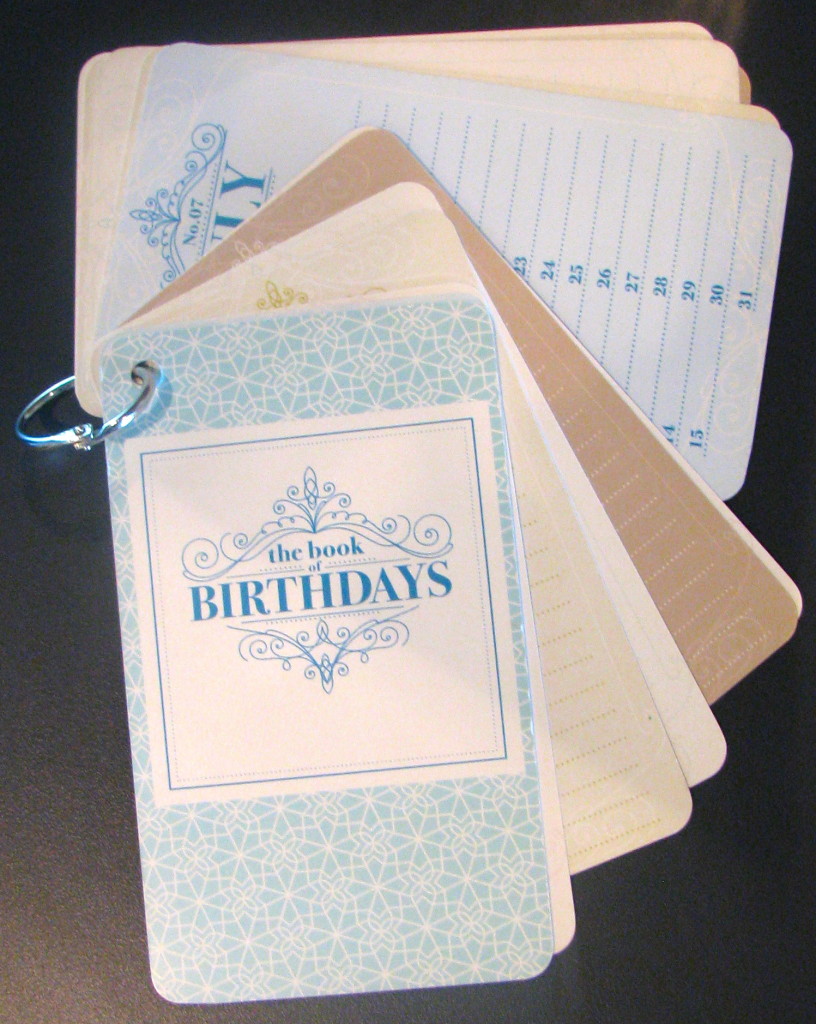
I loved this idea of a birthday flip book – but I think I need more than one line alongside each date!
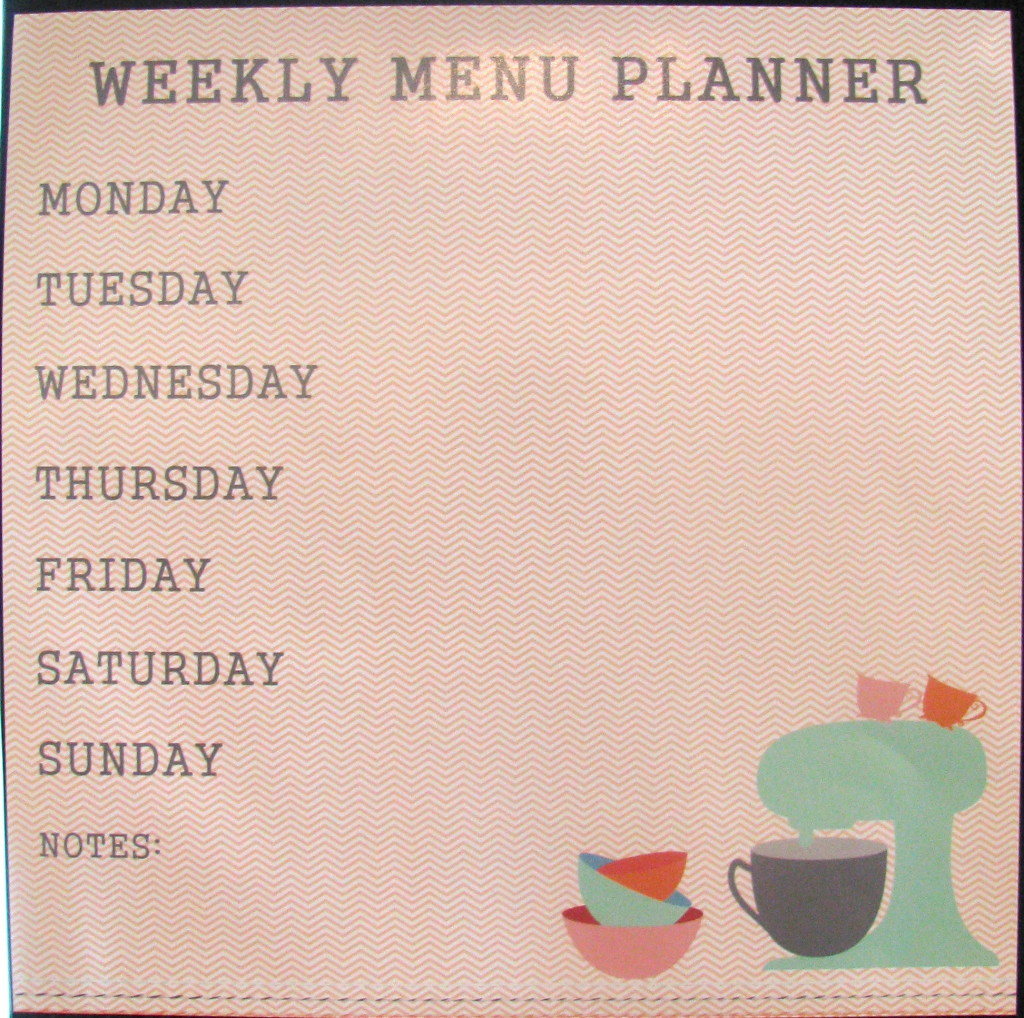
I can totally see this laminated, with a magnet on the back on my fridge or framed and then being able to write on the glass surface with a whiteboard marker – how practical is this?? I think this was a custom creation, but you could also use the templates here if you wanted a quicker version.
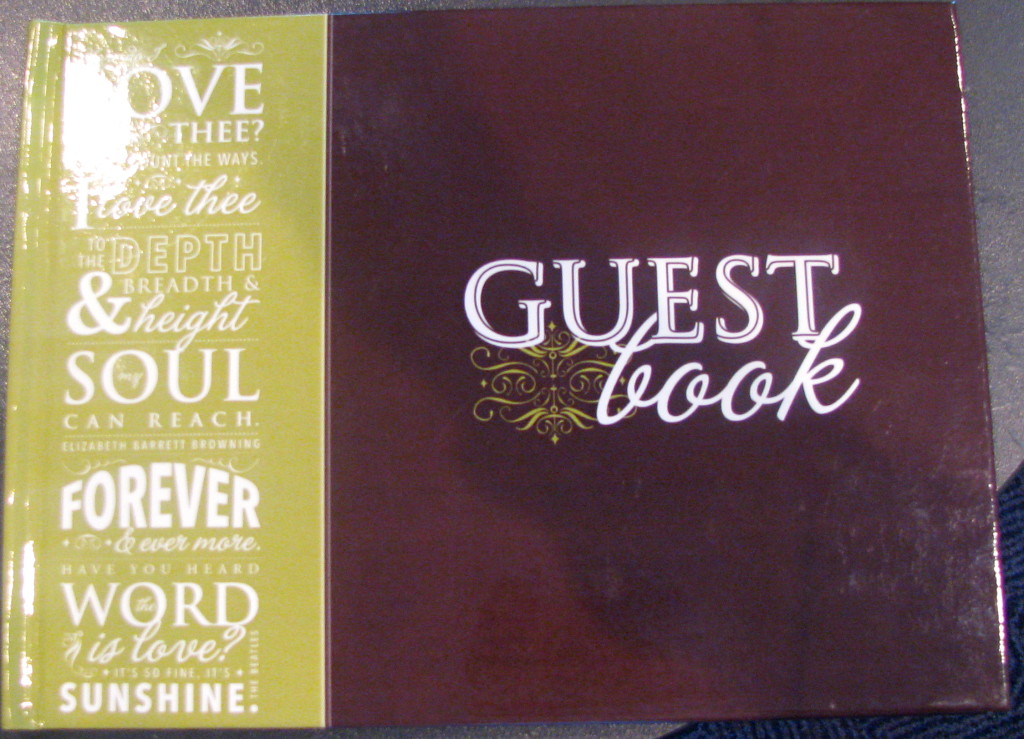
This was part of a beautiful wedding ensemble – that included the invitations, thank you cards, bonbonaires, place cards, table numbers and this amazing guest book (I think it might need a blog post all to itself)
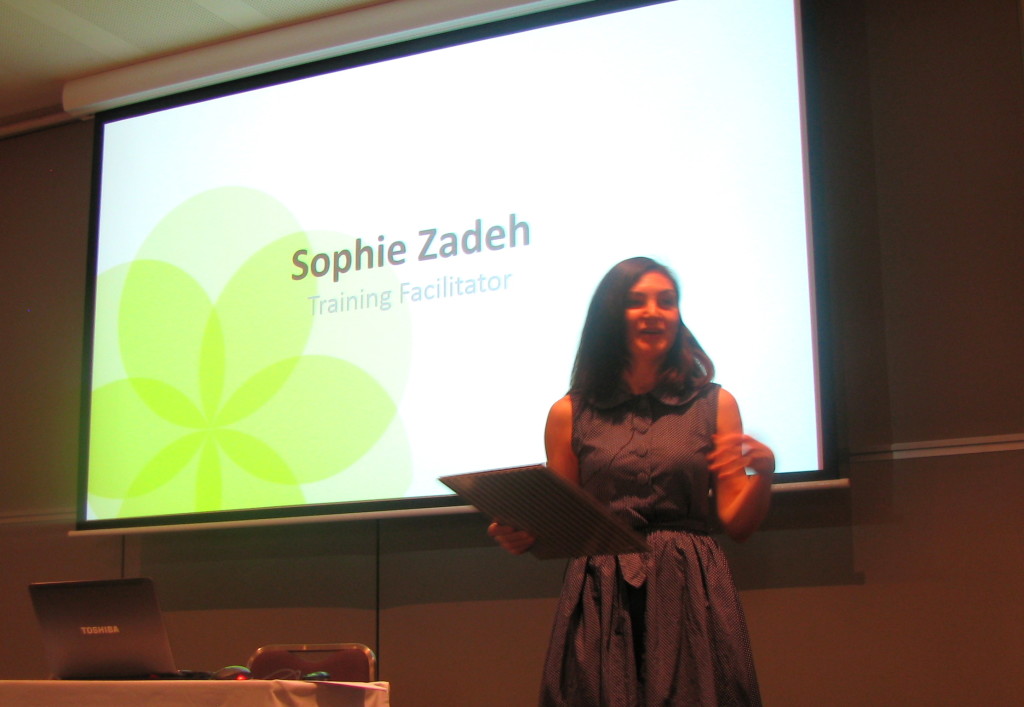
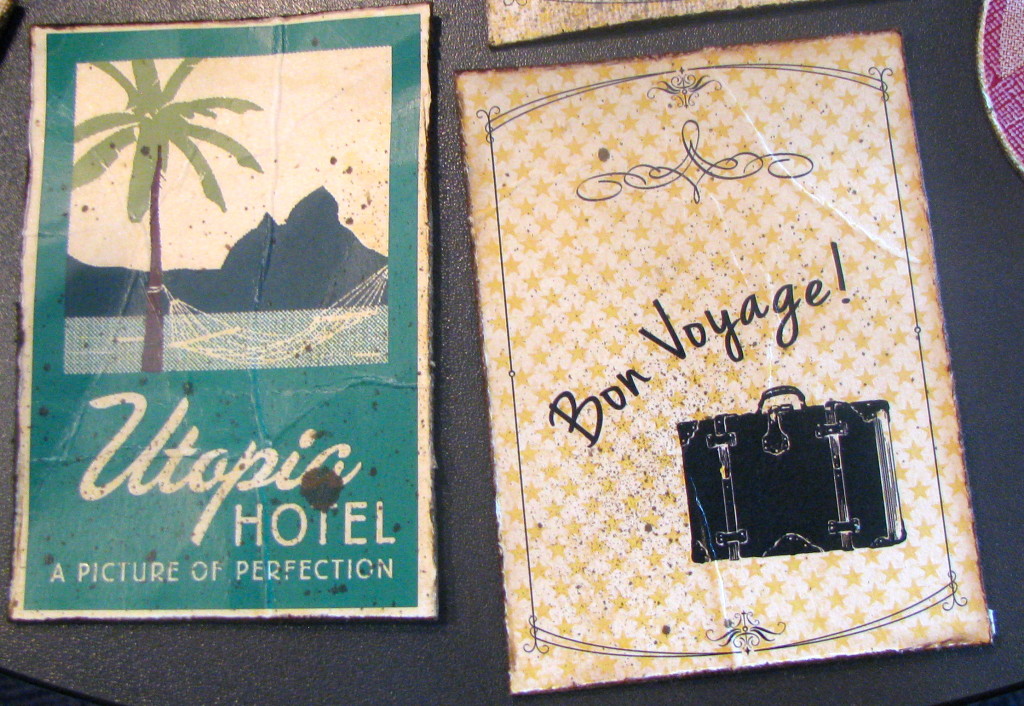
These amazing vintage luggage tags were created by Sophie (one of the presenters above)
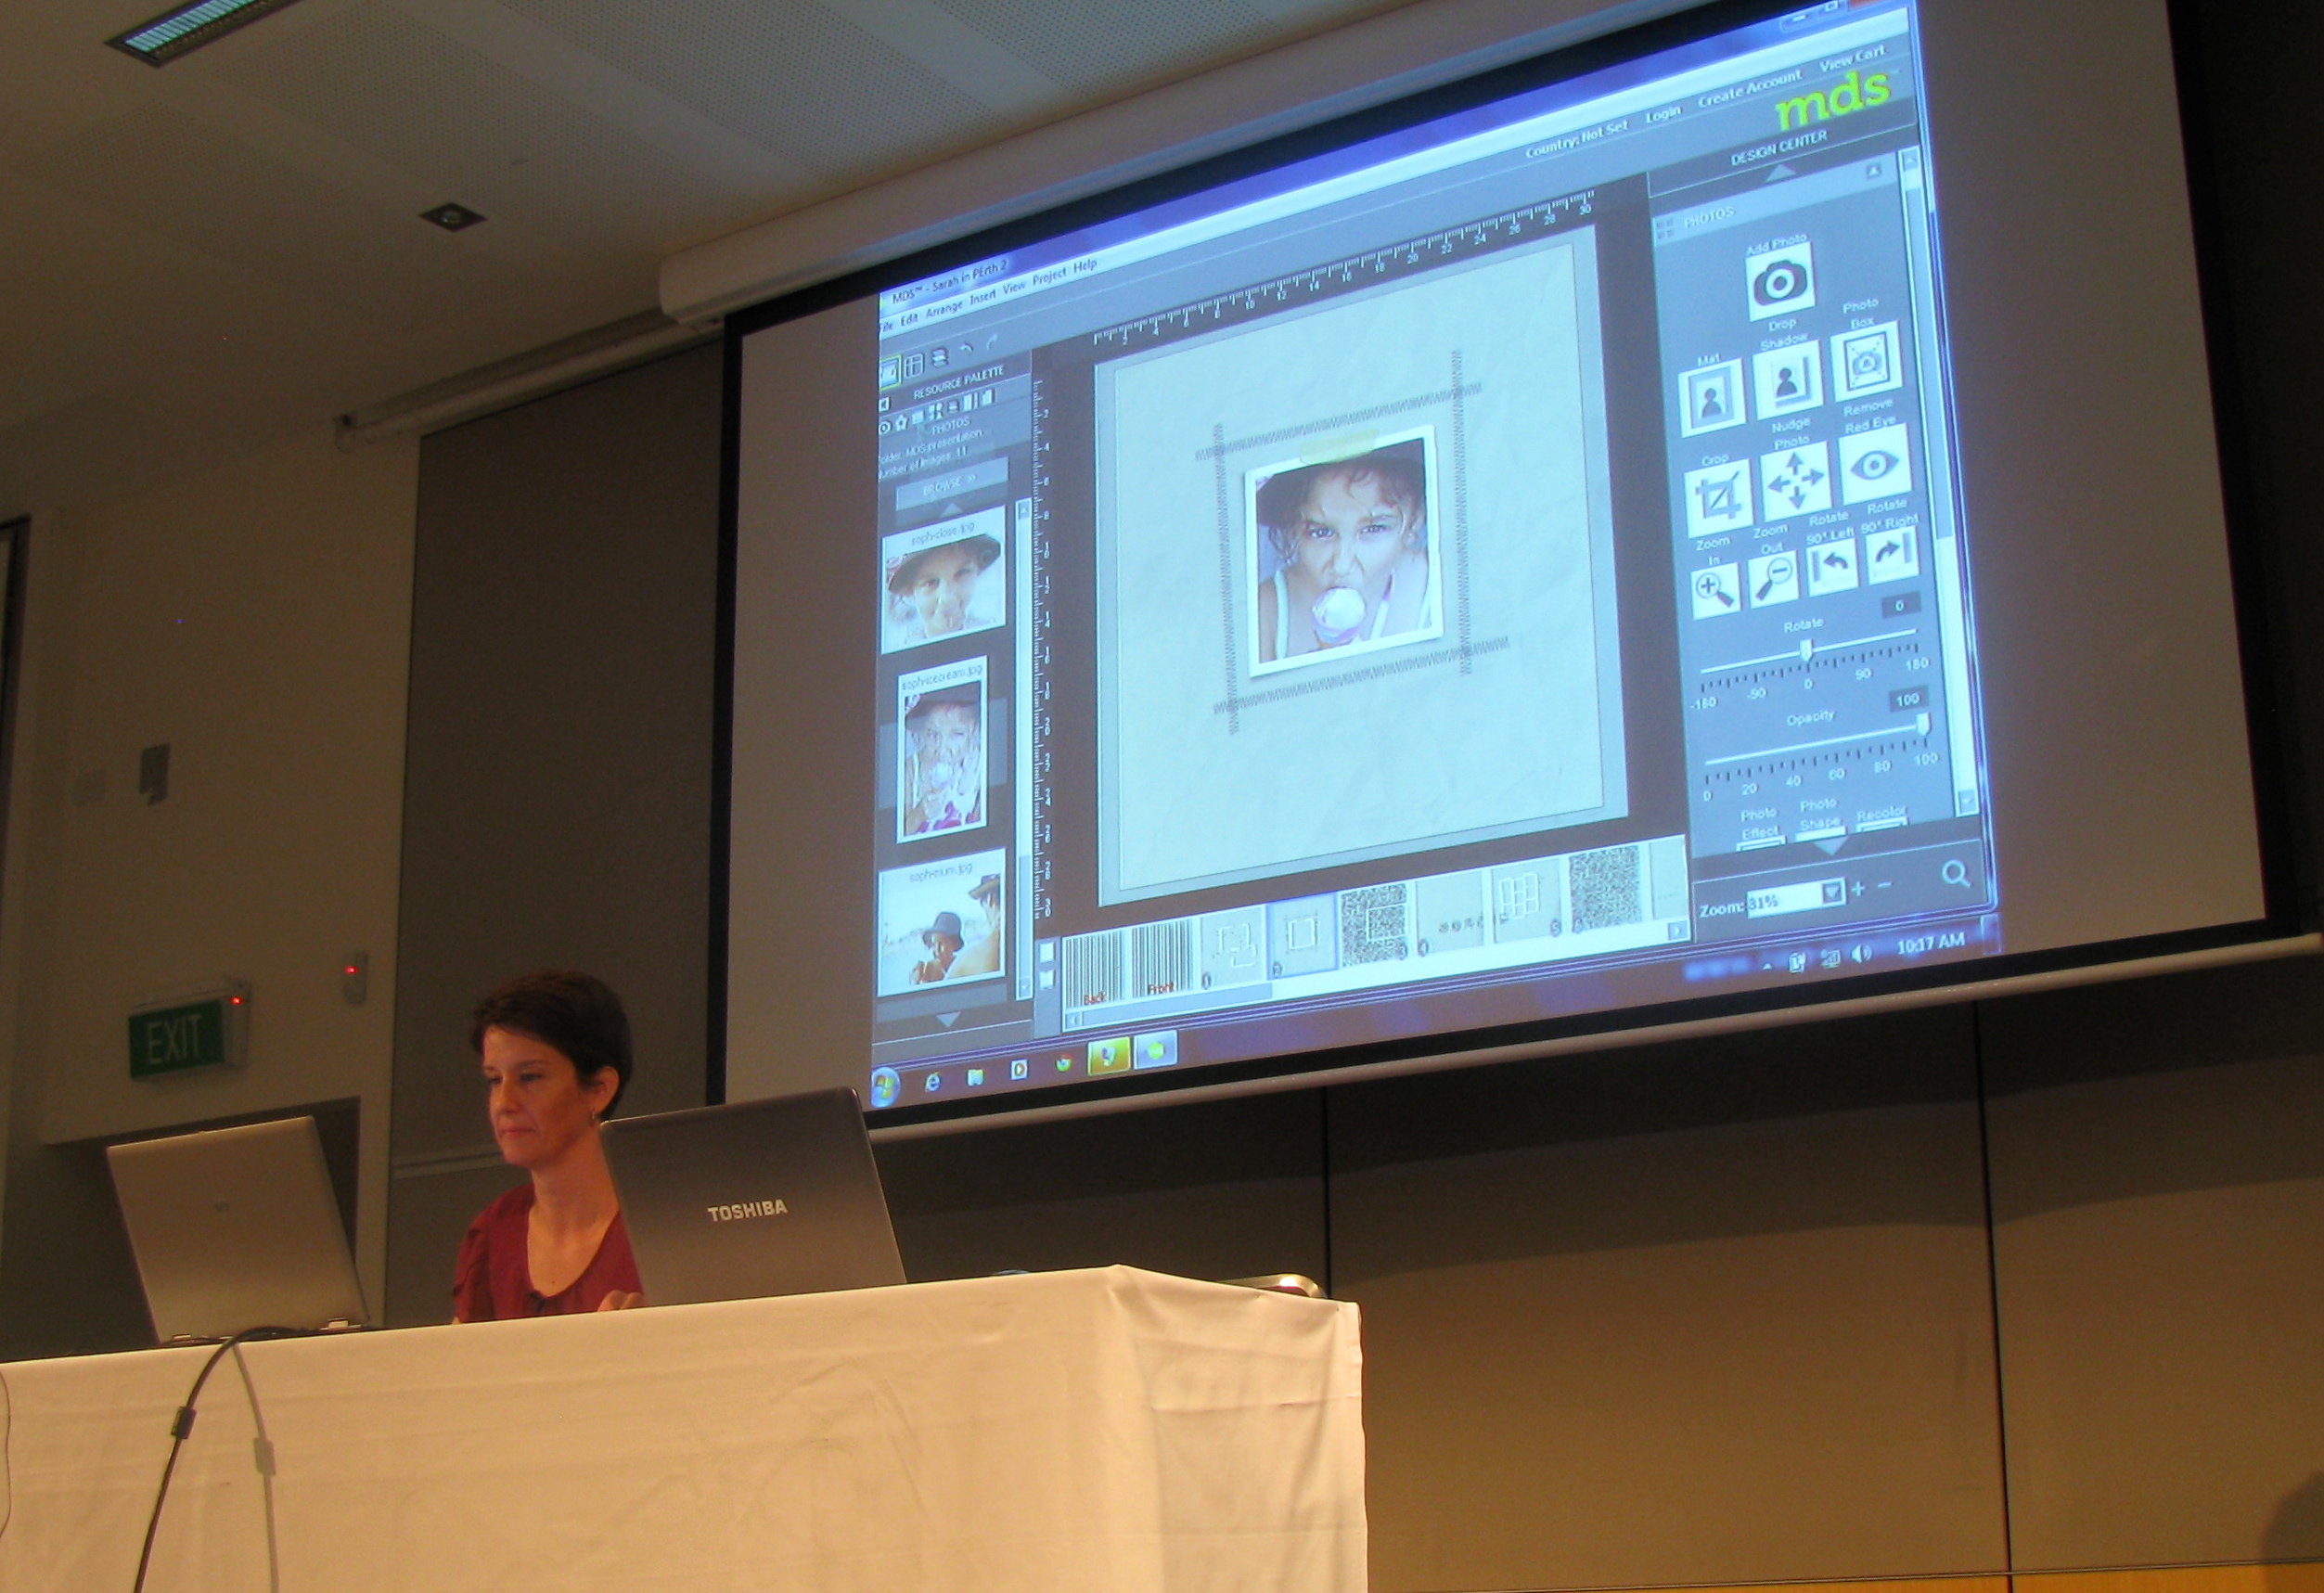
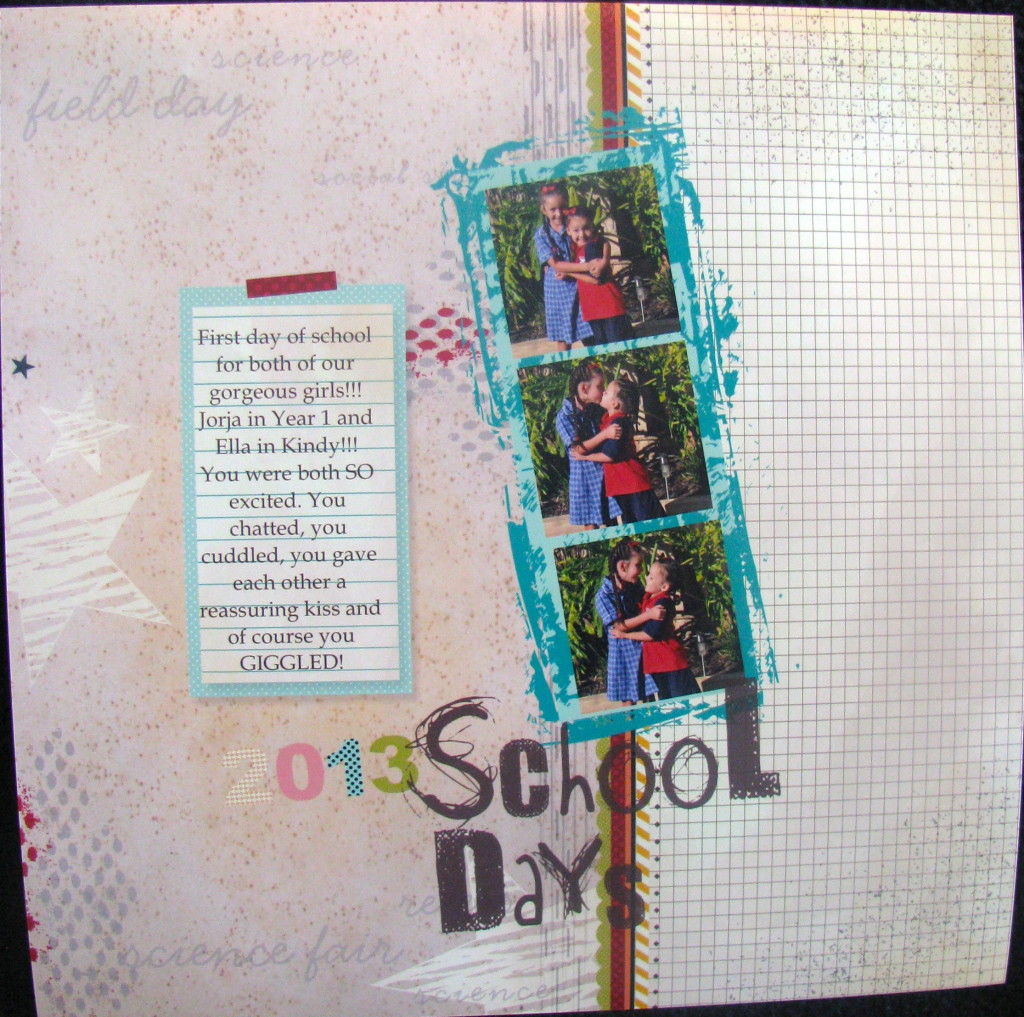
and of course My Digital Studio can do scrap pages, this one I think was done by Sarah (the other presenter pictured above) using an ensemble called Back to School
The wonderfully generous Stampin’ Up! gave away some prize patrols of a new stamp and accessories from the Holiday mini catalogue being released later this week, plus every attendee received a copy of the new mini catalogue and we ALL received a FREE digital download! I’ll post more ideas, tips and inspiration from the Make A Statement Digital Tour in Perth later this week and if I get some time to finish a couple of the scrap pages we were using for training I will post those as well!
I love roller wheels – they are so much fun, but I confess that I don’t use them as much as I’d like to as I seem to reach for block mounted stamps before I get my wheels – I think I might have to make a conscious effort to change this behaviour though!
You can see Carrie Cudney demonstrate some basic techniques on using them here
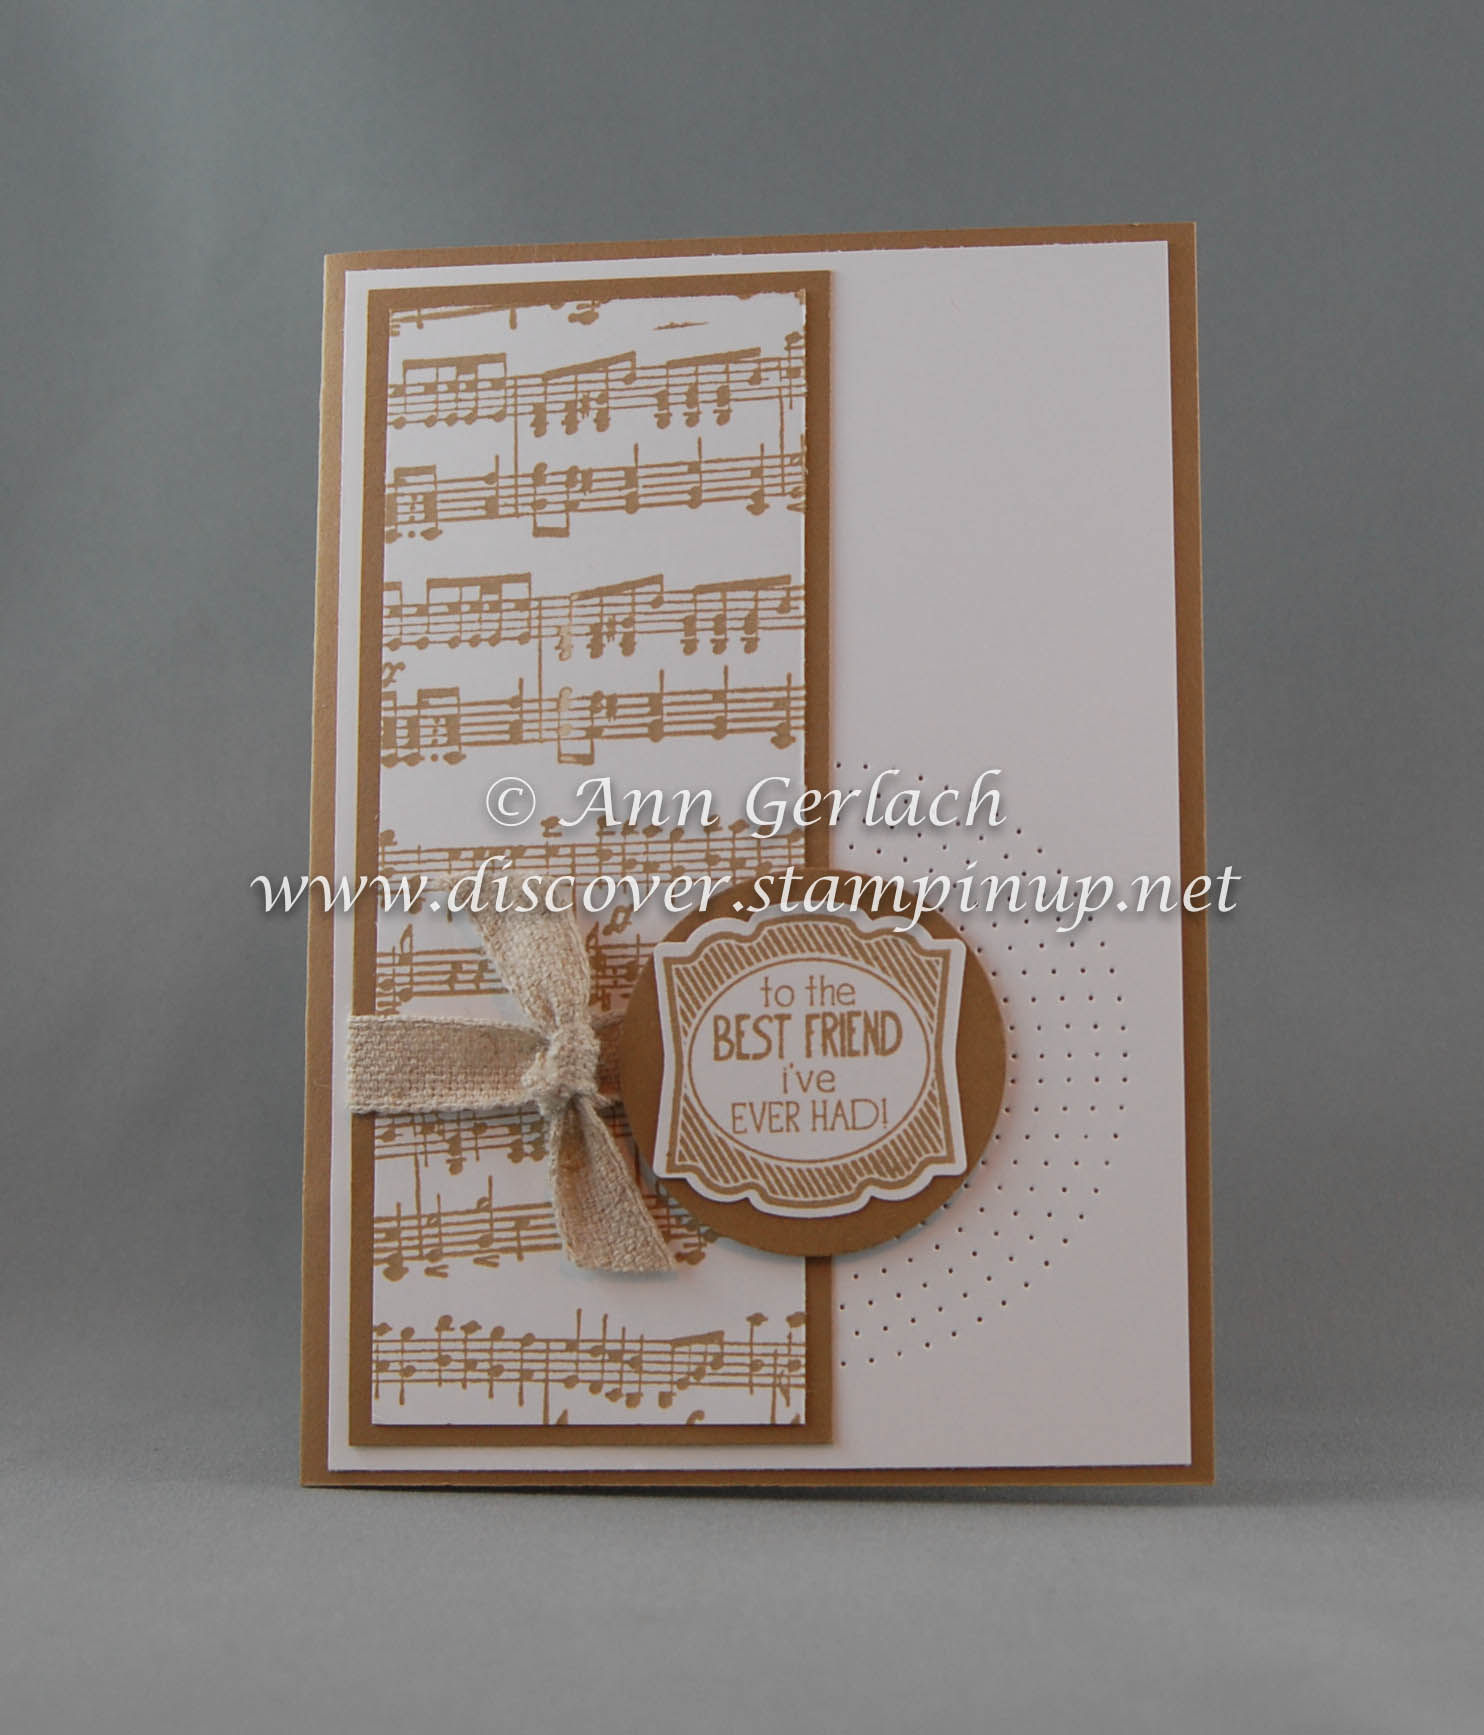
I have also blogged a few times about roller wheels previously here, here and here. Recently I also used the music roller wheel to make this card with some paper piercing and a Label Love greeting, CASEd from a card on Pintrest.
Stamps: Label Love & Music Notes wheel
Ink: Baked Brown Sugar
Card Stock: Whisper White, Baked Brown Sugar
Accessories: Dimensionals, paper piercer, Artisan Label Punch, 1 3/4″ circle punch, Essentials Paper Piercing pack, paper piercer, 7/16″ natural trim.
I have watched this video clip three times now, the first time in May at the Brisbane Convention with 700 other demonstrators, the second in Salt Lake City with over 6000 demonstrators and the third time on my own – the impact of the message has not diminished as all. Stampin’ Up! has helped to empower and enable these really special individuals to make a difference in so many lives – I would love to hear your comments on this clip.
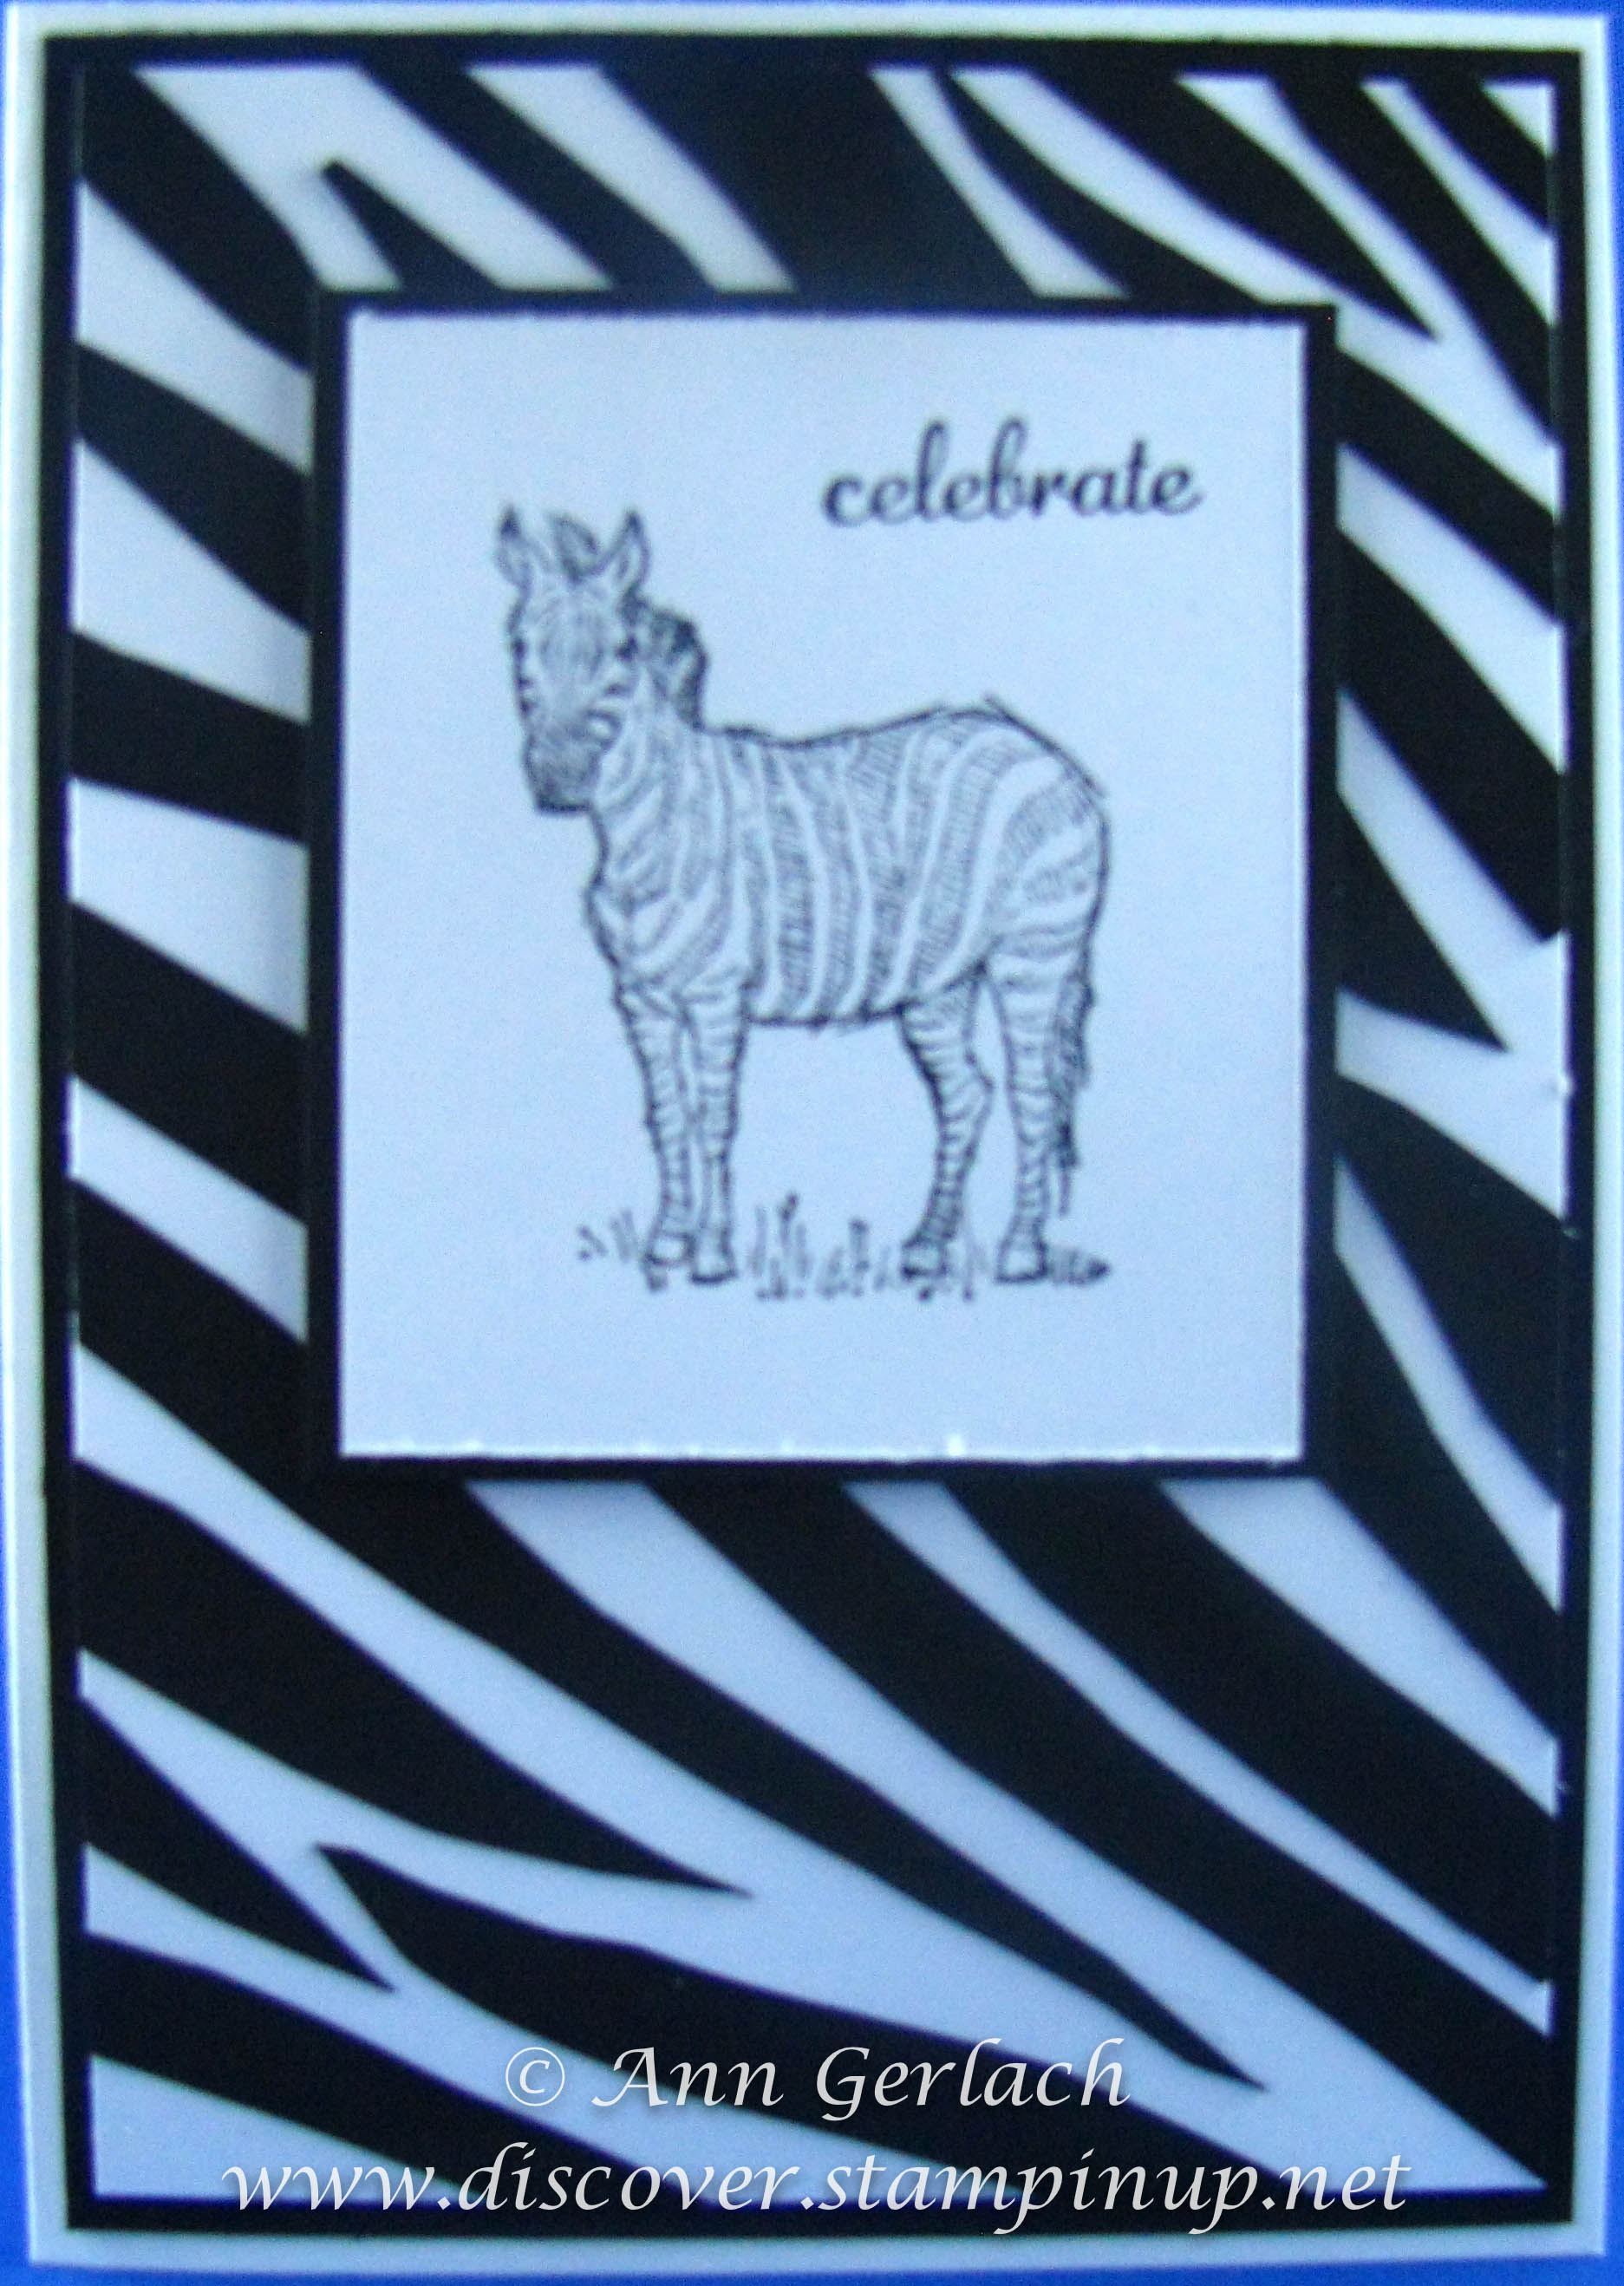
This was a simple card we made today that uses up lots of thin scrap strips – which I always seem to have in abundance! It is as simple as tapering the strips and gluing them down with your favourite adhesive. I tend to either use Tombow glue, but others use the 2-way glue pen or the glue sticks for this, it really is a case of use which ever you have on hand.
The strips are cut and glued and the edges left over hanging until the entire card front is covered in zebra stripes, then turn the panel over cut the edges flush. I find this the best way for getting a neat edge to the front panel. The sentiment is from a new hostess set Express Yourself which has a great variety of greetings for all occasions (if you’d like to host a party to earn this set for free give me a call). I debated adding a flagged greeting or a button to the card, but decided in the end to leave it clean and simple, but you could dress it up a bit if you prefer.
A little bit of time/patience and you have a unique background to showcase a great stamp!
Stamps: Zoo Review, Express Yourself
Ink: Black StazOn
Card Stock: Basic Black & Whisper White
Accessories: Tombow glue, paper snips, Dimensionals
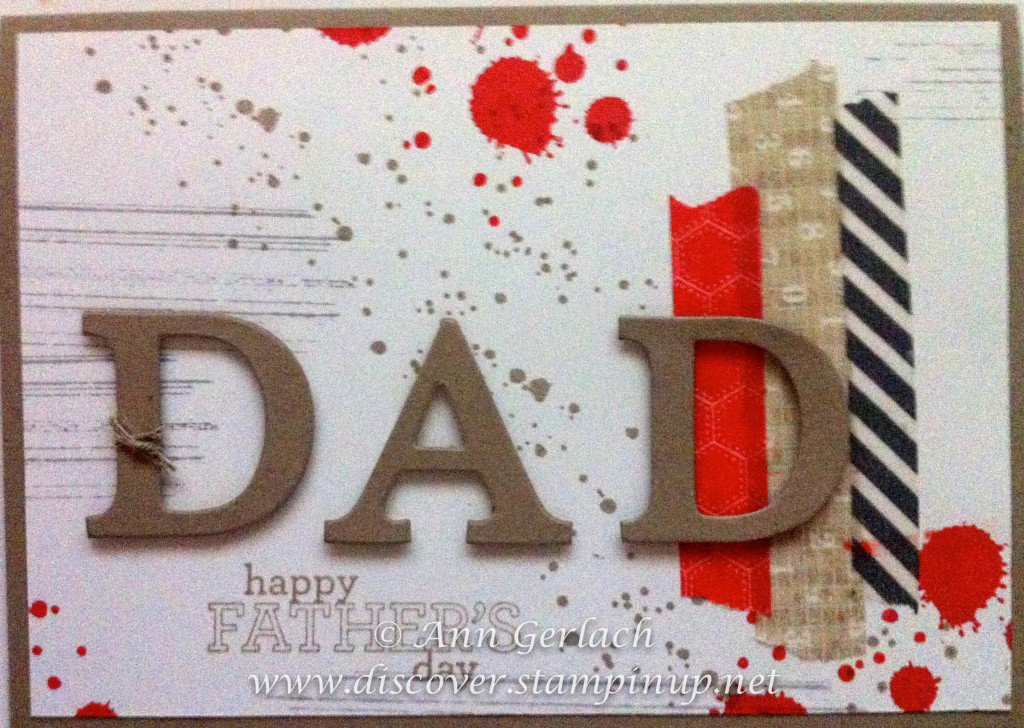
We have a fun masculine class coming up this Tuesday and one of the cards is this one below – suitable for Father’s Day. Such a fast card to make – the colours were taken from the Washi Tape – what do you think?
Want to join us to make this and 3 other masculine cards this week with everything provided including creche and afternoon tea? I hold classes every Tuesday afternoon during school term (yes we’re finished in time for school pick up) or if you just want some dedicated craft time to work on your own projects you are welcome to come along as well! Check out my term 3 calendar here, of course if you can’t make it along during these class times, get 3 friends together and I will bring the class to you!
I got to meet some of these amazing demonstrators in July at the US Convention and I have to say personally for me – Stampin’ Up! isn’t just a business, it’s definitely my passion……..
Interested in joining my stamping team and becoming part of the Stampin’ Up! family? Click here for more details or give me a call 0421 482 578.
I was fortunate enough to receive the Tape It stamp set as part of the tour of the manufacturing plant in Kanab, Utah and the same week Stampin’ Up! released this You Tube video for ideas using it! There are currently also two sets of Washi Tape available, the This & That designer series and the Gingham Garden set.
How much fun is this set – can’t wait to ink mine up when I get home!
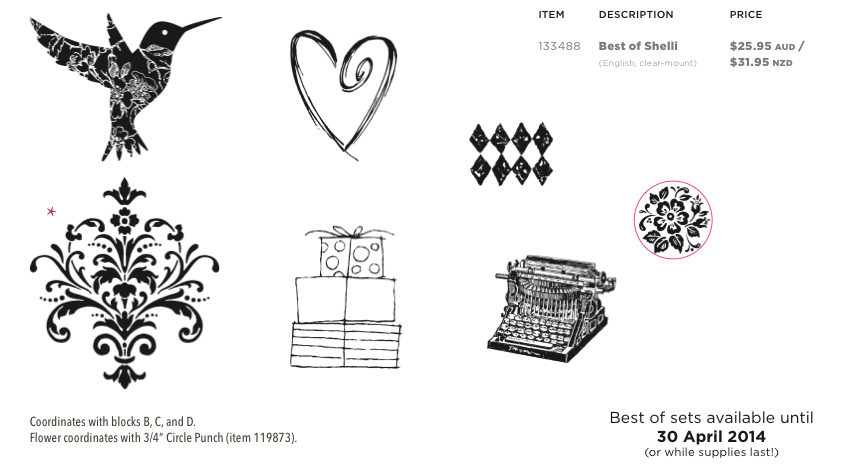
As part of Stampin’ Up!s 25-year anniversary celebration, they have brought back some of the favourite stamp images from the last quarter century. Even better, along with some great classic images, each “Best of” set will also include a never-before-seen image!
This month the collection is Shelli’s favourite stamp images these are available from now until April 30th 2014 (or until sold out) and are only available in clear mount. The set is $25.95 and is code 133488, you can order it online in my store now or contact me and I can place the order for you. If you are ordering online you can use the hostess code QJNSV4NV.