
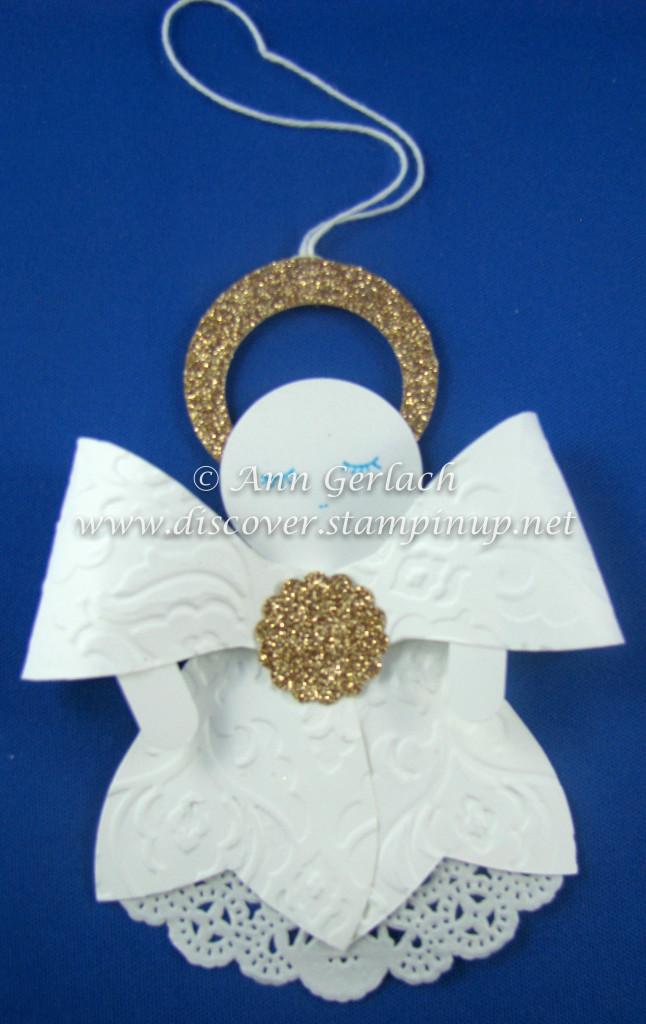
So I made up several kits to make these cute little angel ornaments for a class before Christmas with a great group of ladies from a local church group. The bow die didn’t really grab my attention very much when I first saw it in the catalogue, but then I saw lots of different things made with it (other than bows of course) and now I am so glad I bought it. It is in the current Holiday catalogue which finishes at the end of this month – so if you were debating the purchase of this one purchasing it sooner rather than later might be a good idea as we haven’t been told if it is going to carry over into the next main catalogue yet or not (fingers crossed it does as it also makes a super cute Santa that I ran out of time to add to my class list so hoping I can add it to one in July as a Christmas in July theme).
They are quite easy to make, I use Tombow glue to stick them all together as I find that works well for all the different papers used.
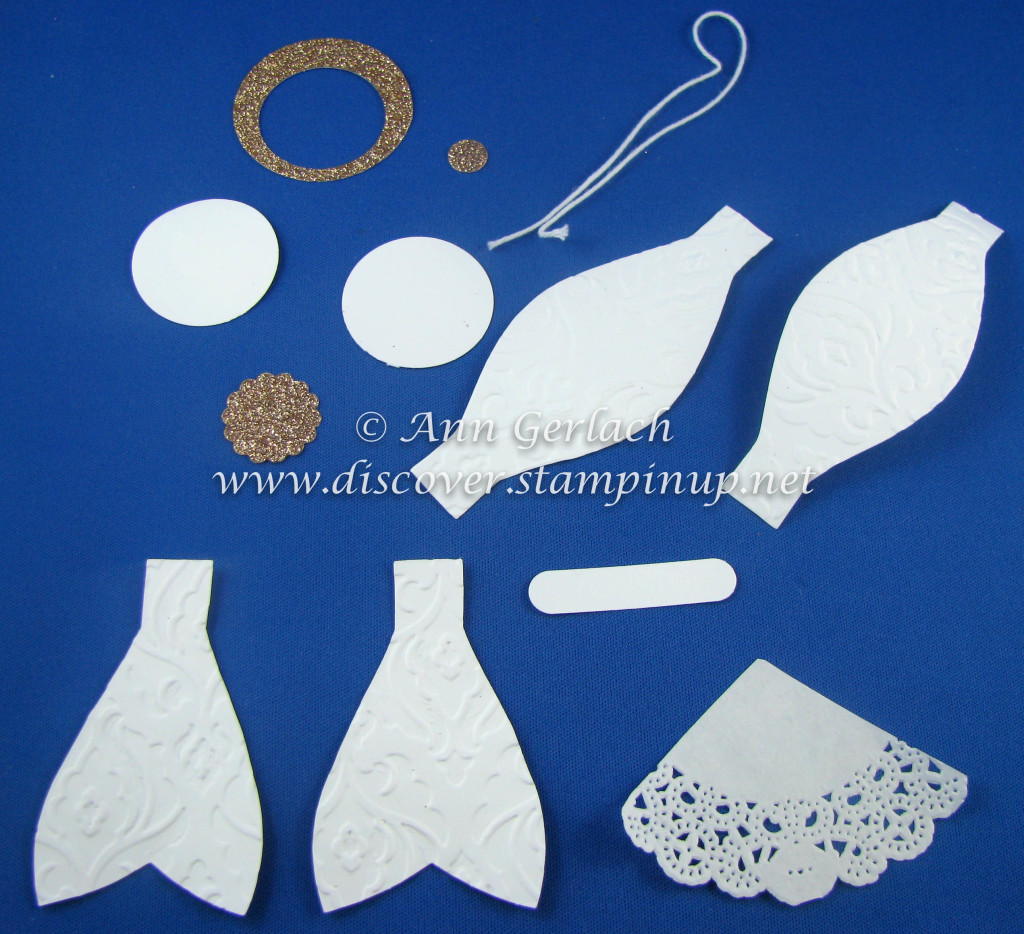
Here is a picture of all the different elements I used. The champagne glimmer paper was punches using the 1 3/8″ circle punch, then over punched with the 1 3/4″ circle punch for the halo. The small circle was from the bitty punches triple pack and the small 7/8″ scallop punch was the last piece in that paper.
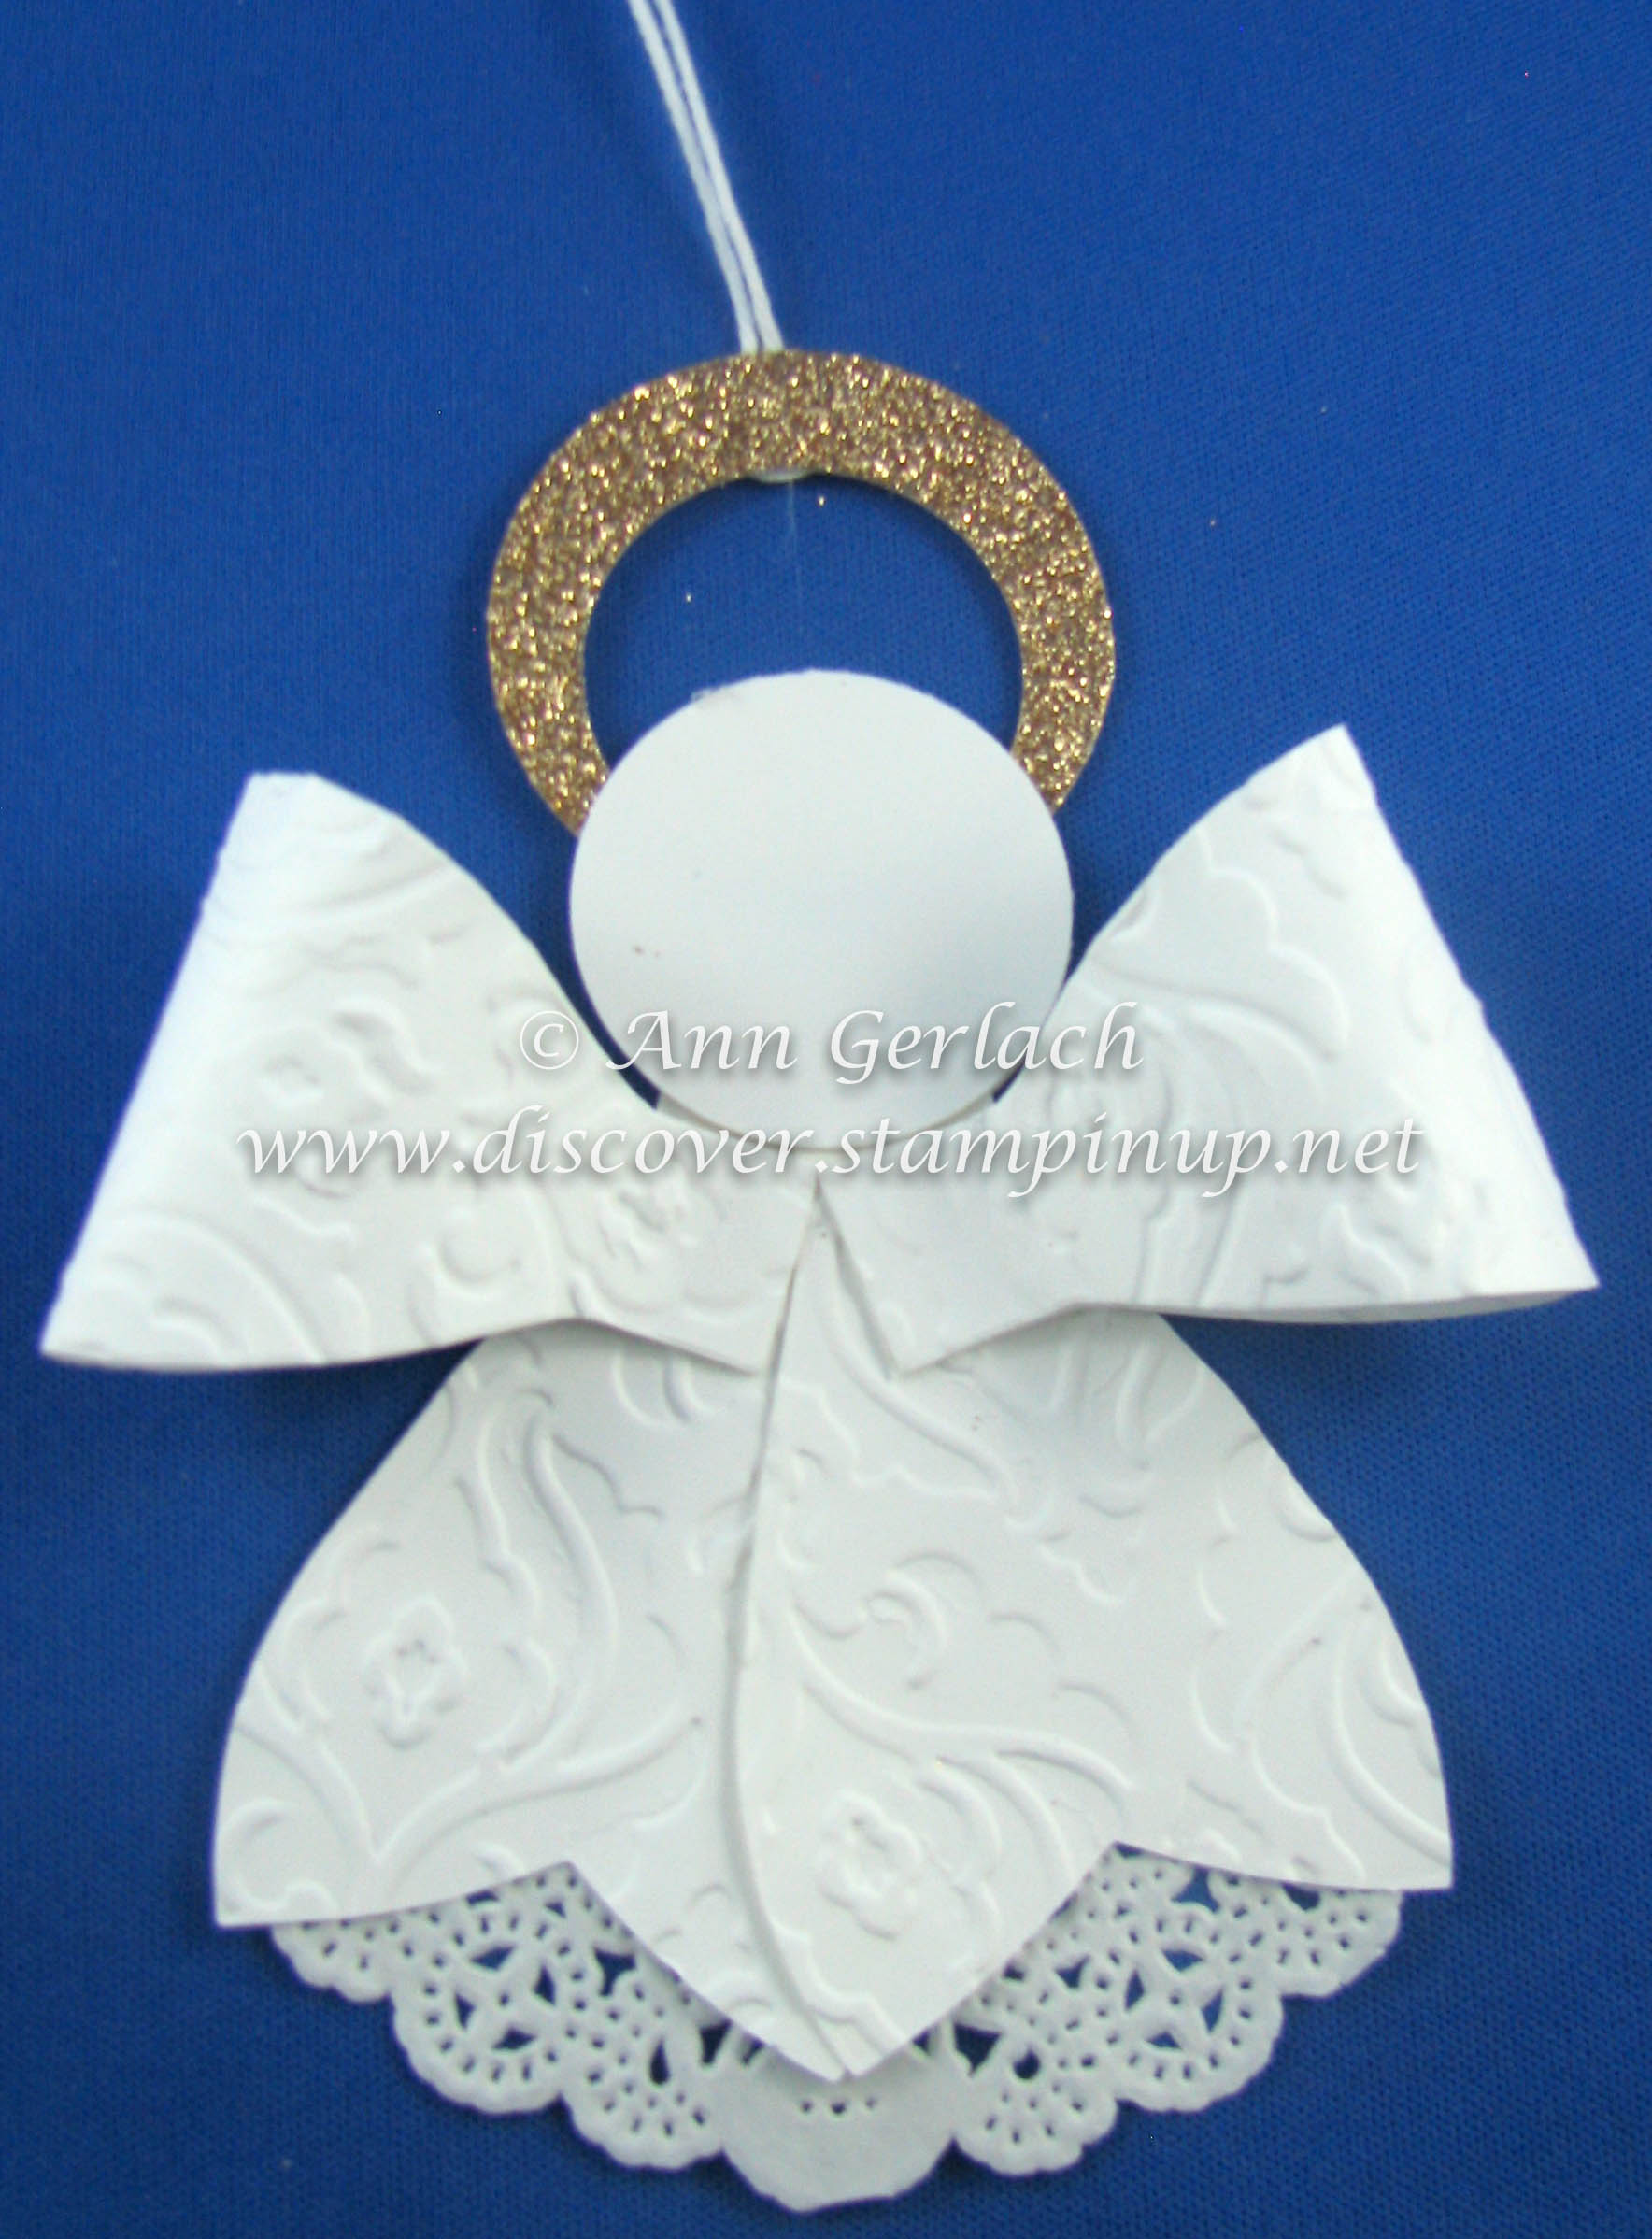
The white circles are 1 1/4″ and the arms from a word window punch. The lace underskirt was a third of a tea lace doily and a 20cm piece of white Bakers twine to suspend them. I chose to emboss the Whisper White bow die pieces with the Beautifully Baroque embossing folder.
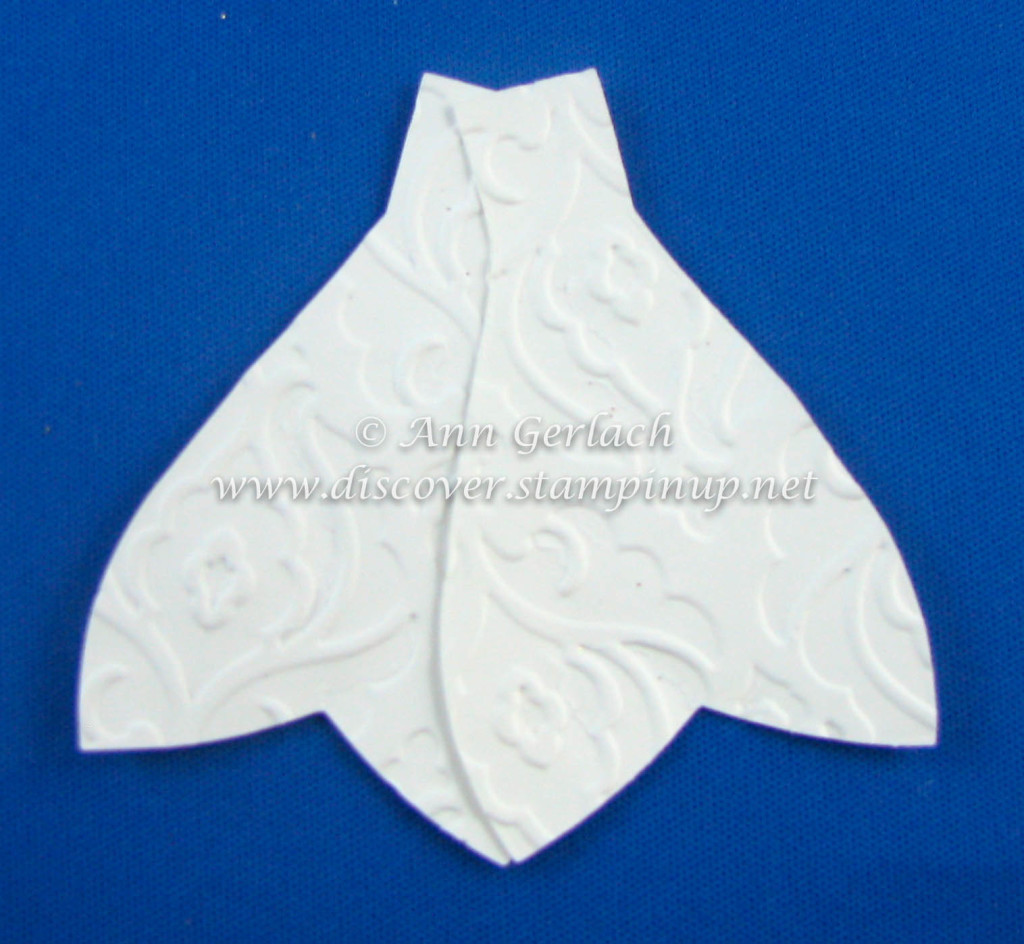
Overlap and join the two fish tail pieces of the bow die.
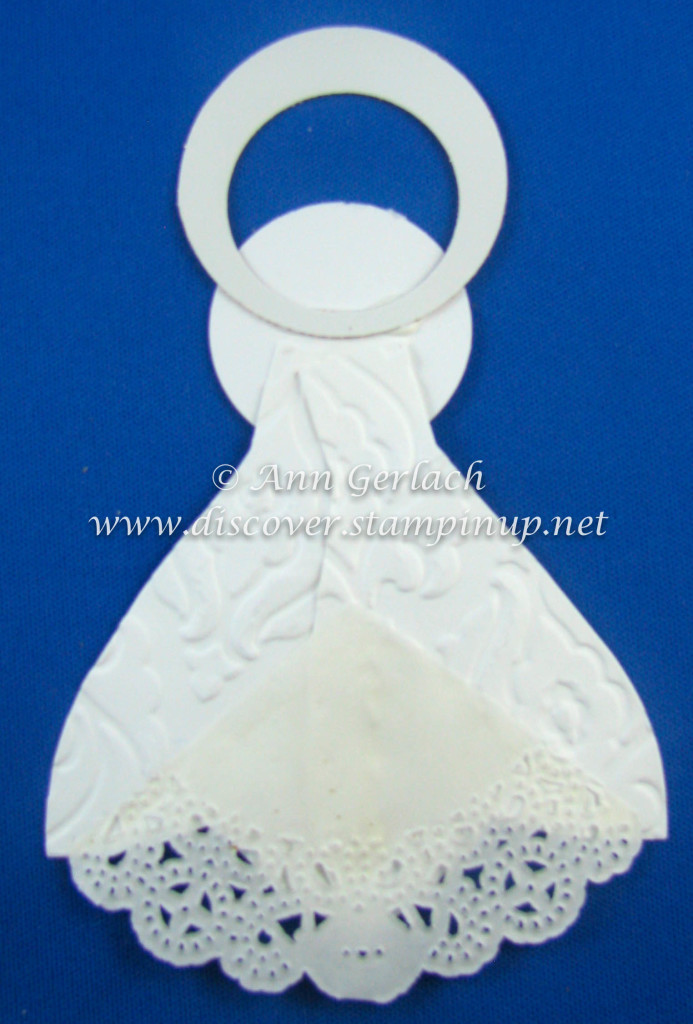
Add on one of the Whisper White circles and the tea lace doily.

Flip the project over and add the halo to the white circle as per below.
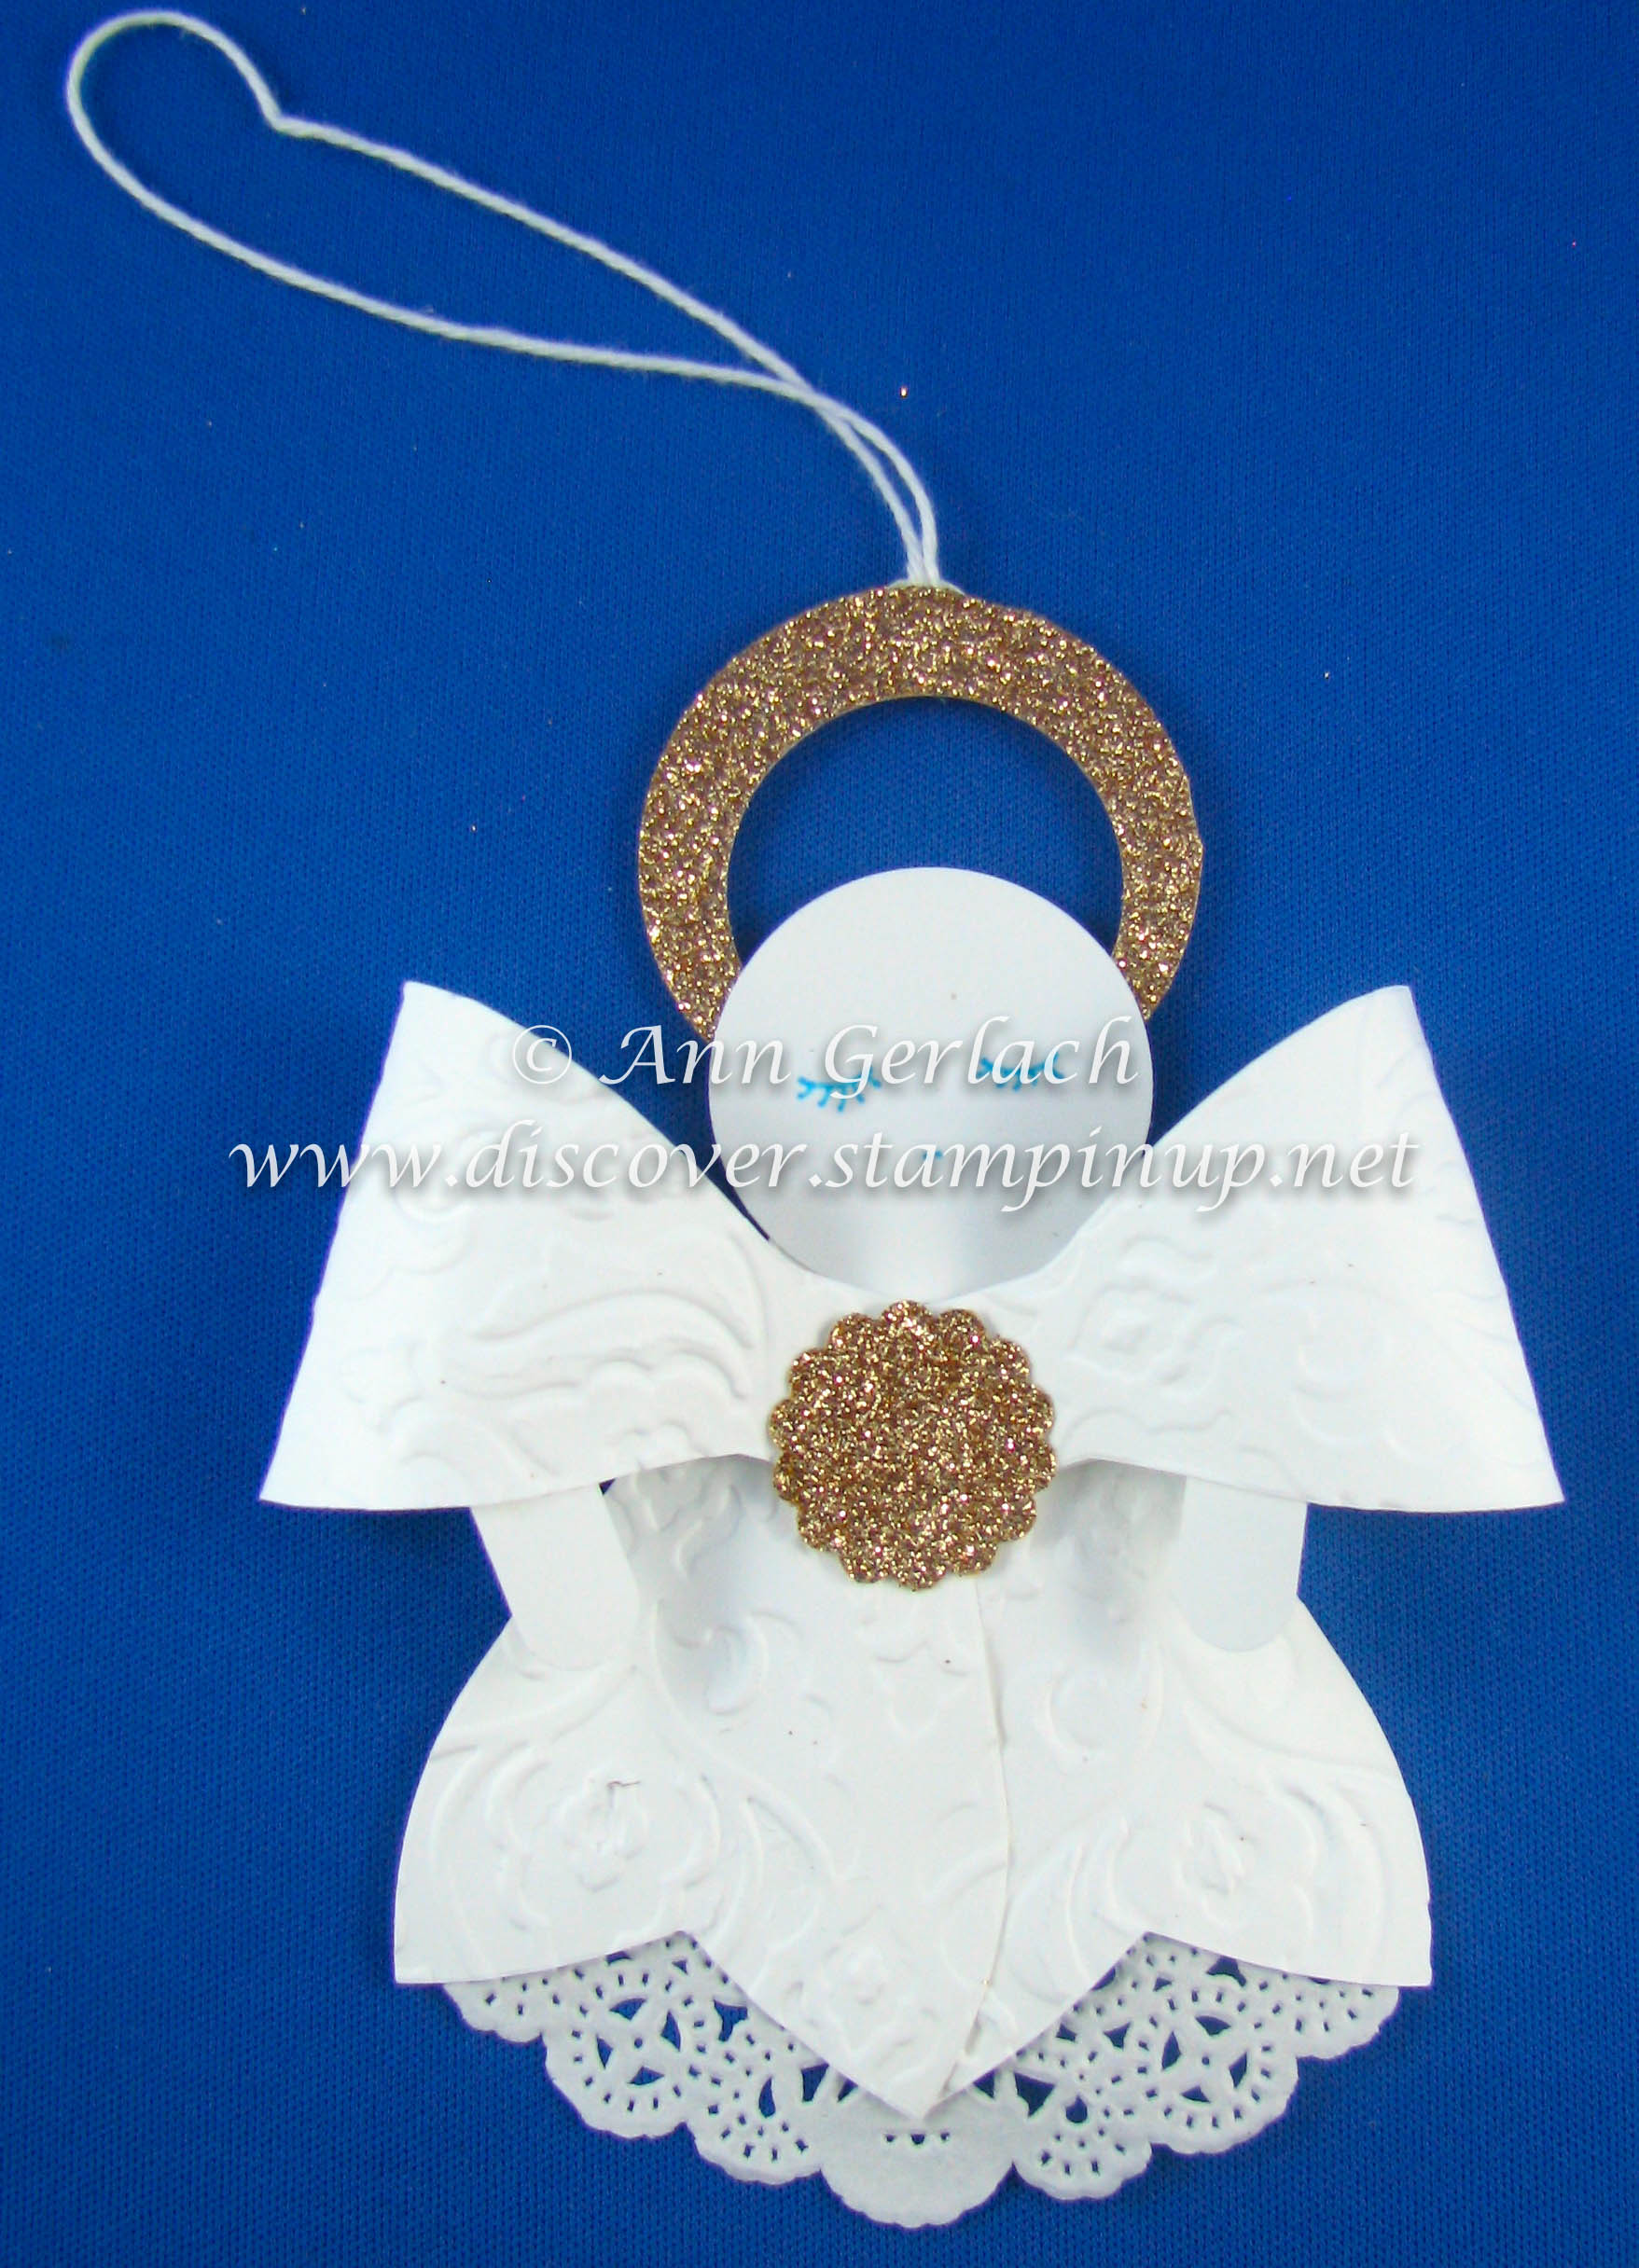
Then sandwich it with the other white circle punch to secure the halo in place. Add the twine sandwiched between the halo and the small glimmer paper circle over the top to hold it securely.

Turn the project back over and slightly curl the bow pieces with your fingers first before glueing the ends together, this breaks some of the paper fibres and prevents them from cracking. Glue them into place just below the face circle.
Add the 7/8″ scallop circle of glimmer paper to cover the centre of the bow wings. Cut the word window punch in half and add to the wings for the arms.
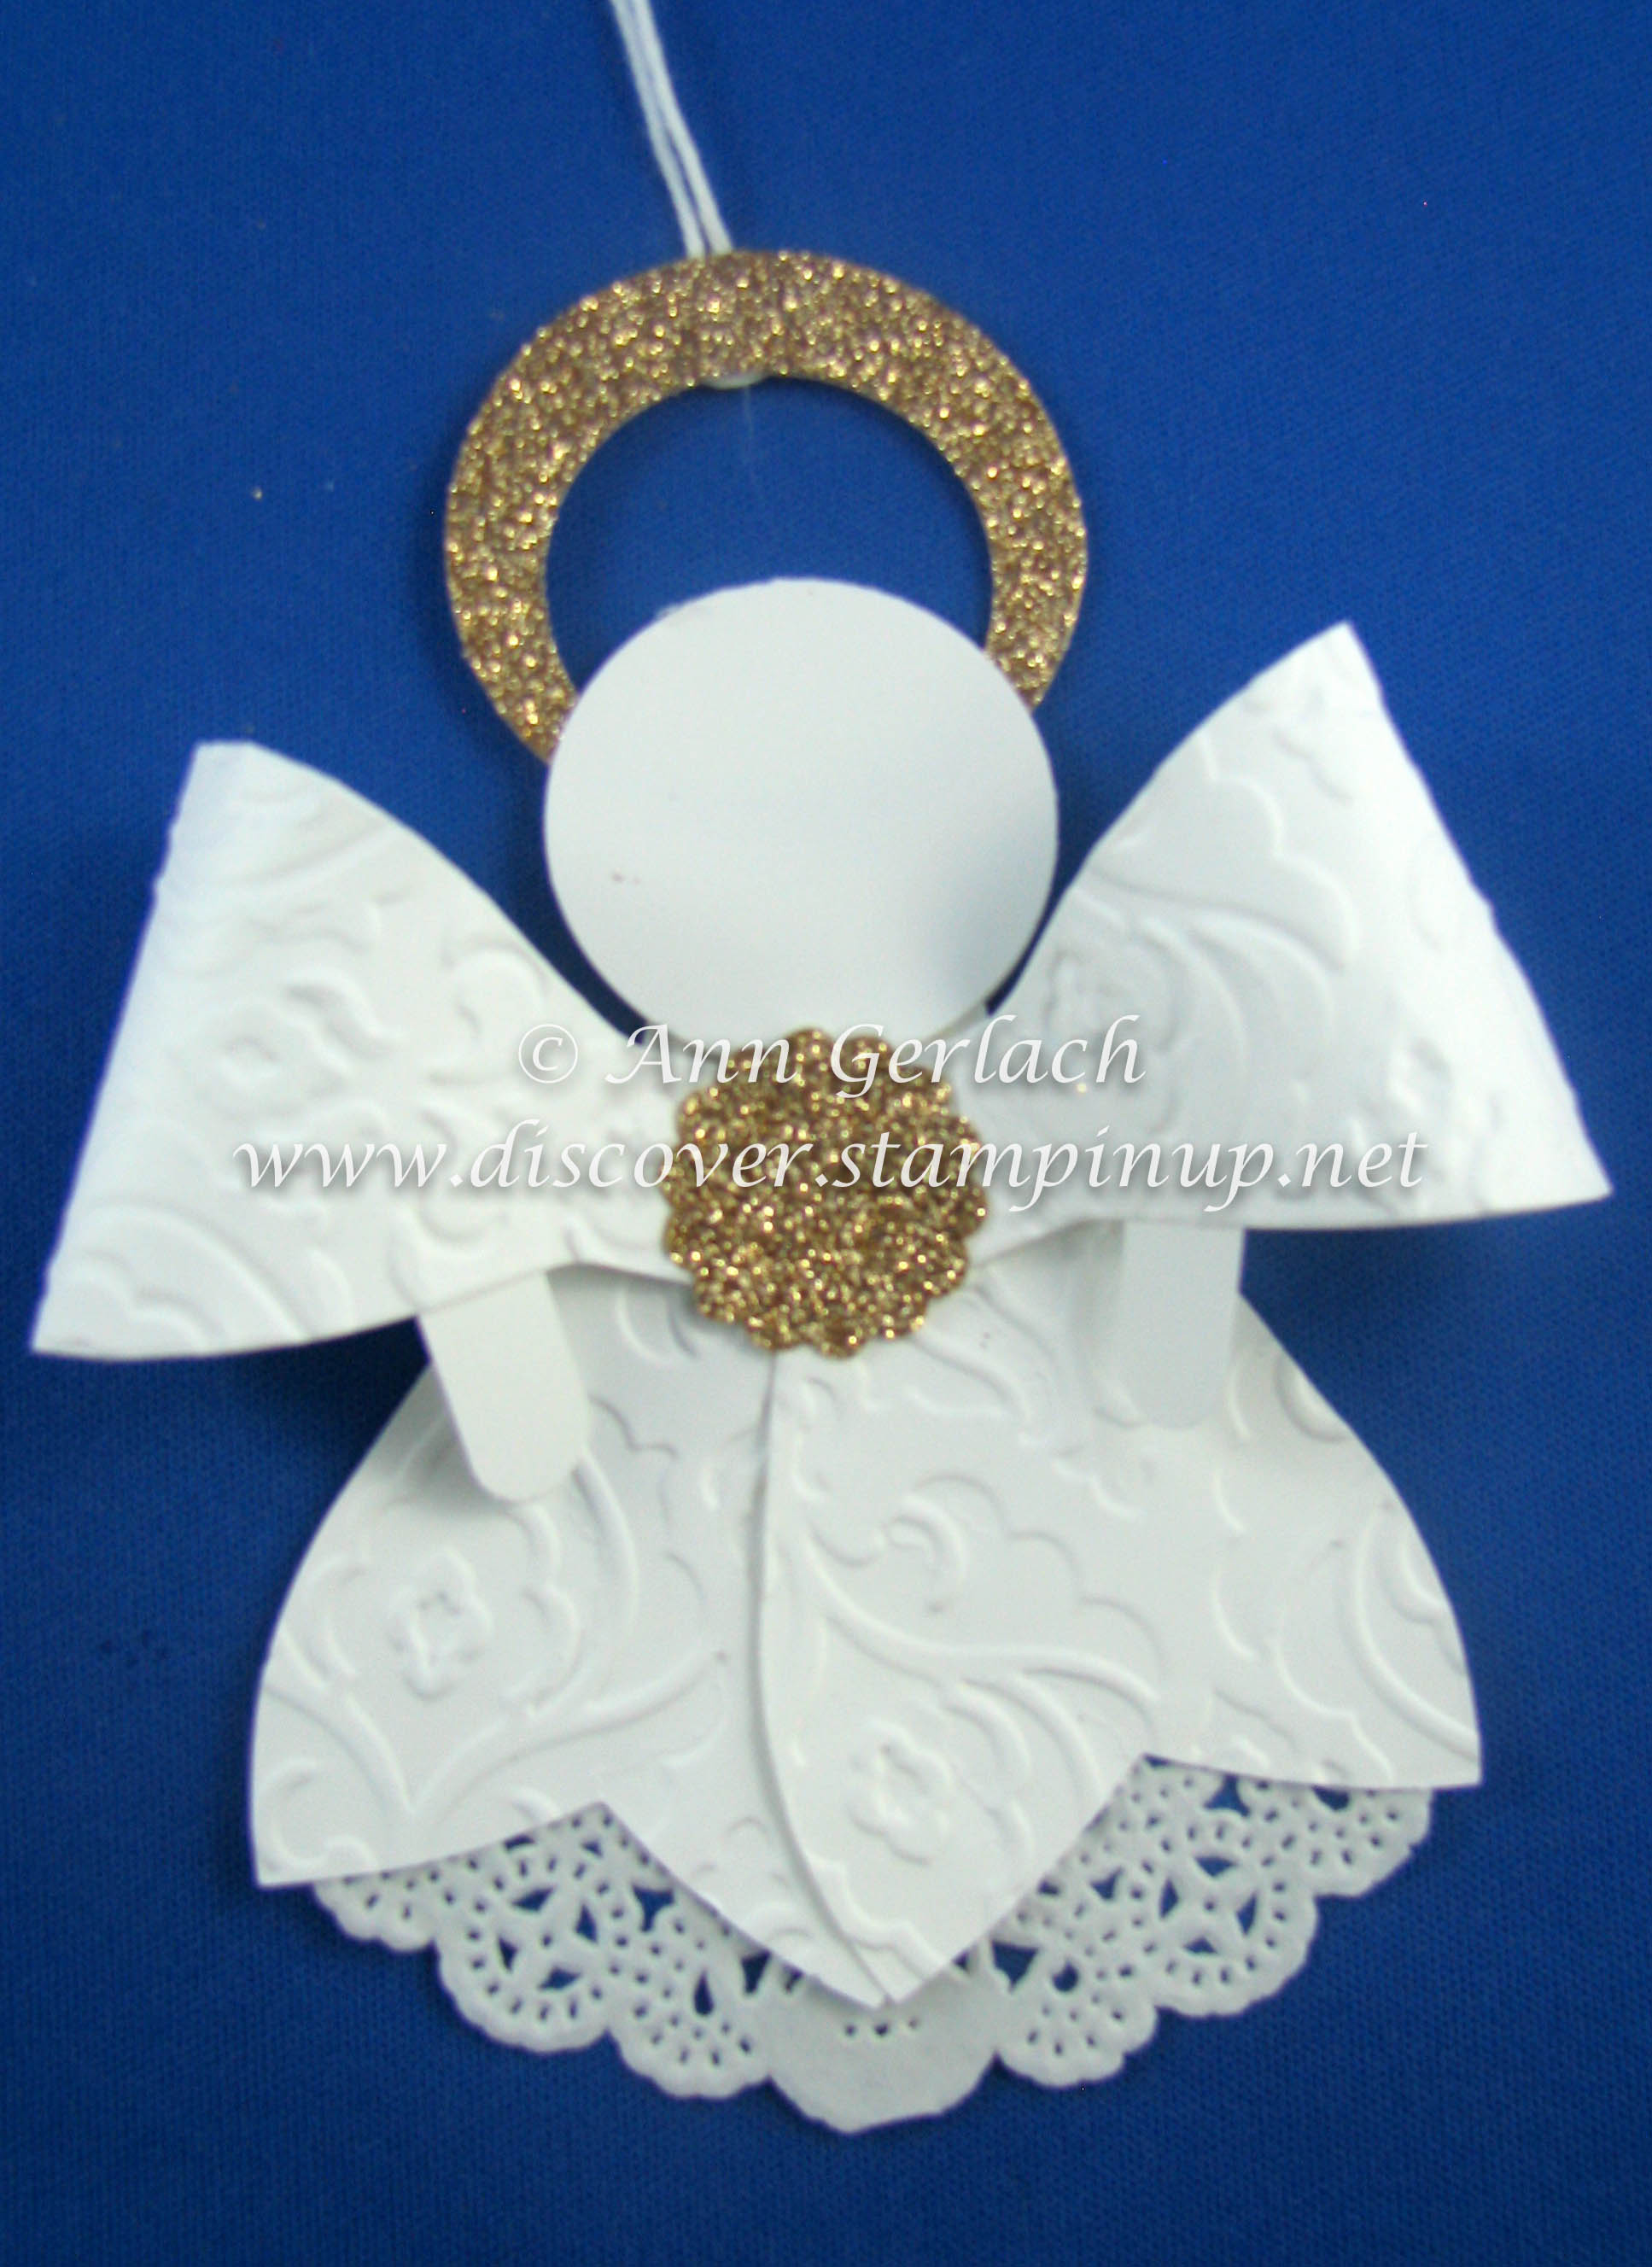
Hand draw in the facial features of the angel and you’re done!
I’d love to see your version of this lovely paper angel.


Pingback: chúng ta không thu?c v? nhau