For inspiration, ideas, tutorials, techniques and classes on paper crafting, card making, scrapbooking and more using quality Stampin' Up!® products. gerlach@iinet.net.au 0421 482 578
I was the very fortunate recipient of some beautiful hand made cards and treats this Christmas, very humbling that friends chose to invest their time in something for me, I really appreciate each and every one of them (my Cherub also appreciates them as that’s who generally consumes the contents!).
Below is a round up of the treats I received, I feel bad however as during the melee that surrounds some events that I was at – I completely forgot who gave me a couple of these items – if they were from you – please let me know so I can credit that.
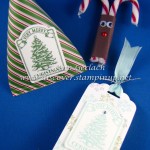
Santa Fry Box with yummy pretzel treats were part of my Kris Kringle present
From Tracy
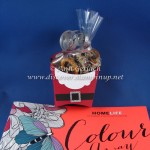
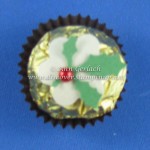
From Charmaine – made using the Curvy Keepsake box
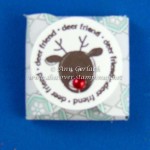
I’m having a mental blank – if this is your please let me know as it’s super cute!
Yummy chocolate from Sue
Another mental blank – someone in my team made these
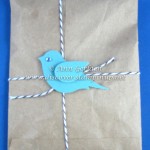
Gorgeous mini treat bag from Tracy
From Yvette
From Lynn
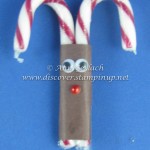
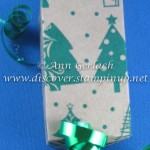
Sour cream container is fro Sue
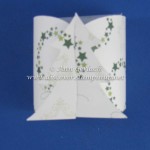
I taught this last year using the envelope punch board & someone remembered and made me one this year!
I will share the handmade Christmas cards in another post soon.
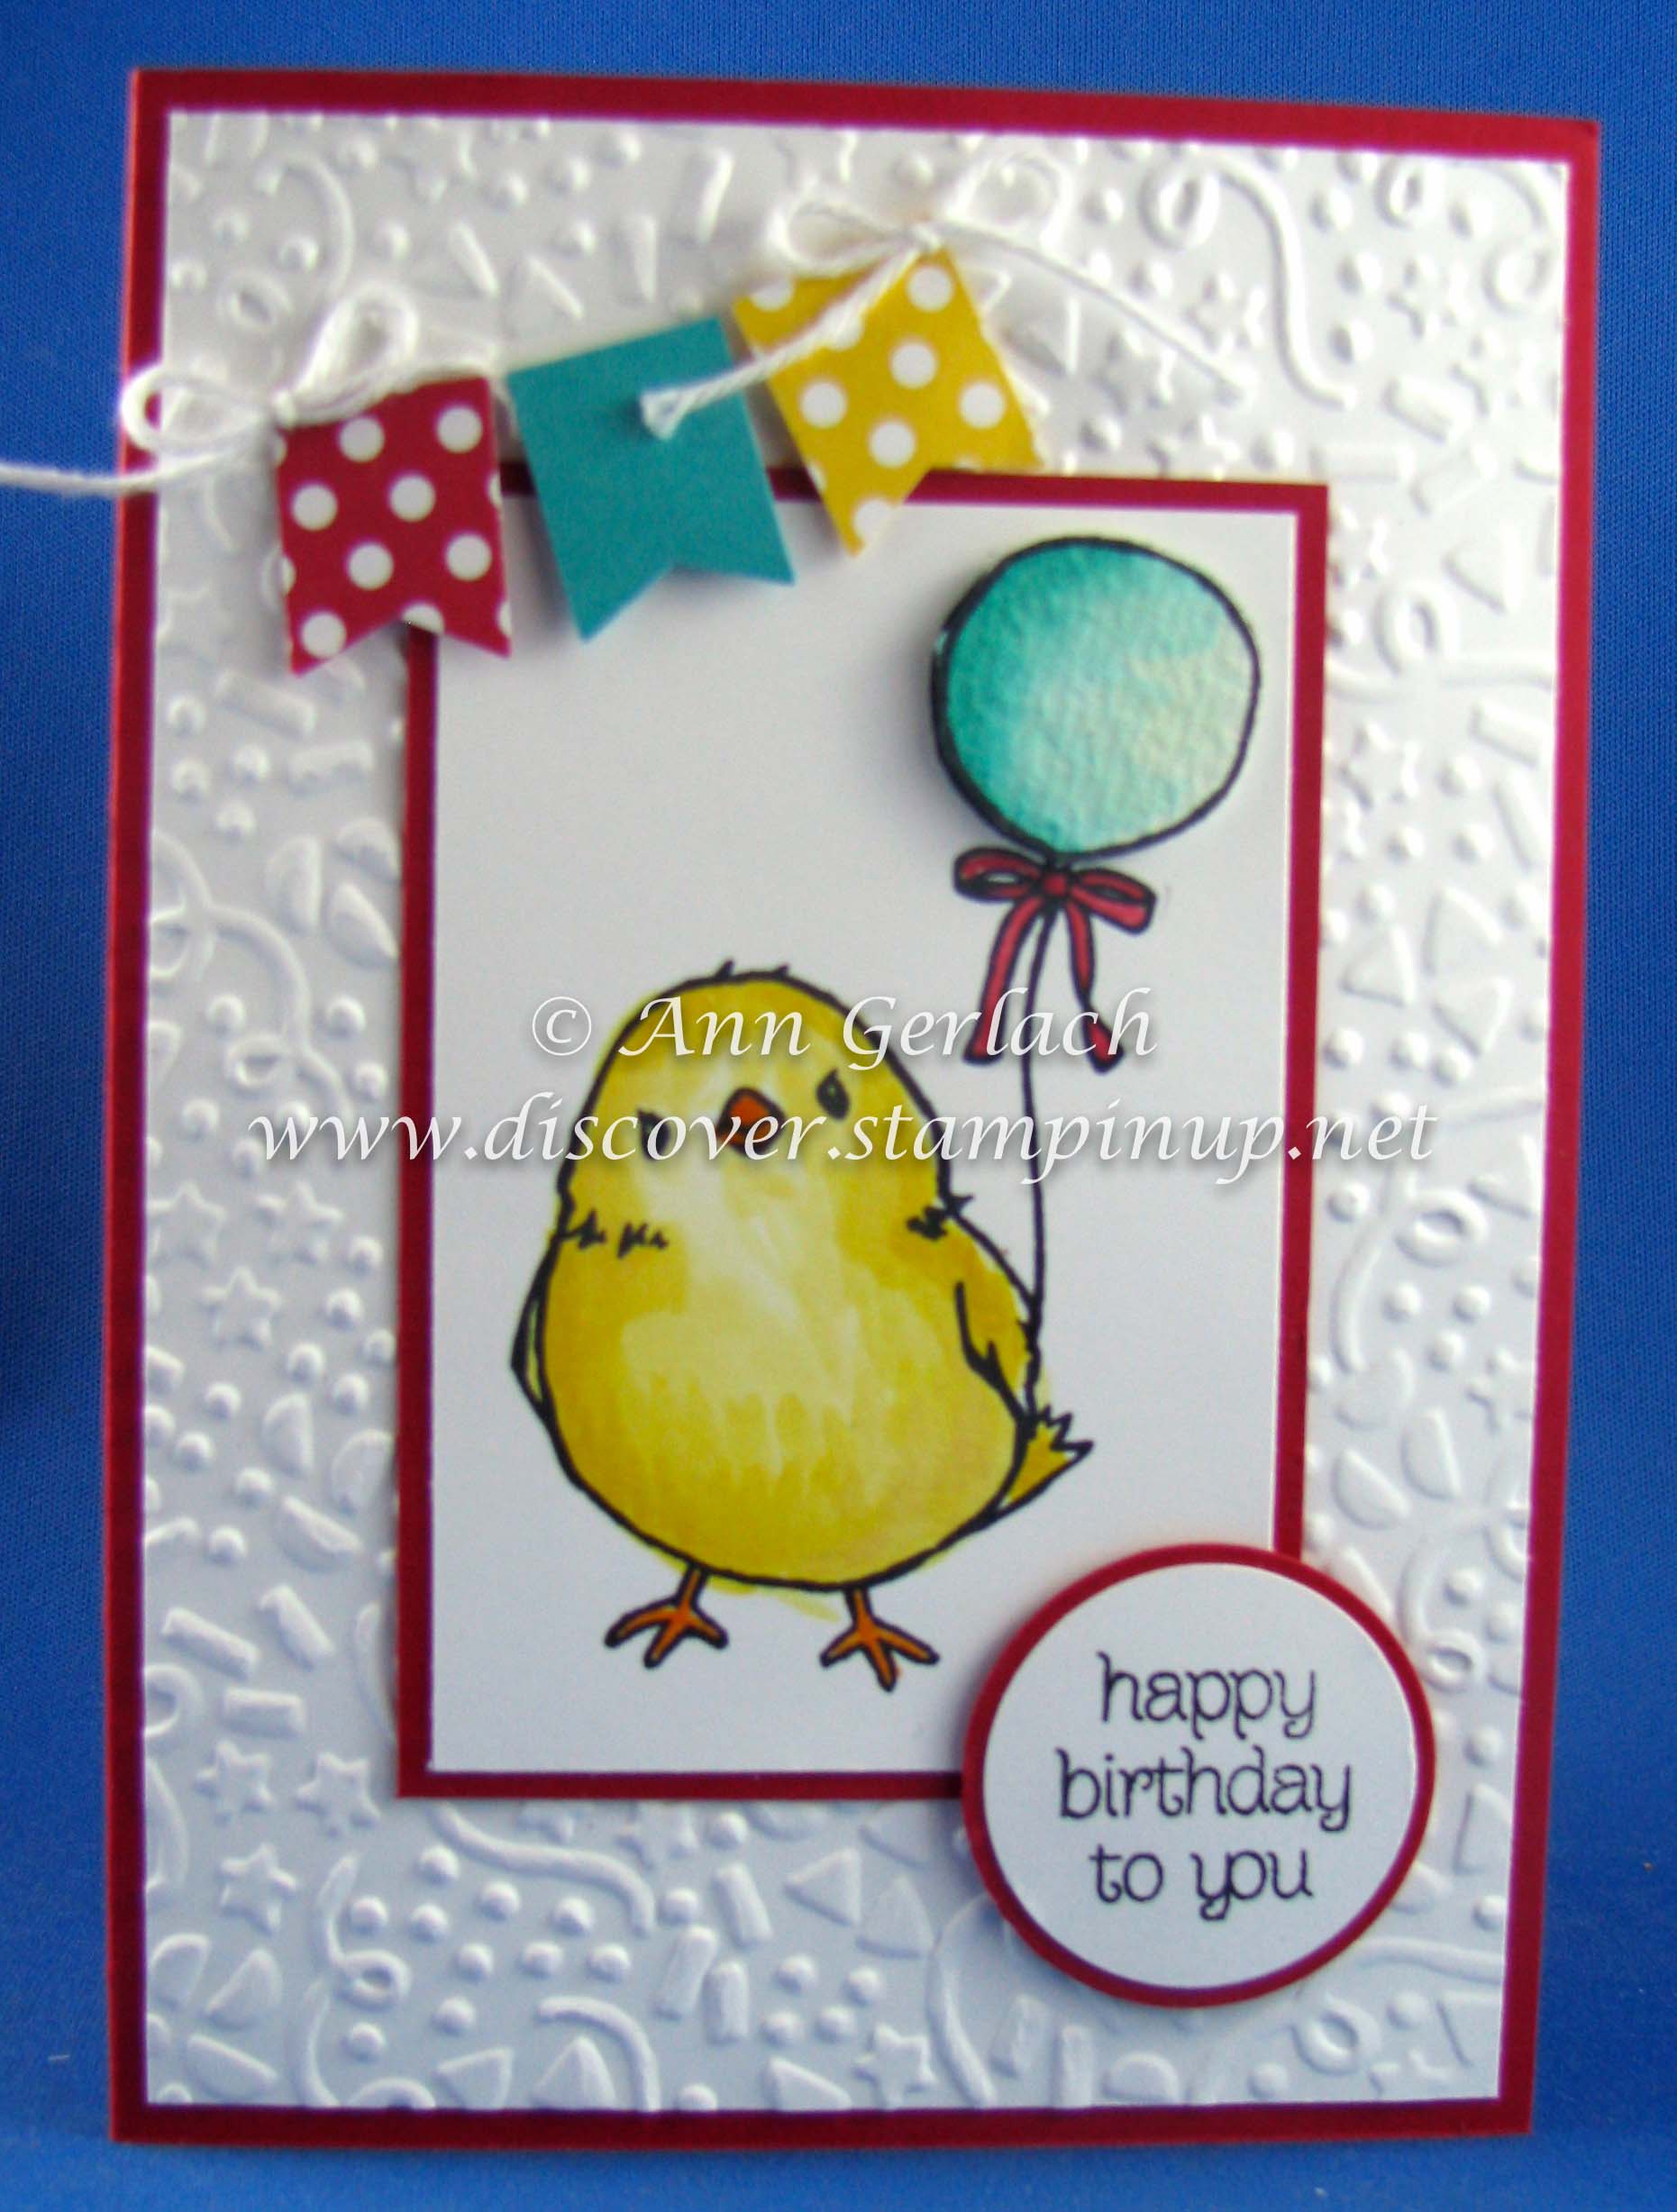
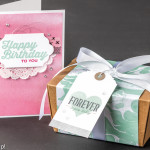
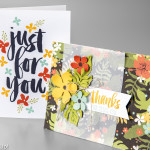
Did I not say I made a lot of cards using the bird from this Sale-a-bration set? Here is another birthday card made using the Honeycomb Happiness set and using the little banner punch to create some celebratory bunting.
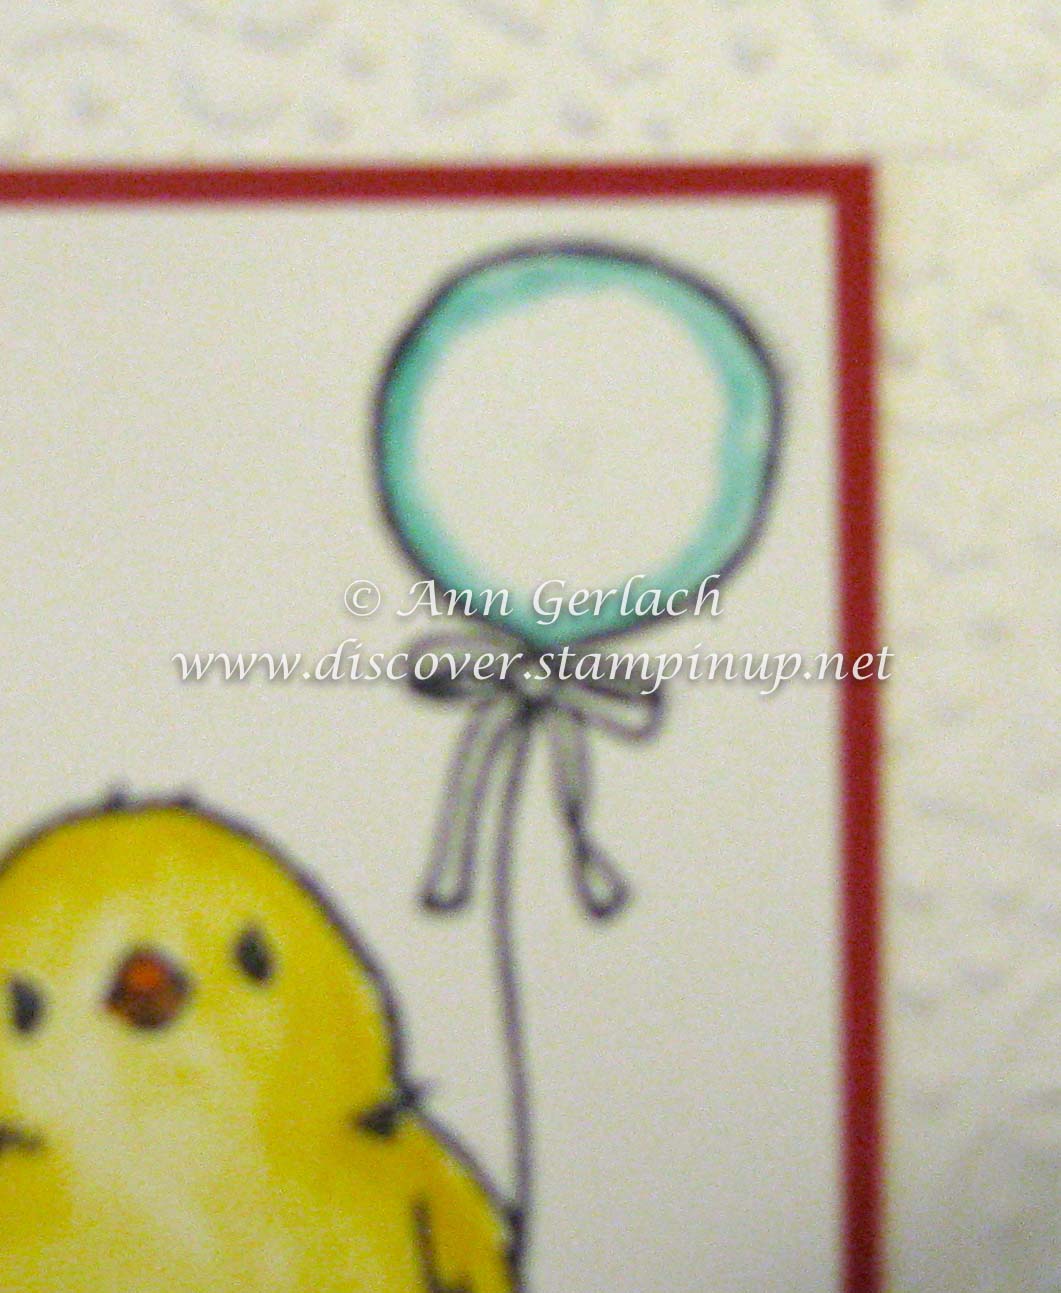
The sentiment is form the Circle of Spring stamp set (because it fitted nicely into the circle punches that were out only desk at the time). A hint when you are water colouring and layering up the images like I have done here with the balloon, because the top image is raised with Dimensionals to create a more professional finish I normally watercolour just inside the line of the bottom image like this:
So that when you look at the card from the side the top and bottom balloon images look like they are both fully coloured, when in fact that’s not the case. I really must move on and use some of the other images in the Honeycomb Happiness stamp set as you will start to think it only contains one bird image!
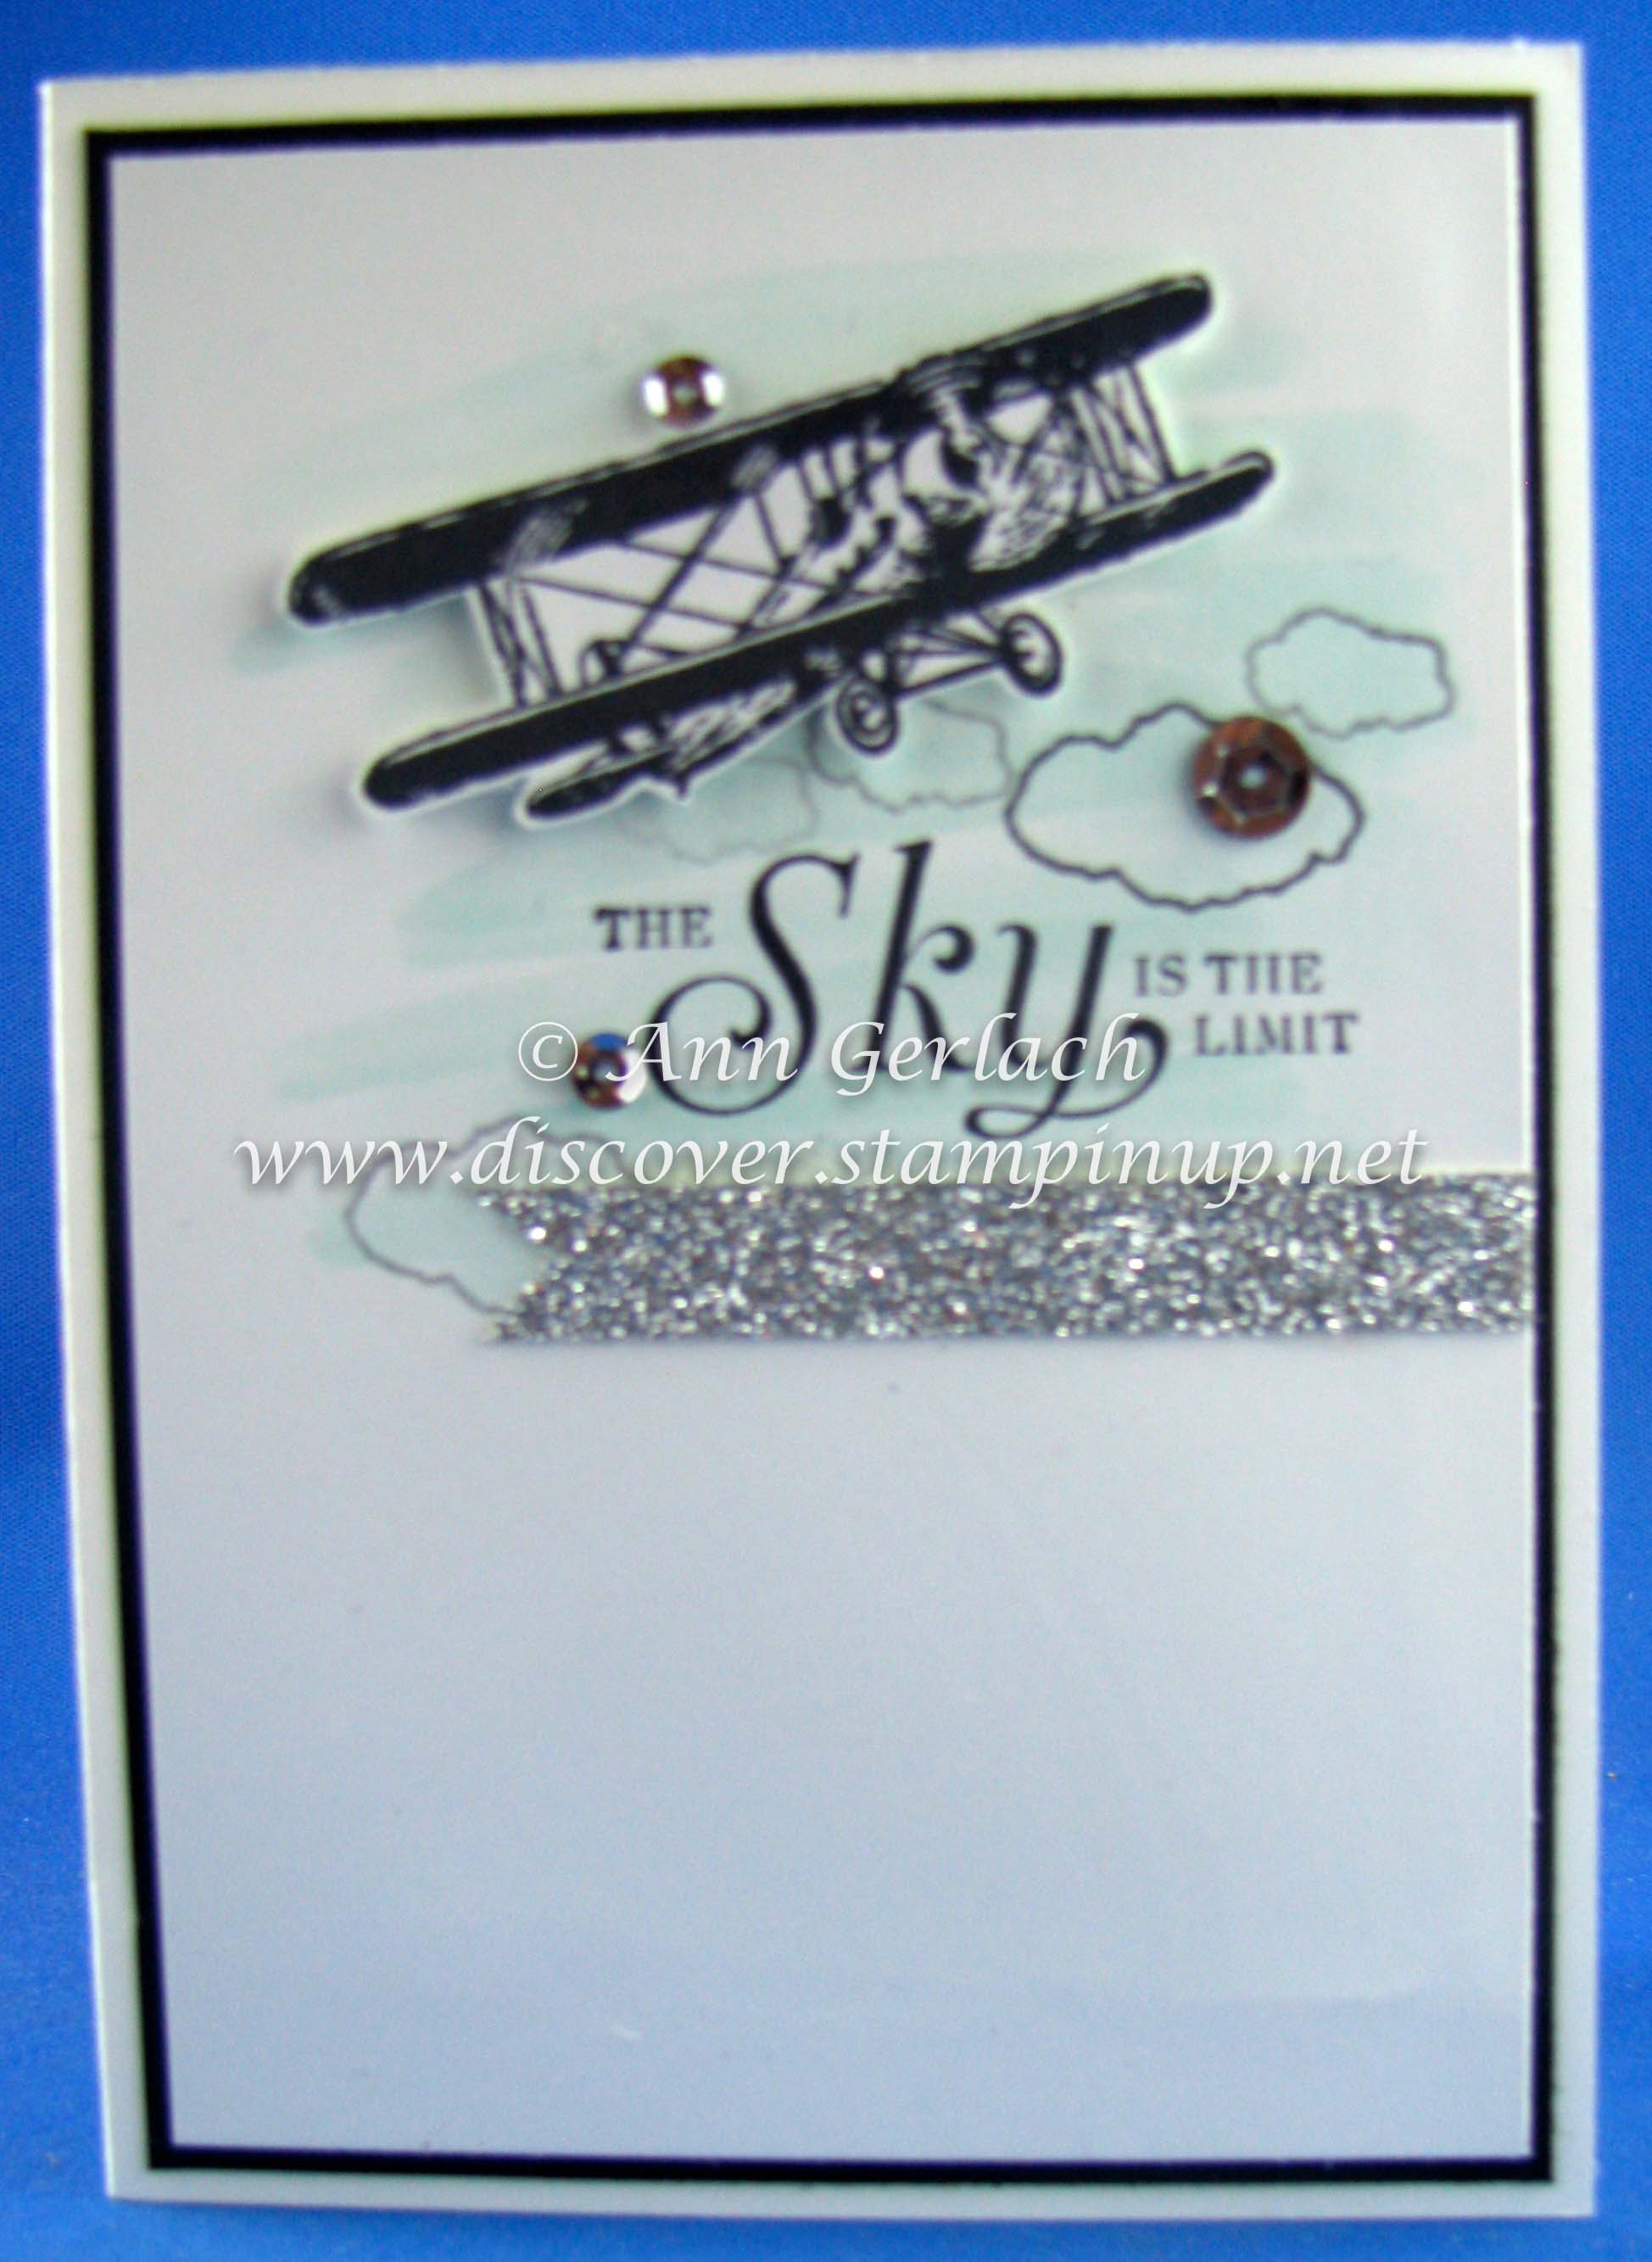
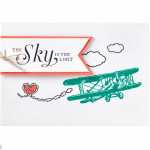
We made a couple of cards at my team meeting in December, getting ready for the new catalogues arriving and this was one that I CASEd from the web, and now forget who to credit the original design to!
It is made with Sky is the Limit which is available until the 15th of February as part of the Sale-a-bration rewards (so you can get this set free with a $90 order, or two with a $180 order!) The sky was done with an Aquapainter and some Soft Sky ink, then the clouds and sentiment were added. The plane was stamped and fussy cut before being added with Dimensionals. A few highlights were added with metallic sequins and a banner of silver glimmer paper.
Here is a image of the complete 8 piece stamp set, perfect for Valentines, graduation, masculine, birthday or just because! Remember the set is only available with a $90 purchase and only for a limited time, so place your order sooner rather than later if you want to own it.
One of the things I love about Stampin’ Up! live events (i.e. the recent OnStage event in November) are the ideas from the company and other demonstrators for using some of the products that we have. This was one new product sample that Shannon West from the Stampin’ Up! Home Office shared and I totally loved (although I wasn’t convinced about her flat packaging suggestion for this card – she whacked it with a book to make the honeycomb embellishment lay flat! Please accept that some cards just need to be hand delivered and those with these lovely new honeycomb embellishments are included in that category).
You cannot make this card without the stamp-a-ma-jig to line up the repeated sentiments (or maybe you can, but I definitely can’t). If you haven’t used this tool before I would be happy to show you how to do that or if you want to know right this minute, check out this video by a fellow SU! demonstrator Sage who made an informative ~3min video that you can check out here.
The new honeycomb embellishments come in 3 different colours – none of which are yellow, but there is a white one that you can spritz with a mixture of re-inker and rubbing alcohol (from the pharmacy, I use about 10 drops in a full spritzer, if you want it darker, just allow the project to dry and re-spritz). The balloon was fussy cut and popped up on Dimensionals.
This card would brighten up anyones day and could be used for any number of occasions (if you were sending it to a male, just change the colour of the balloon). Who would you send it to?
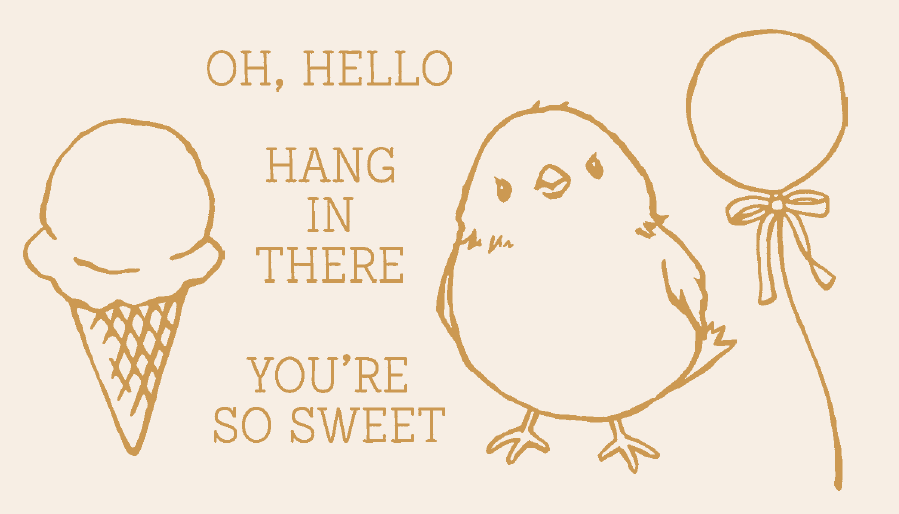
The entire 6 piece stamp set Honeycomb Happiness is here and is available as either clear or wood mount for the entirety of Sale-a-bration.
As part of the Stampin’ Up! OnStage Local event we got to make 4 projects with new products, but I didn’t actually get around to making mine up on the day and I also prefer to make them up later at home so that I can modify them a bit to suit my style.
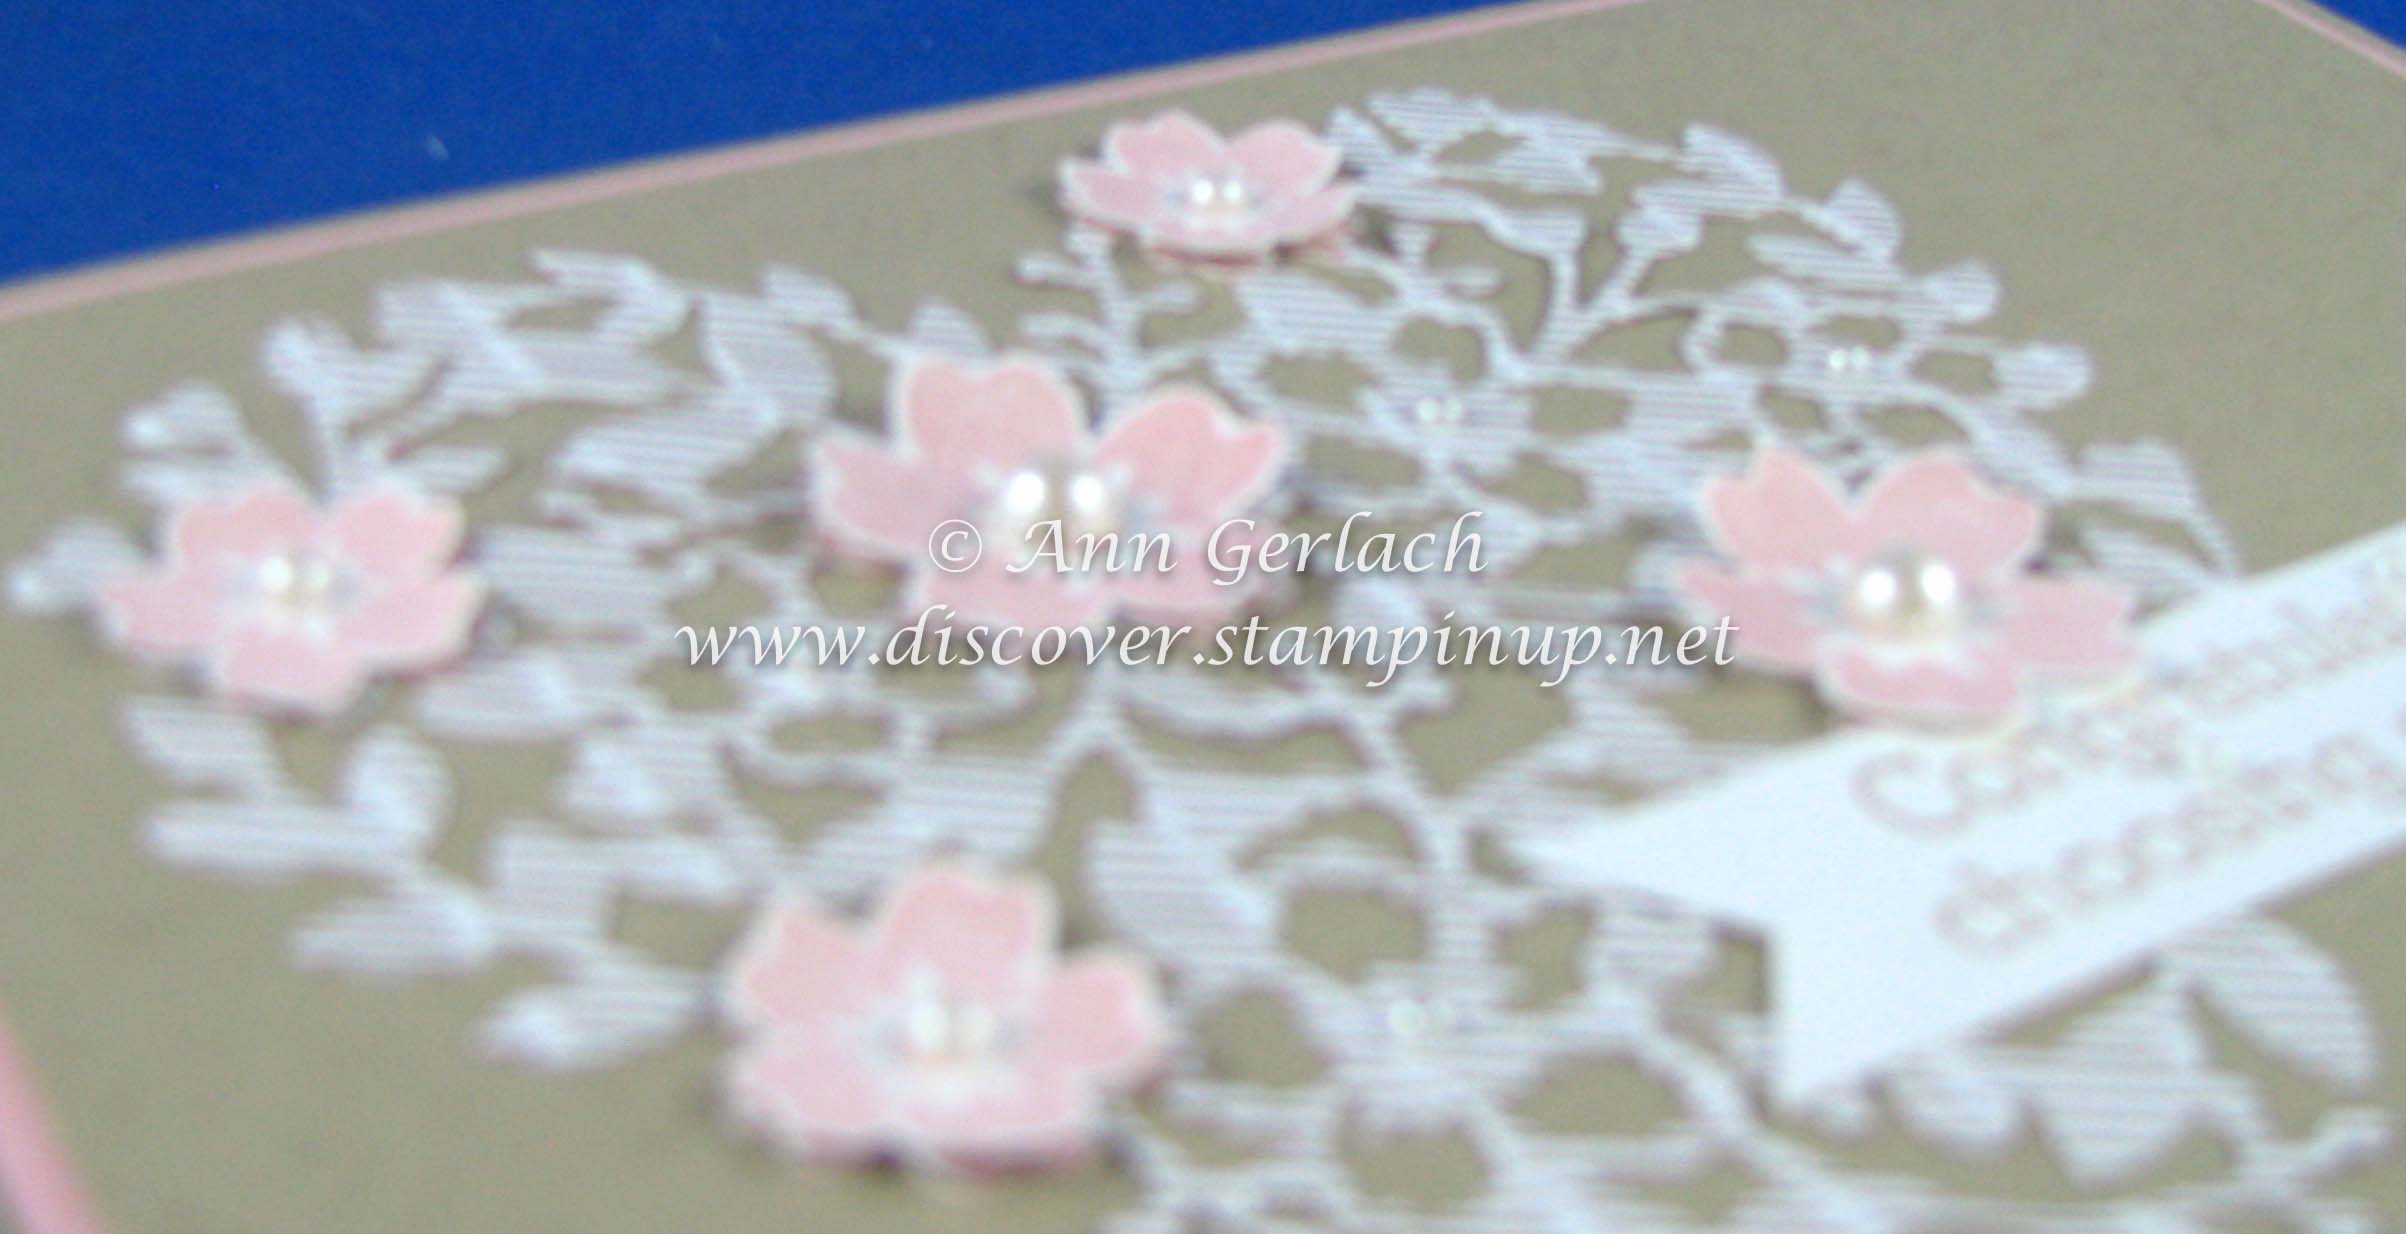
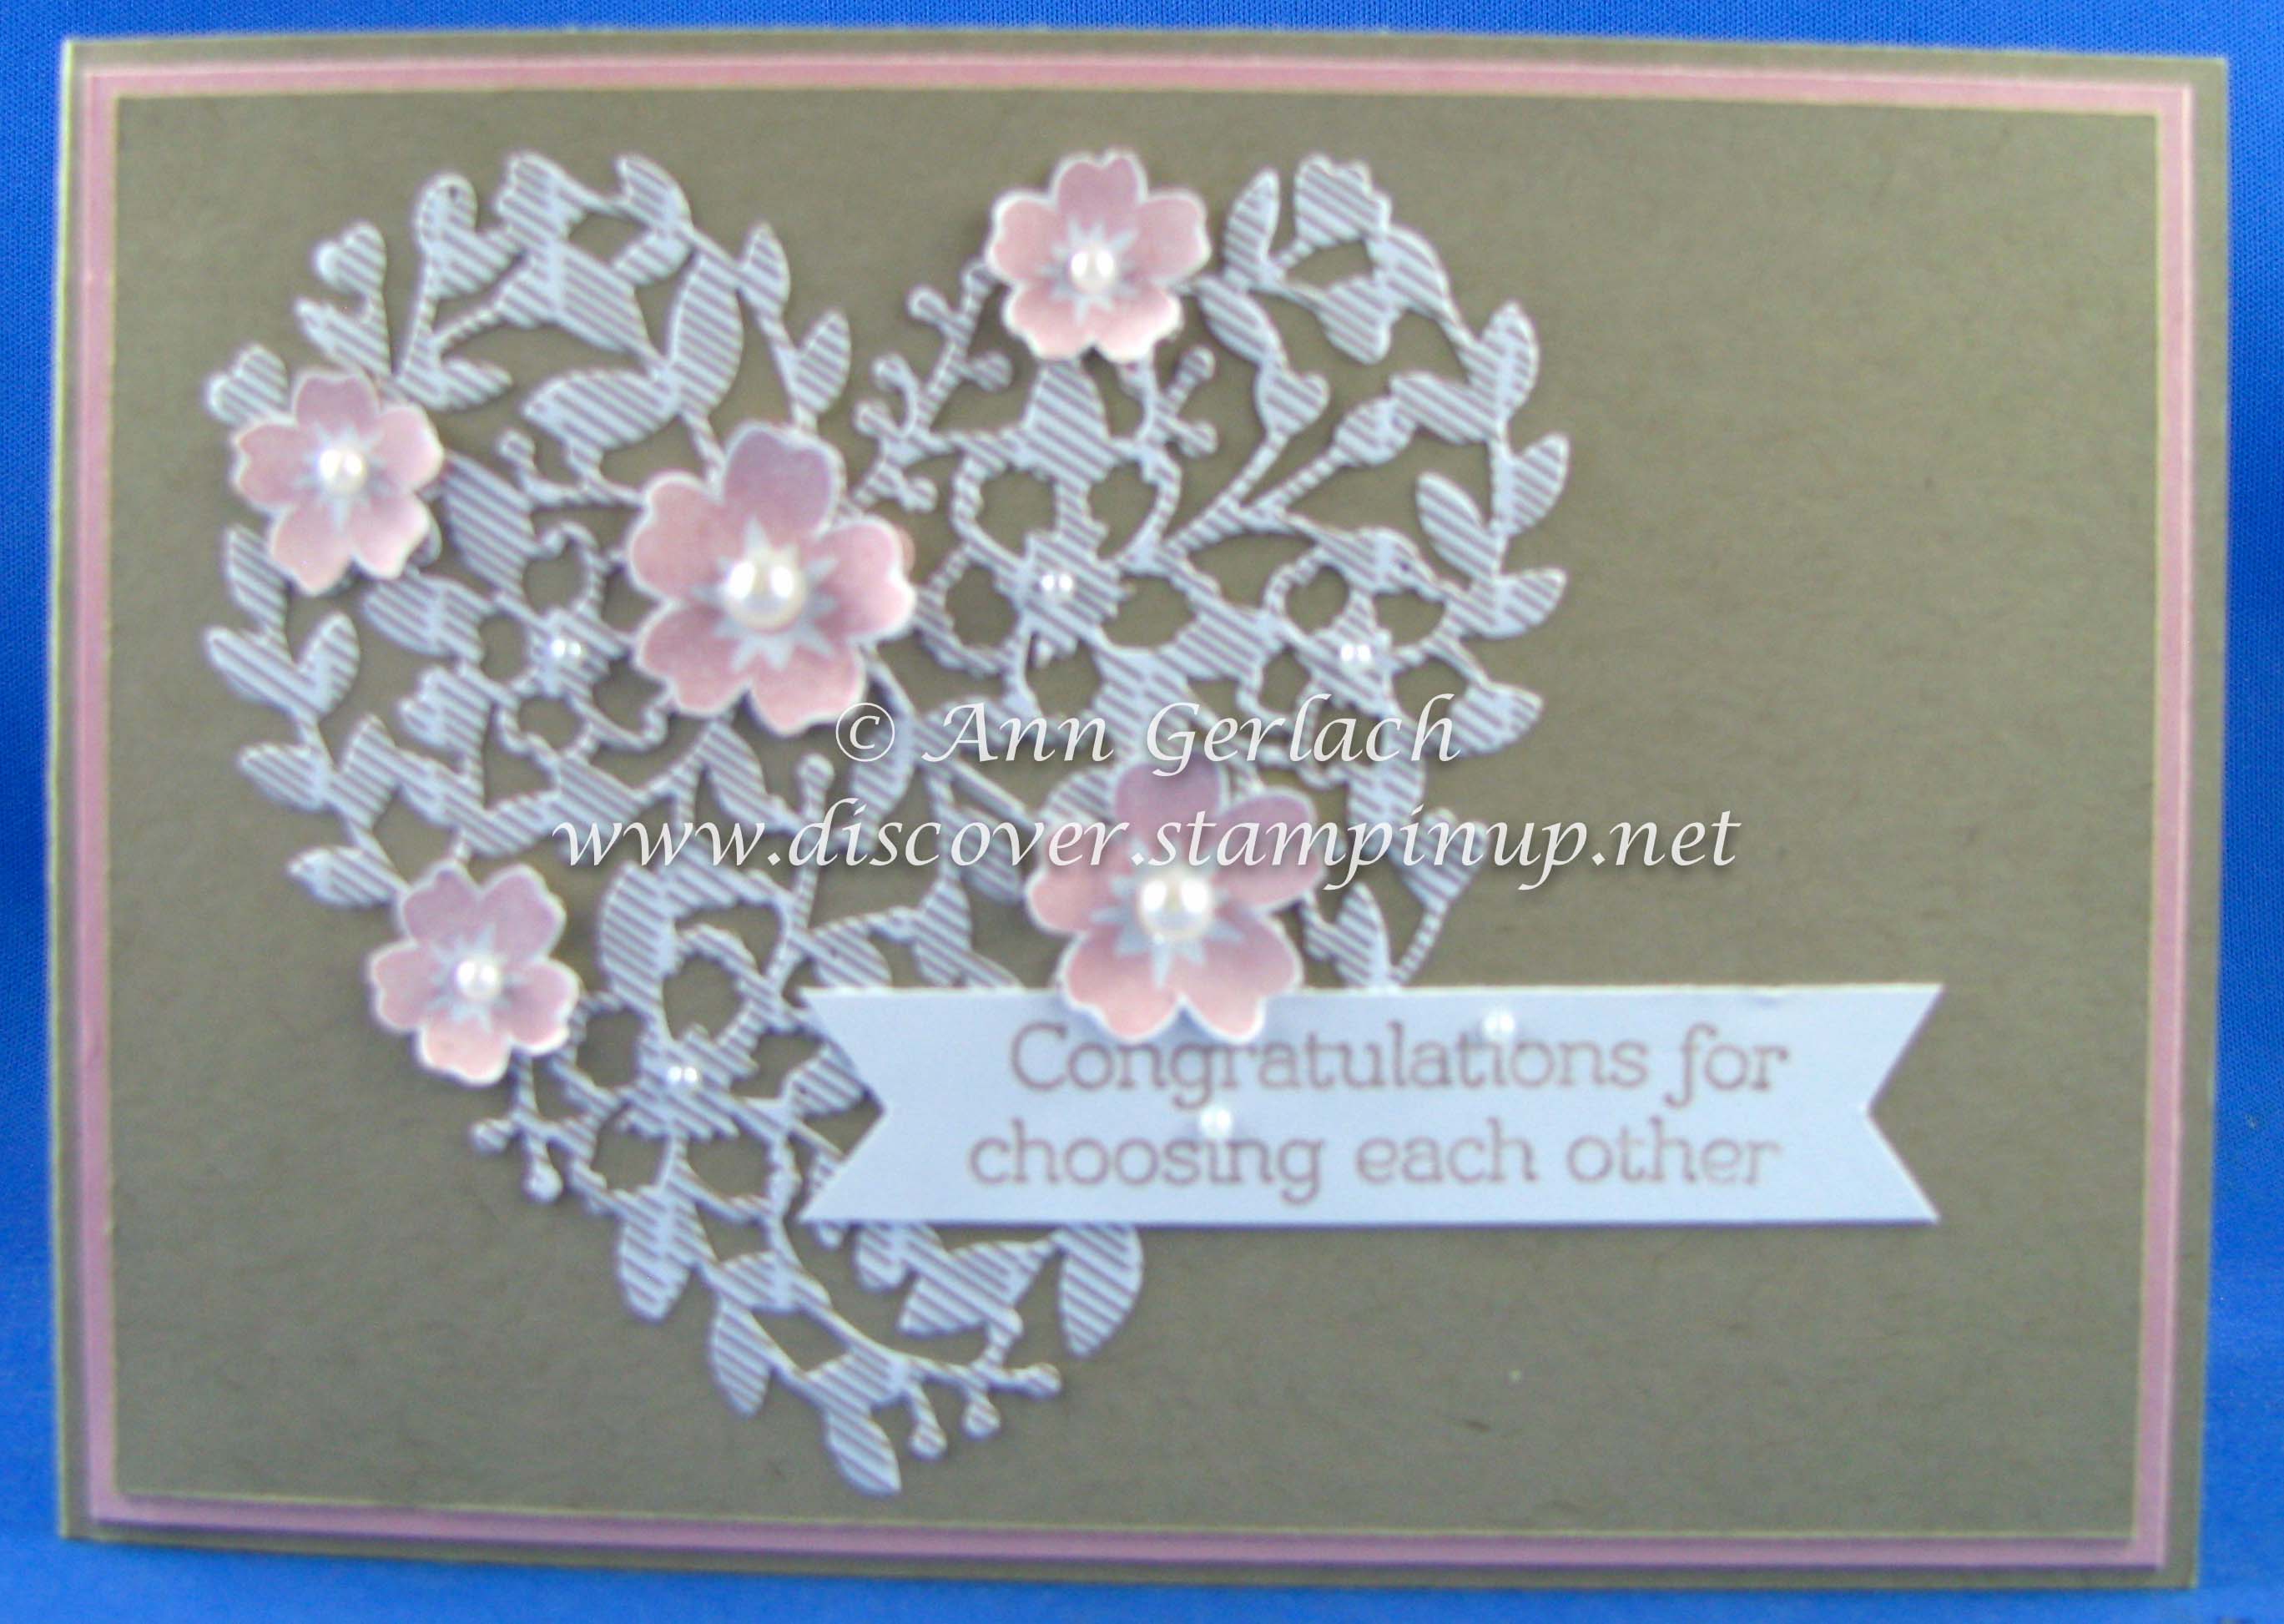
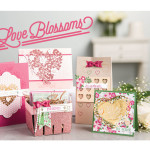
One of the lovely new product suites available in the Occasions Catalogue is Love Blossoms, I know, it’s pink and very girly so not my normal pick, but it’s great to get out of your comfort zone occasionally isn’t it? The heart is die cut using the new thin lit die on the designer series paper. This is an almost laser cut precision die – to get the best results out of it, I would suggest you watch the video.
The heart die cut was then added onto a piece of Crumb Cake card stock before I stamped some extra flowers onto Whisper White card stock and then added them to the heart to add extra dimension and finished them by adding some basic pearls.
The sentiment it from B.Y.O.P and I just used the Stampin’ Write marker pen to ink up the sentiment as I didn’t want the “…” shown on the end of the sentiment. I added some more small basic pearls to finish it off.
The Big Shot precision base plate & die brush did make cutting this intricate die a lot easier. The Bloomin’ Love stamps and Bloomin’ Heart thin lit are available as a bundle so you can save 15% if you purchase them together.
The new Occasions Catalogue and the Sale-a-bration Catalogues are now LIVE! Yes, you can view them both via PDF now by clicking on the images below.
Both catalogues are packed full of amazing new products and inspirational ideas. The Occasions catalogue also contains a page of carry-over items from the Holiday catalogue (what is not included is the Woodland Textured Impressions Embossing Folder which although can’t be ordered at the moment, will be making a return in the 2016-17 Annual Catalogue). There are also lots of opportunities to bundle and save in the Occasions Catalogue so look for the icons to indicate a 15% saving on the bundles.
Check out some of the amazing product suites in the new Occasions Catalogue here:
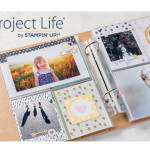
Record your memories with Project Life
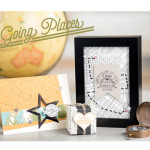
Perfect for travel, masculine or Valentines cards
Love this specialty paper & co-ordinating stamps
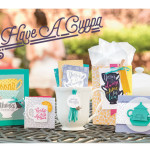
Mothers Day or Biggest Morning Tea – these stamps and framelits are perfect
My favourite product suite from this catalogue!
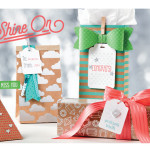
Celebrating all things lovely with this product suite
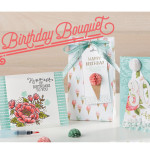
Everything you need to celebrate the annual birthday milestone
Lots of party fun with this product suite
Here’s a small selection of Sale-a-bration items to look at:
Lots of different things to chose for FREE
Project Life specialty cards
Super cute stamp sets
Beautiful designer paper
Stamp sets that co-ordinate with Occasions catalogue items
Stamp sets available for a limited time
Anytime is a good time to shop for Stampin’ Up! supplies, but for the next 3 months, it’s even better! For those of you who aren’t familiar with Sale-a-bration, please read on – also there are a couple of things happening this year that have not occurred in previous years with Sale-a-bration. Basically Sale-a-bration is from the 5th of January until the 31st of March and you can earn exclusive free items for shopping, bonus hostess reward dollars for having a get together with friends and another bonus amount for joining my team.
Shop!
With the new Occasions Catalogue as well as the Annual Catalogue I don’t think anyone has a short wish list – so for every $90 you spend (including items in the Weekly Deals or Clearance Rack), you get to chose a FREE Sale-A-Bration product.
Note: Pages 4-15 of the Sale-A-Bration brochure show products available throughout the entire Sale-A-Bration sales period (5 January-31 March 2016); Pages 16-19 show limited-time products available only until 15 February.* Watch for another batch of limited-time products coming 16 February! (*Based on inventory, availability may be altered).
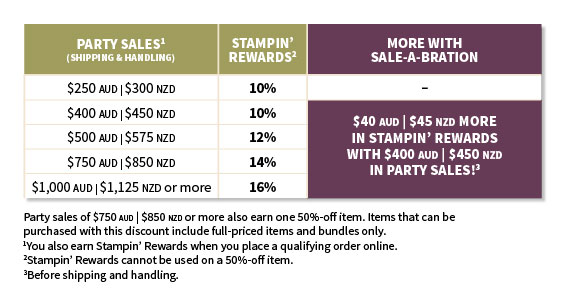
Host!
Want a fun excuse to get together with friends? Just host a qualifying party with at least $400 in sales during Sale-A-Bration and you’ll earn $40 more Stampin’ Rewards than normal! You can even apply your Stampin’ Rewards toward a Starter Kit and become a demonstrator yourself! If you don’t have time for an in-home party, you can host an online party or a catalogue party, ask me how.
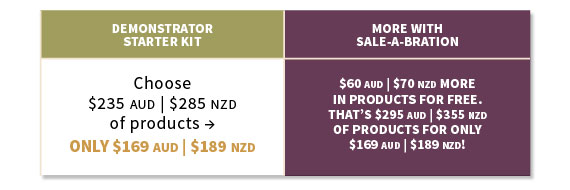
It’s the best time of year to join Stampin’ Up! During Sale-A-Bration, you can become a demonstrator for just $169 AUD and choose $60 AUD more of FREE products for your Starter Kit, so for just $169 you get to chose $295 of products! Plus, the kit ships for free. You can read about other benefits of joining my team here – including team meetings and personal support to run your Stampin’ Up! business the way that suits your lifestyle.
If you would like to come and see some of the new products and have an opportunity to play with them, please join us for the Catalogue Launch Party on Saturday 16th of January where for just $5 you will take home 3 different stamped projects, copies of the catalogues, see inspiring displays, enjoy afternoon tea and more!
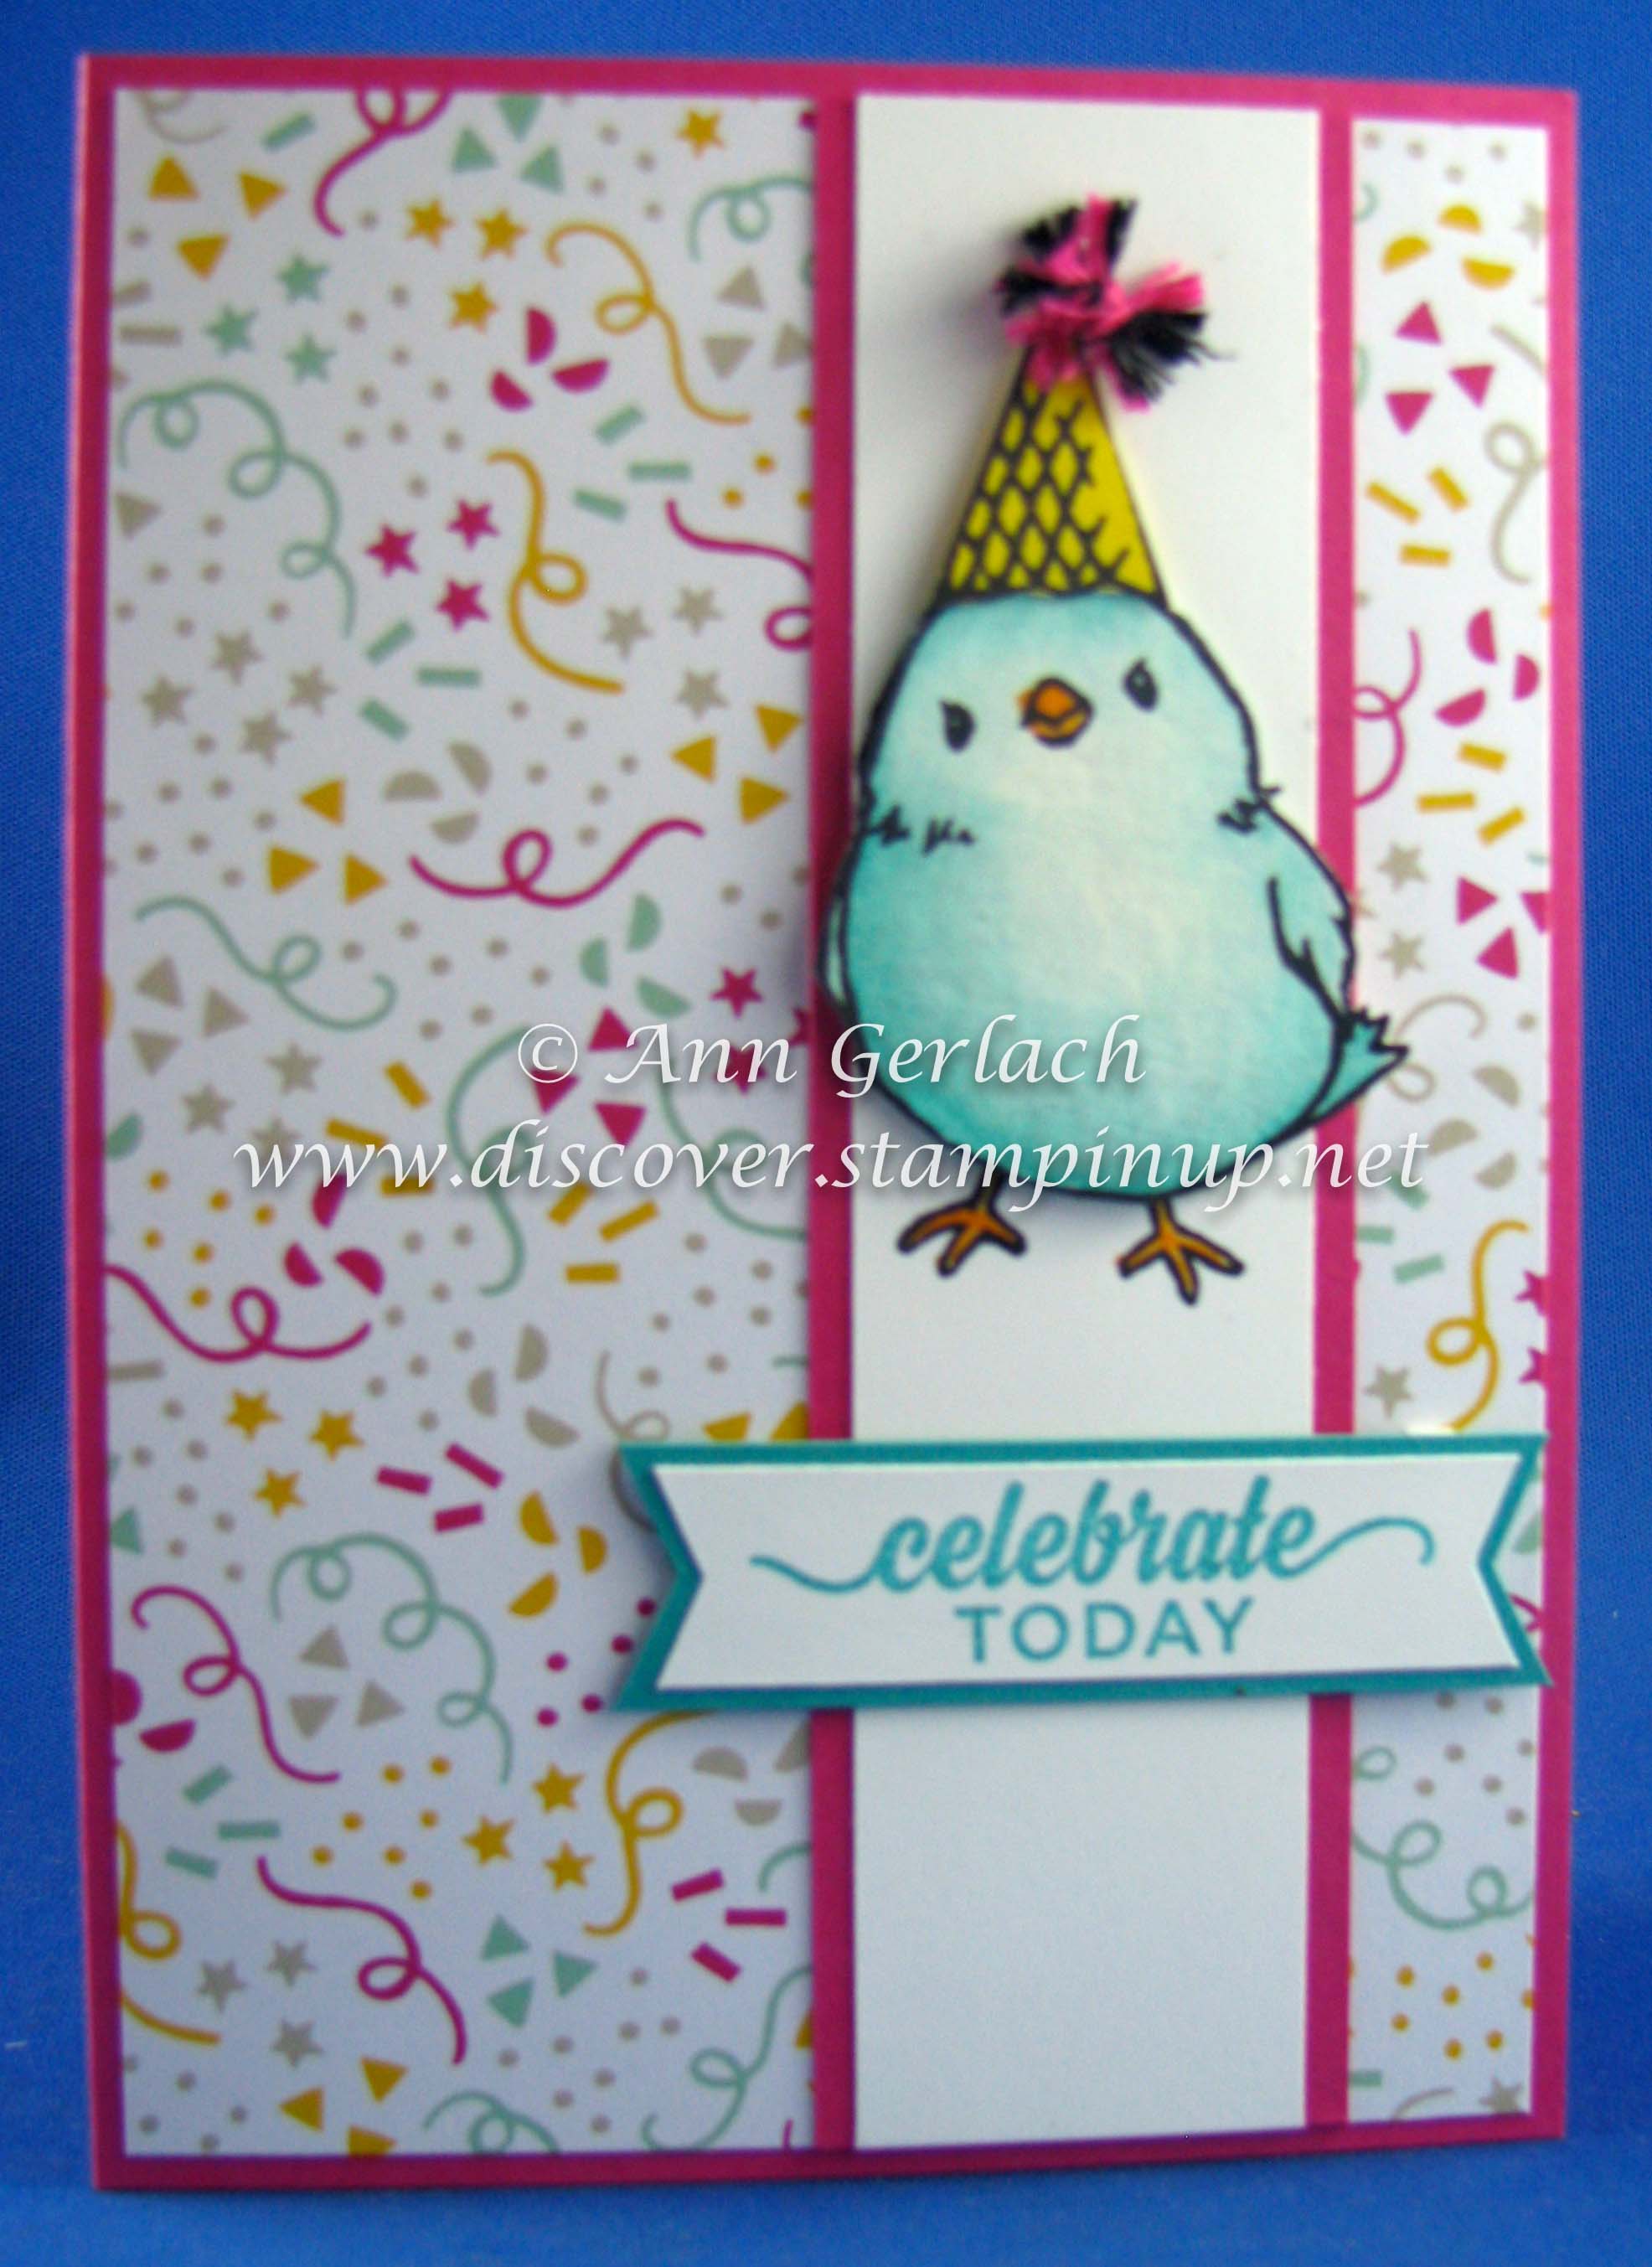
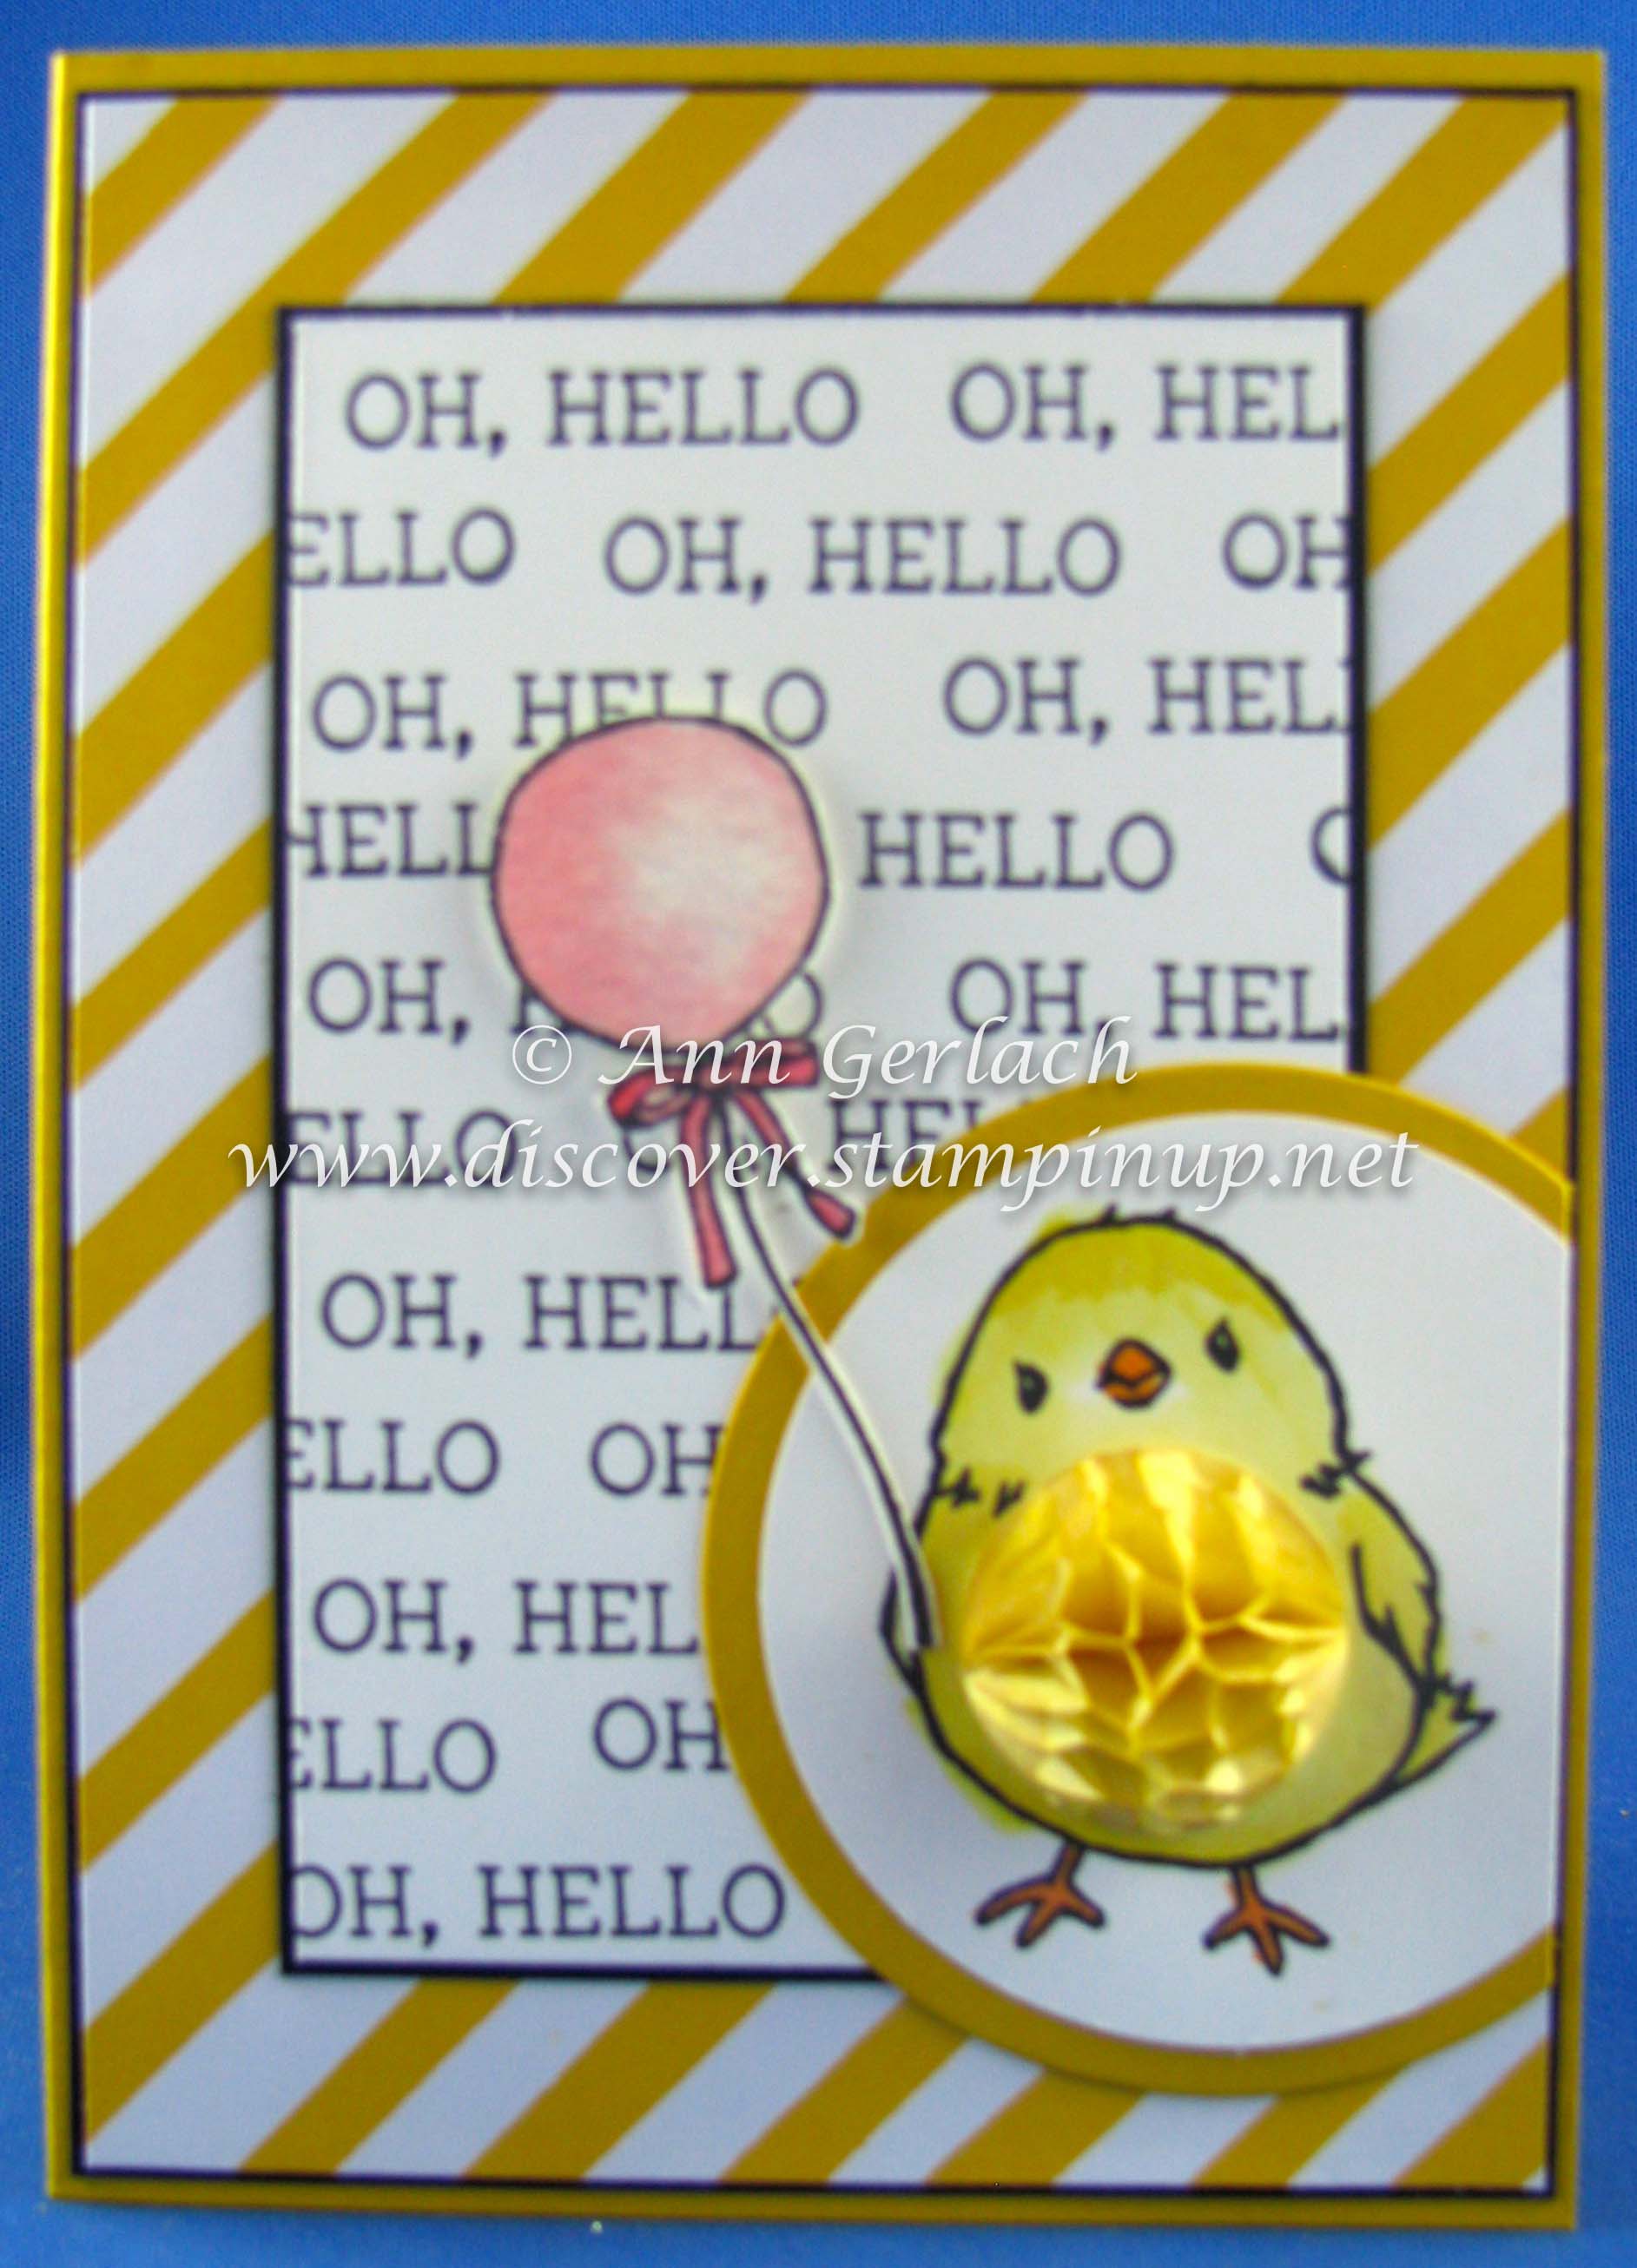
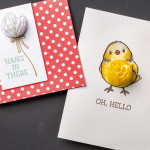
Well it’s less than 12 hours now until Sale-a-bration starts and I wanted to share a card made with my current favourite Sale-a-bration stamp set…..Honeycomb Happiness,is this not the cutest little bird you’ve ever seen? I might have gone a bit crazy with him and made like over 8 cards in one sitting…..with one left to assemble……I think I’d better start using some of the other awesome new stamps, you’ve been warned in case you get sick of seeing this bird stamp over the next few weeks on my blog!
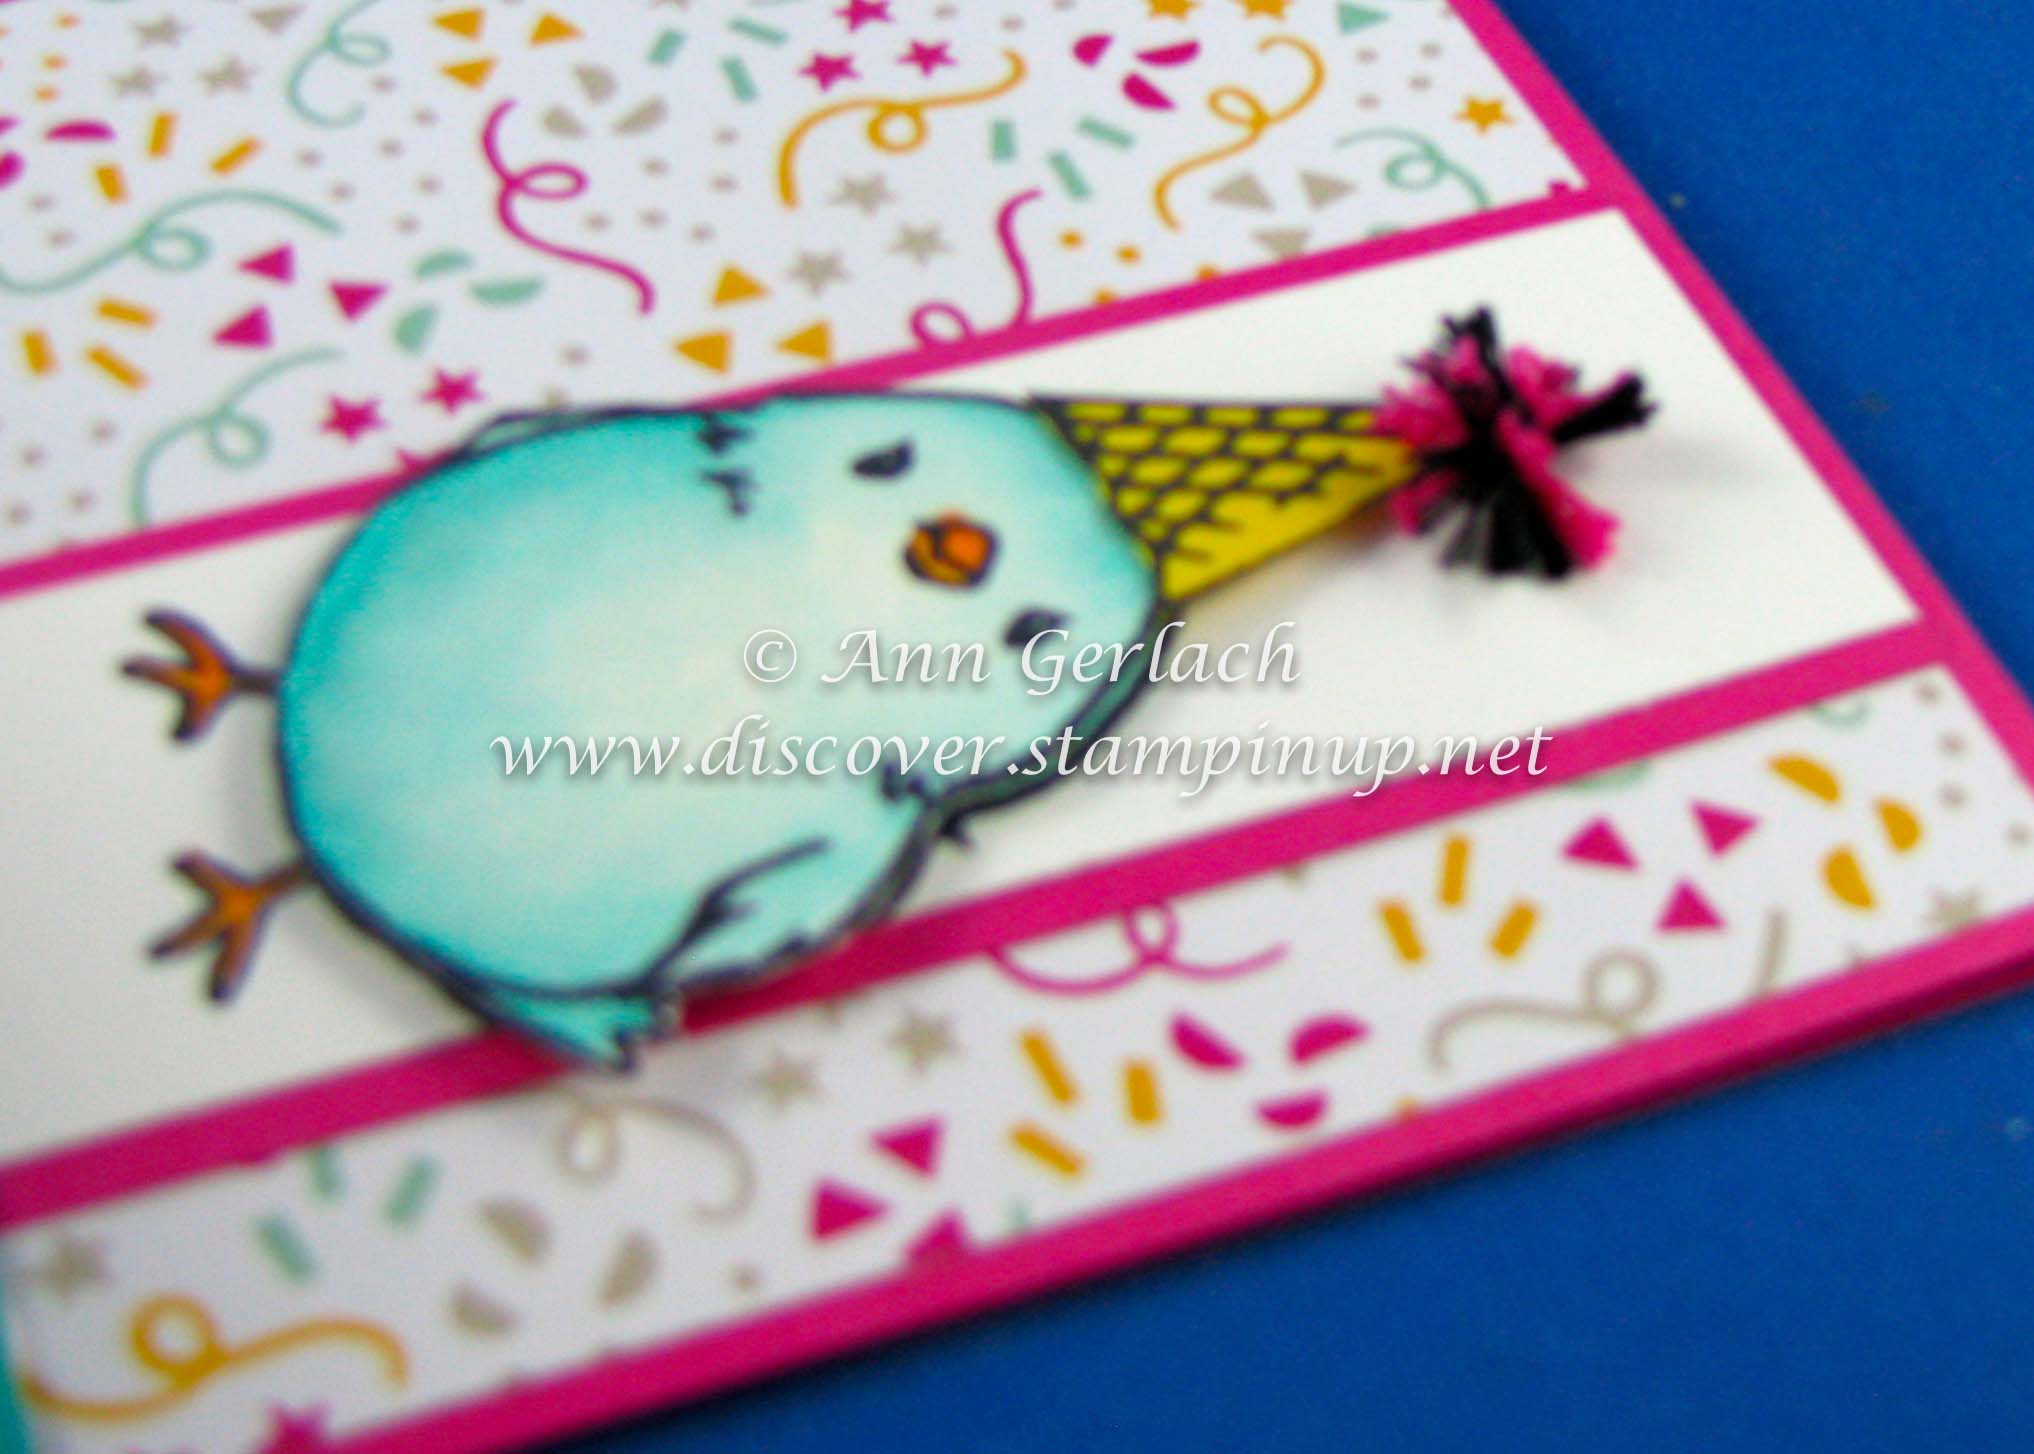
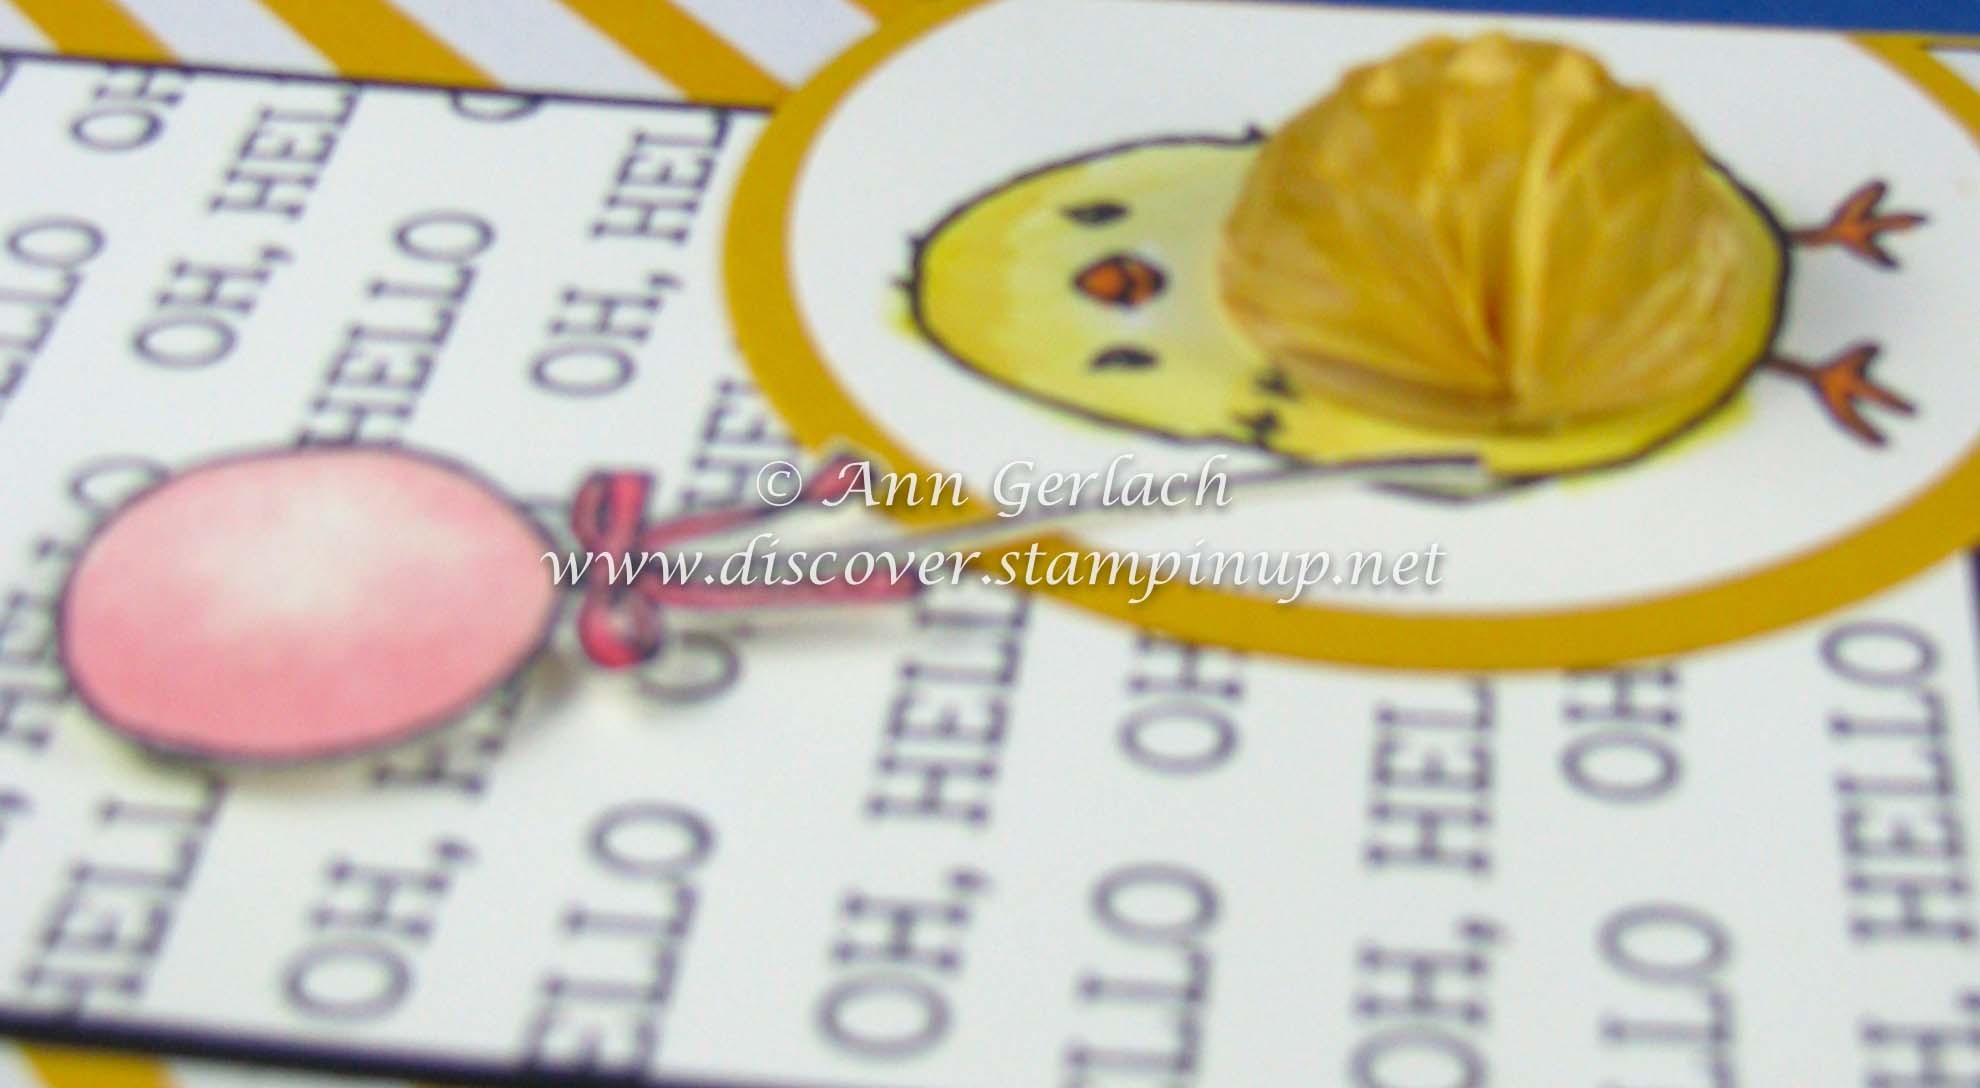
I thought he would make a cute birthday card, the main body image was stamped onto watercolour paper and fussy cut, it was then layered over another image with Dimensionals on which I coloured in the feet of the bird – you can see that layering better int he image below.
The party hat was stamped with the ice-cream cone image from the same stamp set on Daffodil Delight card stock and fussy cut to make the hat. A pompom was created using 3 strands of the new thick bakers twine and adhered with a glue dot.
Don’t forget to stop back tomorrow and you can download the PDFs of the new Sale-a-bration and Occasions catalogues as well as learn how you can earn this cute stamp set for FREE!
Join us for 2 hours of creative fun on January 16th and party our way into not one, but TWO new catalogues! Yes the Occasions & Sale-a-bration catalogues are here and we are excited!
For just $5 get a copy of both of these new catalogues, participate in 3 make & takes enjoy some yummy afternoon tea, see some new products being demonstrated and get inspired by fantastic displays, plus you go in the draw for a door prize!
Sessions are 1-3pm and 4-6pm
Payment PRIOR to the event is essential and numbers for each session are limited so it is done on a first to pay basis. You can pay via PayPal below, cash or direct deposit.
NB: same make & takes.This is a customer only event, if you are a current Stampin’ Up! Demonstrator you are welcome to come along to my team meeting at 7pm on Thursday 18th of February where we will be discussing all of the new Catalogue items as well as having the opportunity to complete the make & takes.
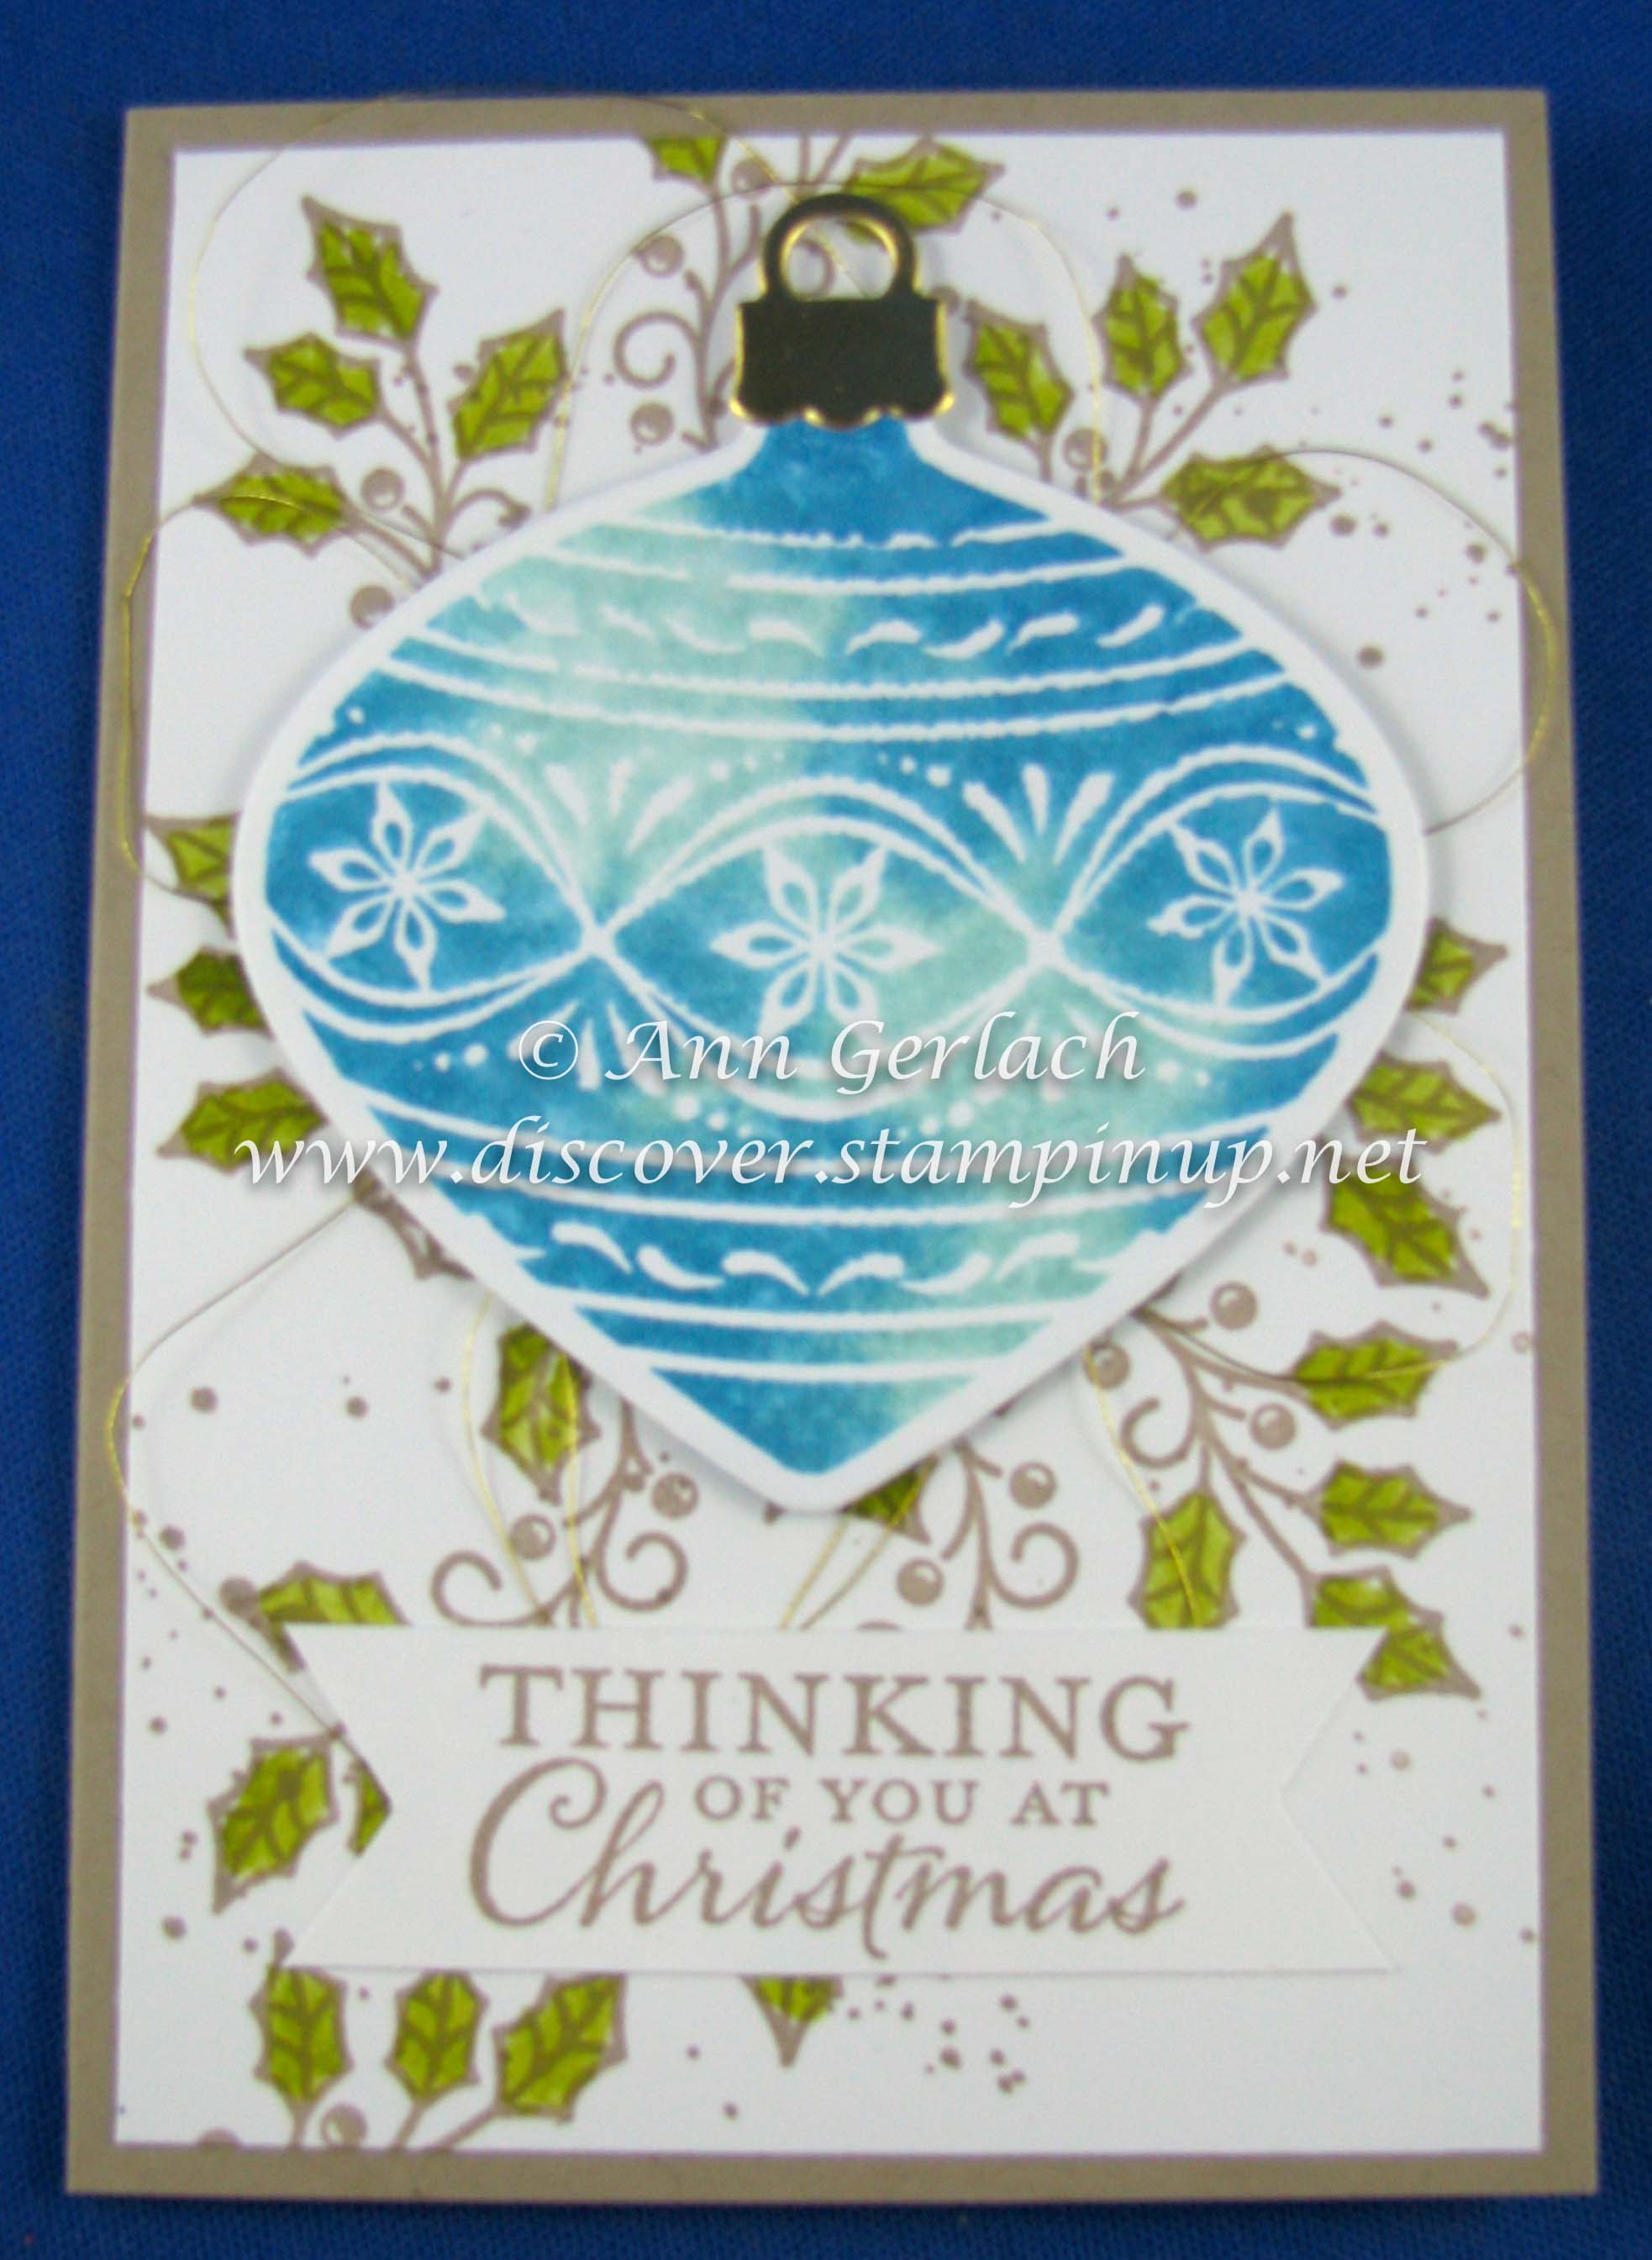
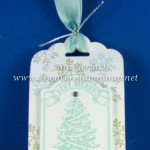
We made this card as part of the Holiday Catalogue launch party back in September (thought I should catch up on some blog posts in this +40’C heat). It is CASEd (CASE = Copy And Share with Everyone) from the catalogue, I changed the orientation of the card and moved the sentiment a bit as I think my finished card was smaller than theirs and the components of their card didn’t fit right on a notecard base.
On a layer on Whisper White card stock 4 3/4″ x 3 1/4″ stamp the holly image and the splatter image randomly. Colour the leaves of the holly in with the Aquapainter and Old Olive ink and layered onto the folded Crumb Cake notecard. Stamp the ornament in Pool Party ink, then using a sponge dauber add some Island Indigo ink, spritzed it with water and then stamped the image onto Whisper White card stock. The image was then die cut. Add some loose loops of gold thread (about 50cm in length) to the card front and hold in place using Dimensionals where the ornament will be, add the ornament and the gold foil ornament topper with a glue dot. The sentiment was stamped in Crumb Cake and the banner ends hand cut. The catalogues are full of ideas and inspiration, sometimes a layout catches my eye, another time a colour scheme or technique – don’t ever be afraid to CASE ideas from them as they are designed to inspire your creativity!
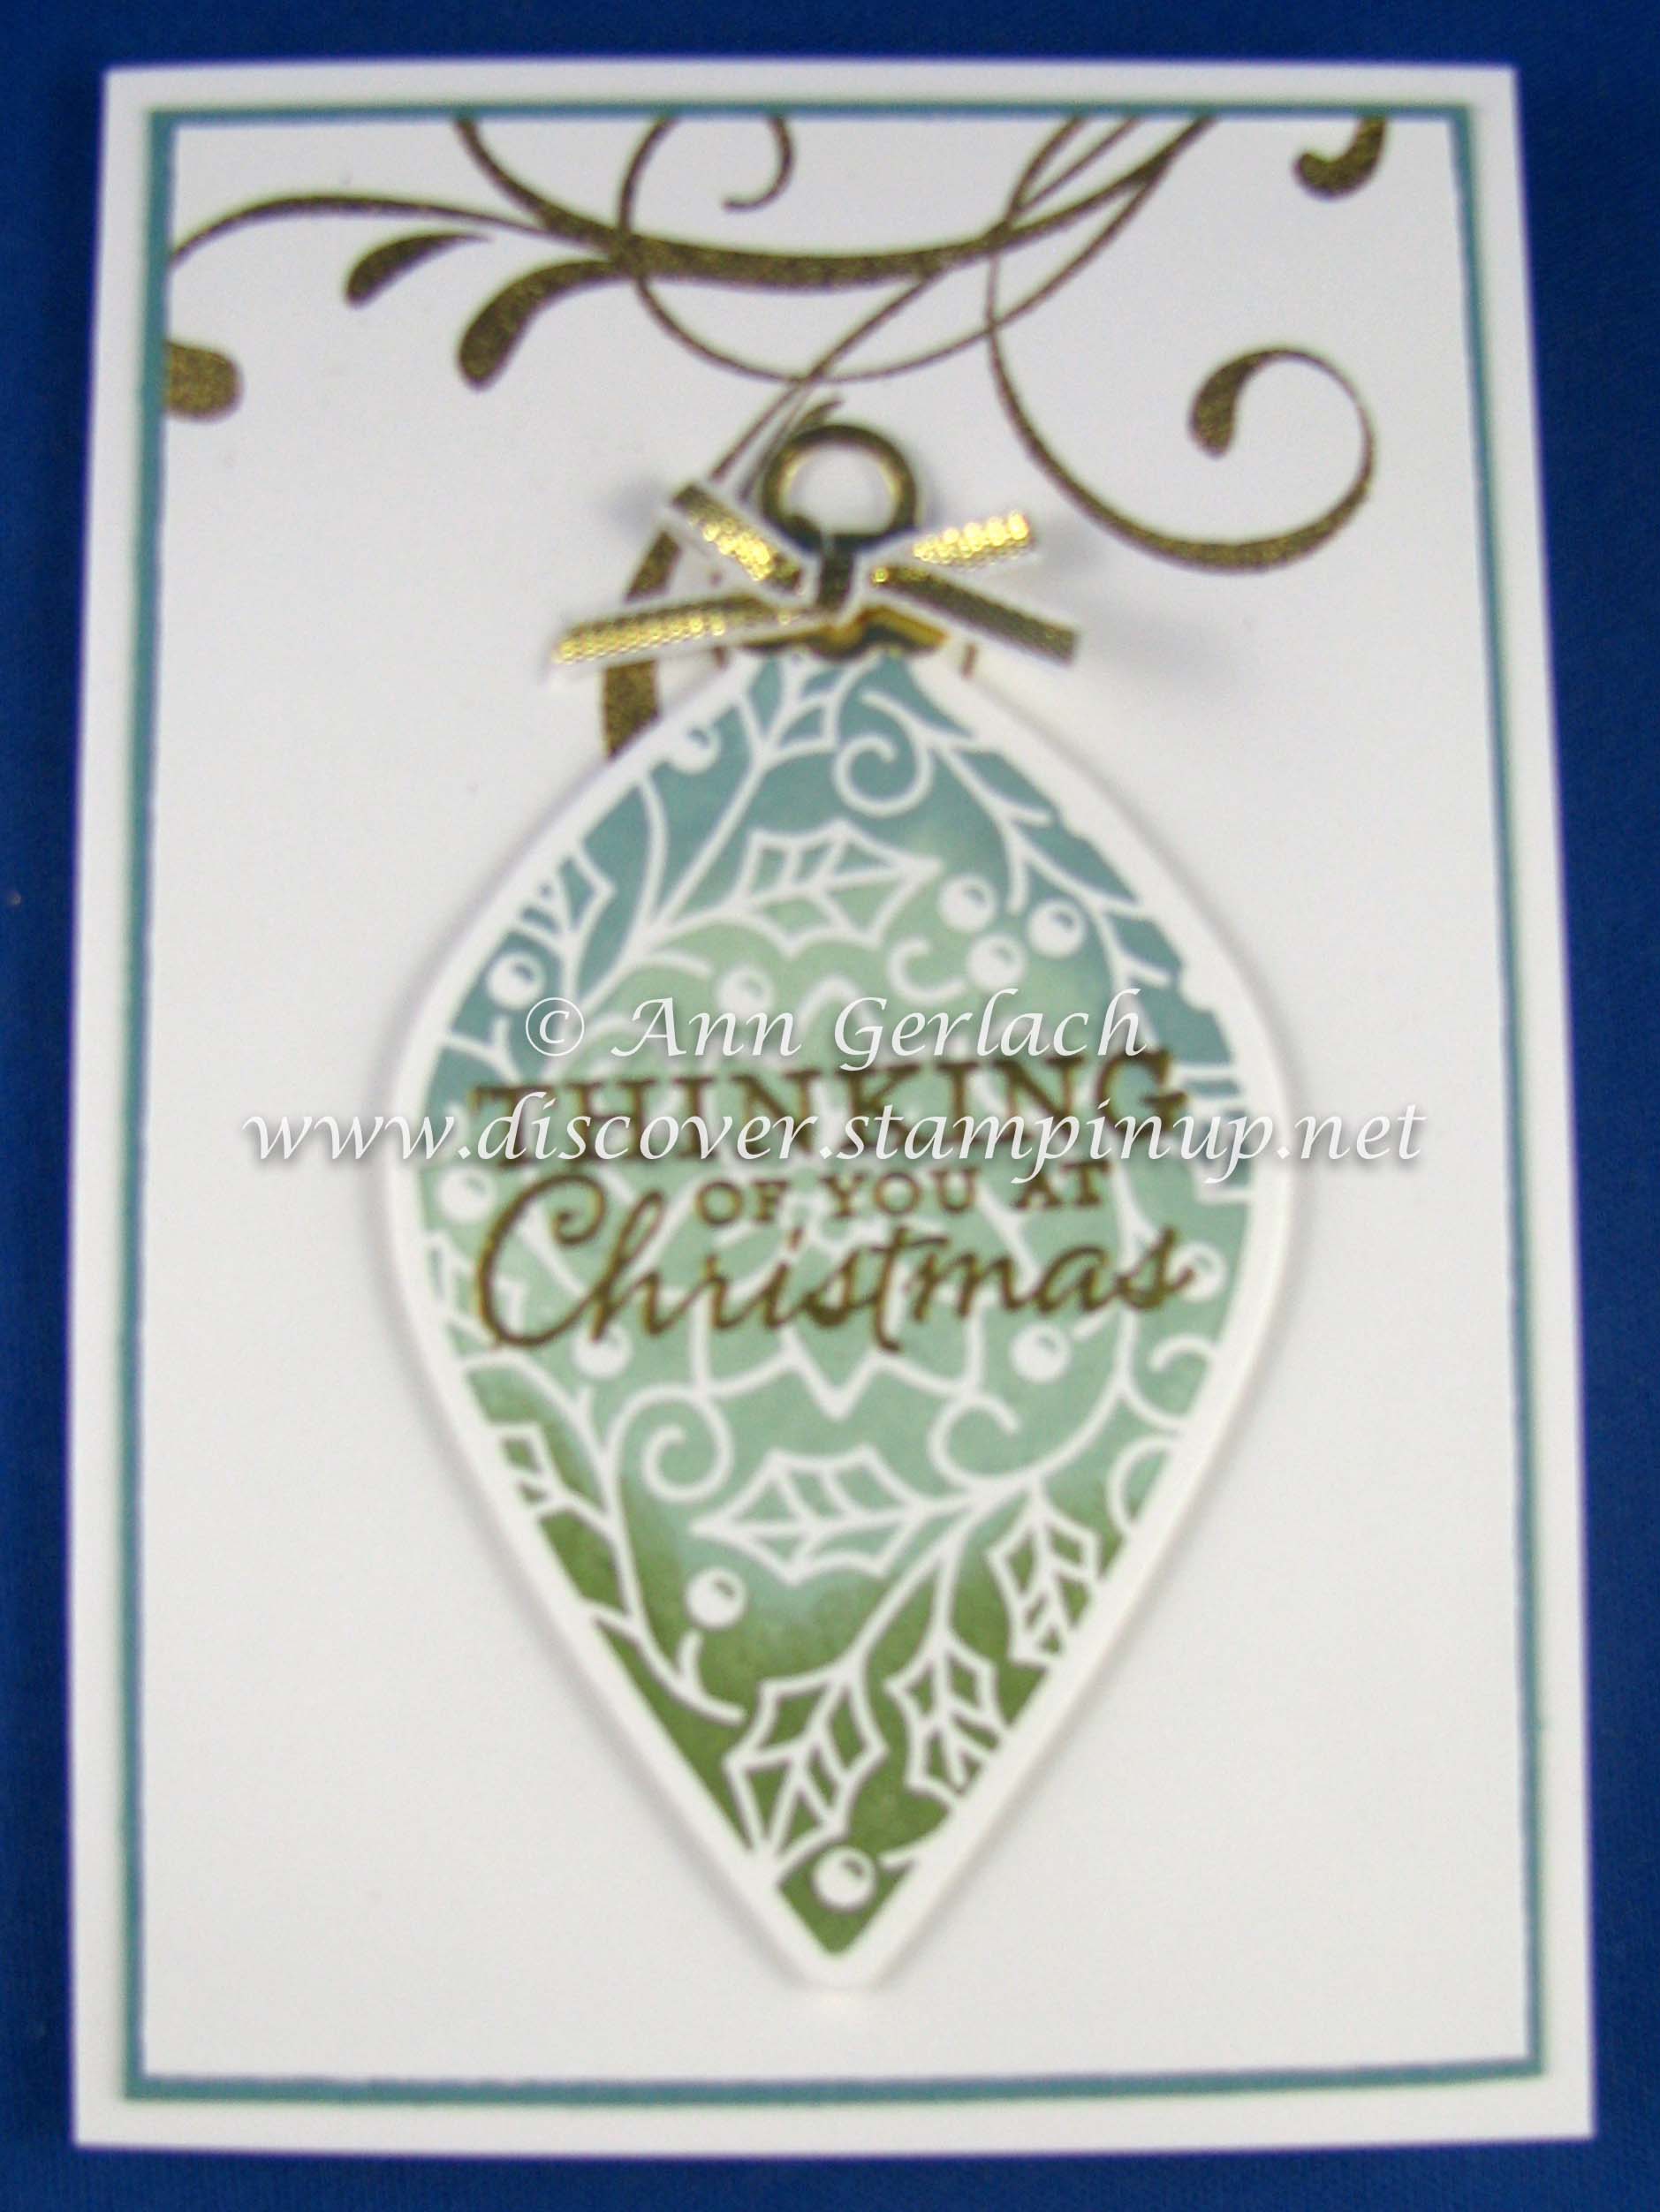
So in between work, family, classes and a few hand injuries I managed to get almost 60 Christmas cards made and sent off, which is pretty good for me – not as many as I would like to have sent, but more than I have sent some years! I tend to stay away from snowflakes and snowmen as Christmas is generally pretty hot here in Australia, the new Embellished Ornaments caught my eye when I first saw it in the catalogue and I made some cards recently using Everything Eleanor so it was still on my desk. The card was probably a bit more involved than ideal for mass production, but I loved it so didn’t want to change anything!
The ornament was stamped fully in Soft Sky ink, then I used a sponge dauber in Mossy Meadow ink to go over the bottom part of it & Lost Lagoon to go over the top part of it. I then gold heat embossed the sentiment onto it and die cut it, I do prefer using the magnetic plate for framelit cutting as it prevents anything from shifting.
I gold heat embossed the flourish from Everything Eleanor onto the top of a piece of Whisper WHite card 4 5/8″ x 3 1/8″ (yes I know that’s an imperial measurement, but the notecards are imperial sized so thus when I cut down the mat layers they are also in imperial as it’s just well easier that way!). The ornament was then popped up with Dimensionals and a gold ribbon bow added with a glue dot. The whole front was layered onto a piece of Lost Lagoon card stock 4 3/4″ x 3 1/4″ in size before putting onto the folded notecard.
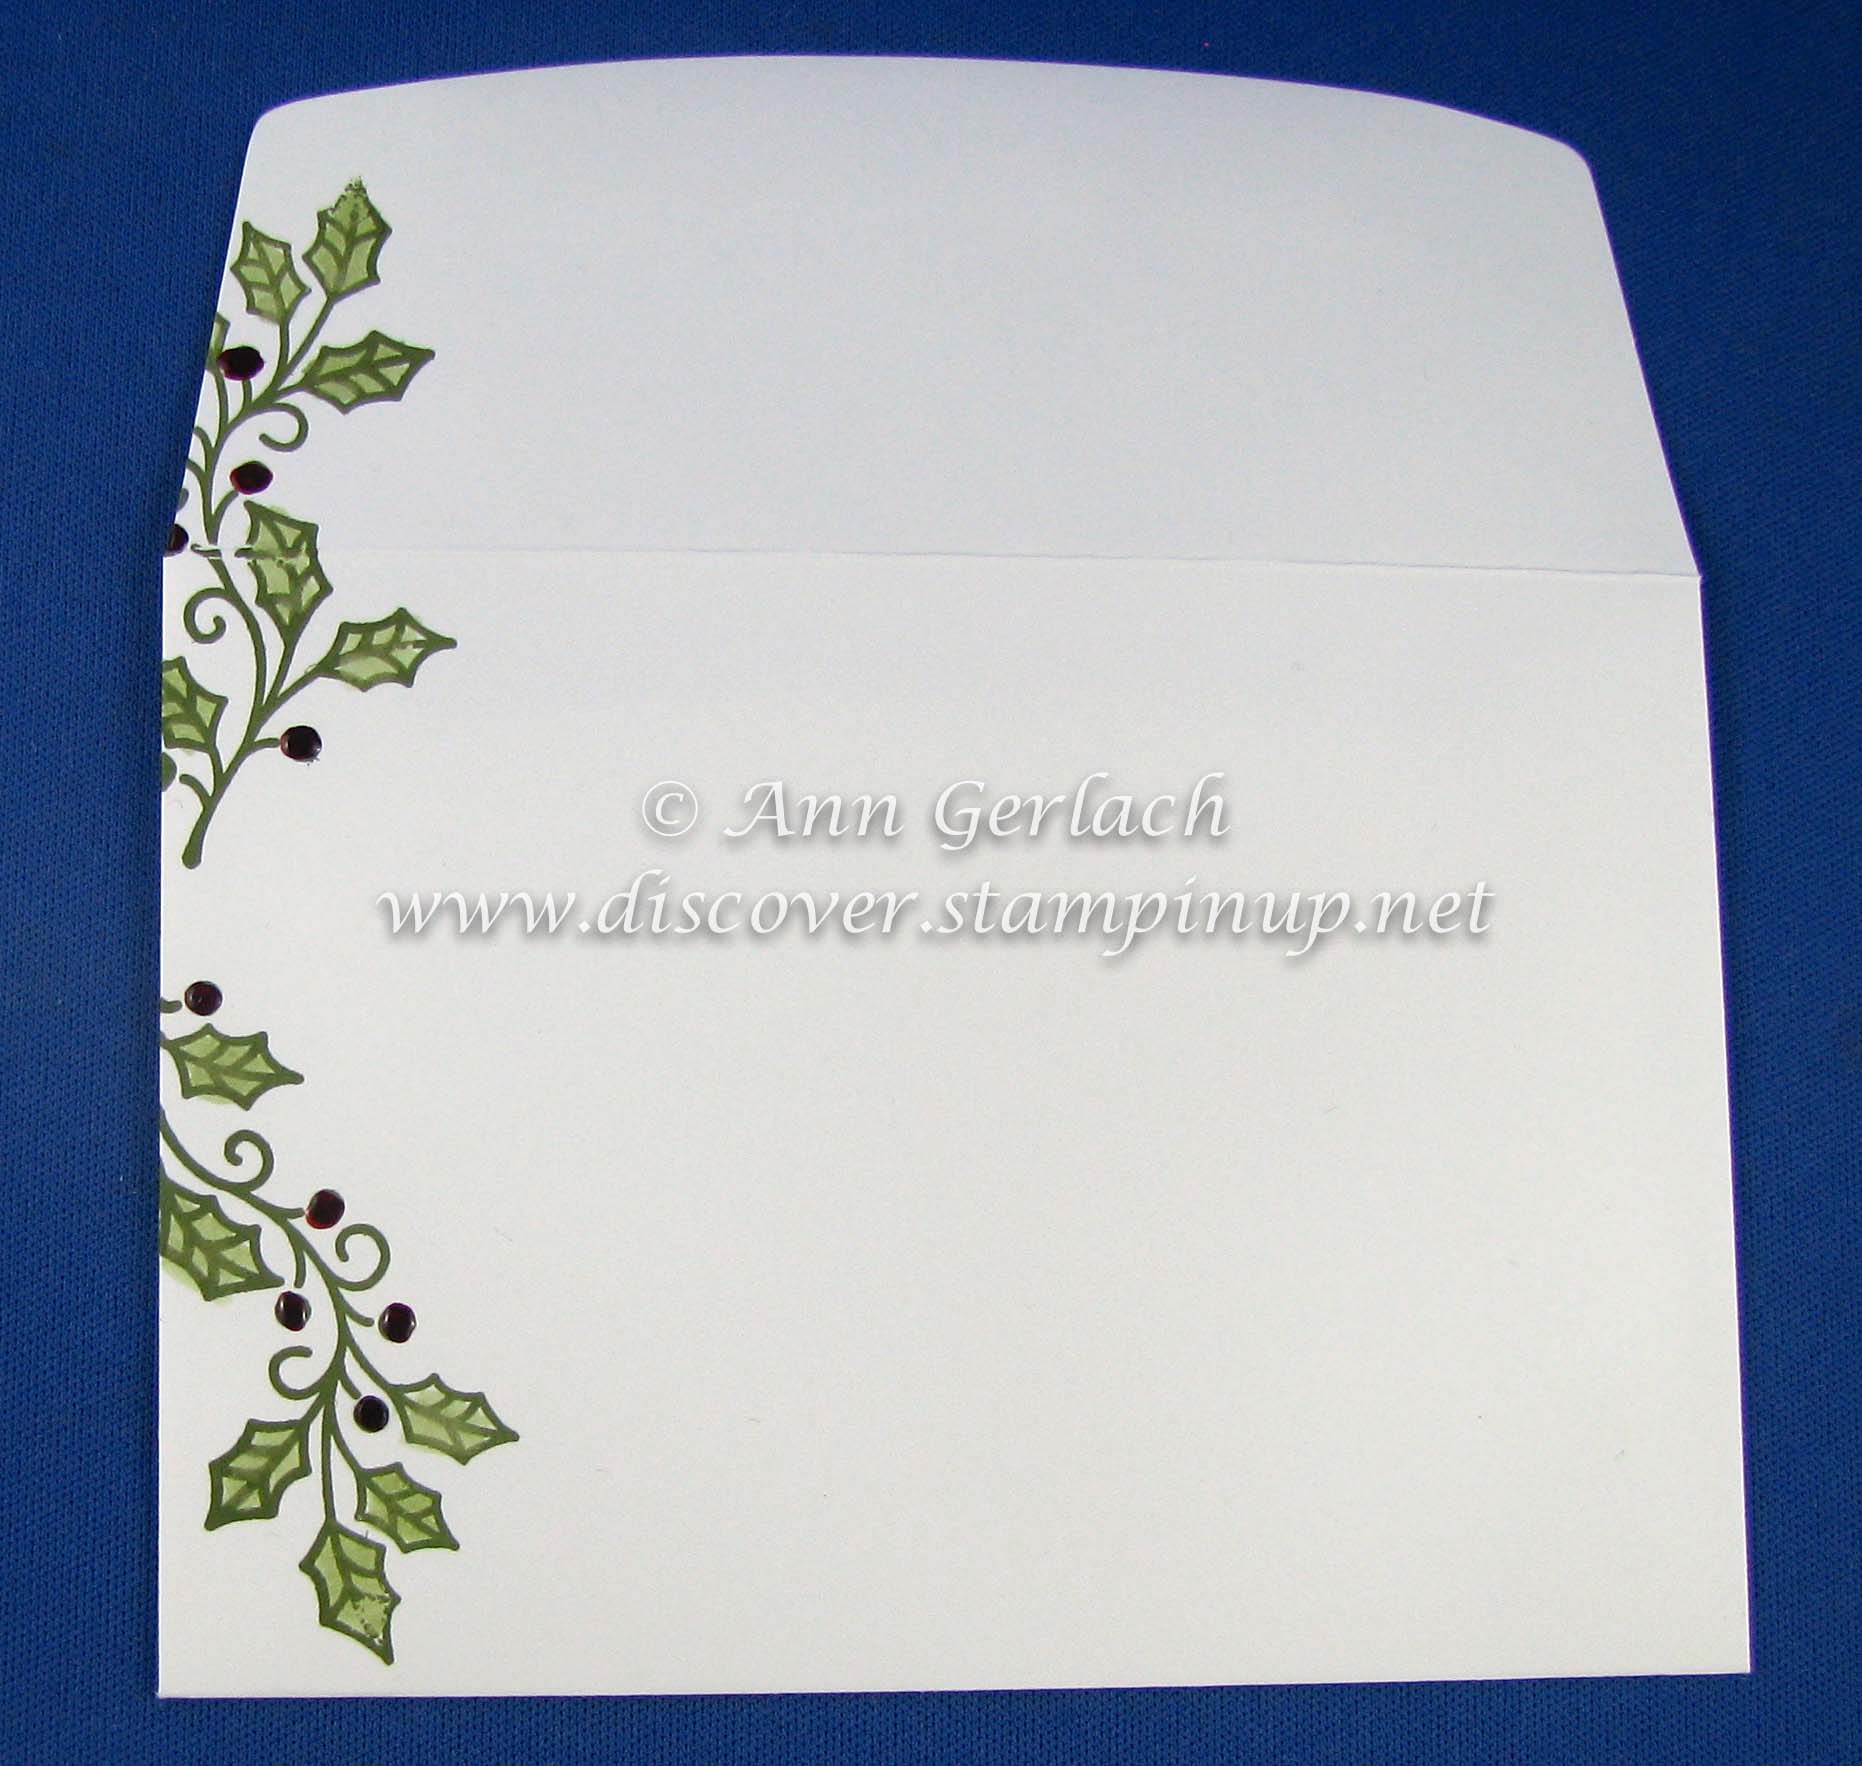
I do hate naked envelopes so I stamped the holly from the set onto the front & back of the left side of the envelope (I totally love that the notecards come not only pre-scored but with envelopes) anyway I stamped the holly in Mossy Meadow ink, coloured the leaves in with an Aquapainter (I wasn’t too fussy about that part so not perfect). The red berries I added with a cocktail stick by mixing some Crystal Effects with Real Red reinker and leaving it to dry.
I know there were some people that I missed on my list, but I still have a couple of days to make New Year cards don’t I?


 Shop!
Shop!