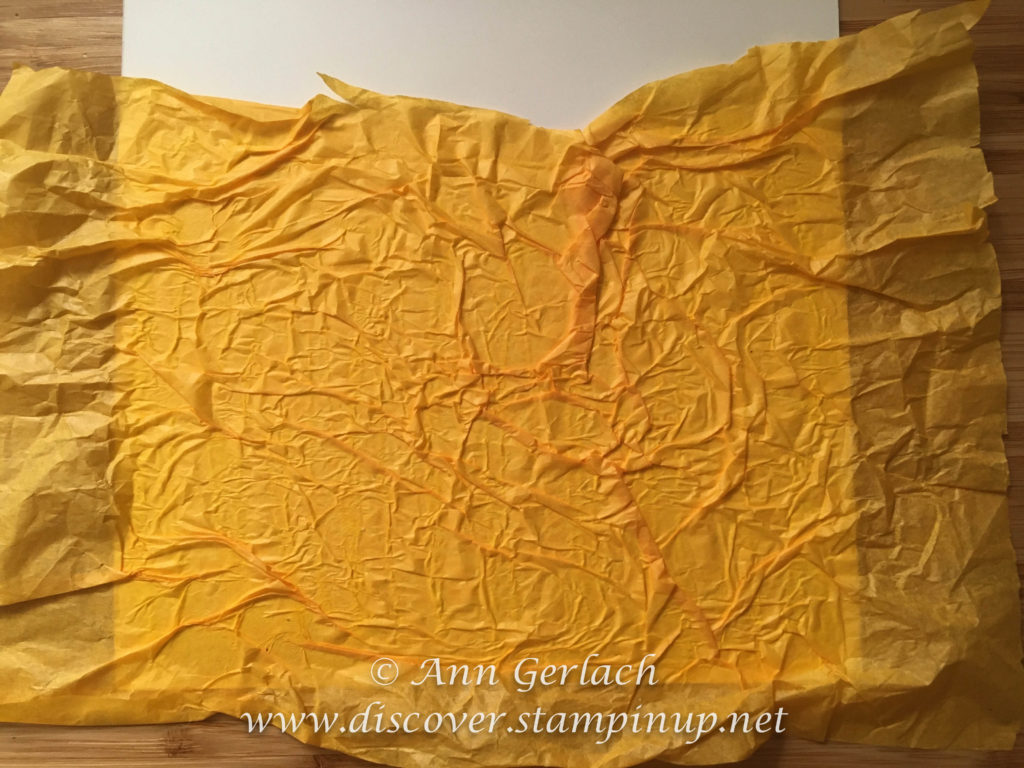
I am currently having lots of fun with the Box of Sunshine, I could certainly get used to these kits, but am happy that we at least get them twice a year now! Each kit has everything you need to make 8 beautiful cards including the stamps, ink and adhesive all you need to add is a clear block (I’d recommend the clear D block size as a good universal sized block). Each kit comes wrapped in lovely tissue paper inside the box and this kit was wrapped in lots of bright yellow tissue paper – of course I can’t bear to waste anything and I could have just reused the tissue paper when I regifted the box, but I wanted to use it to make some pretty cards to mail out so I reverted to an old technique that I thought I’d share with you here.
First you put a thin, but even layer of glue all over some white card stock, cut the tissue paper larger than the card stock and scrunch it up and then stick it down onto the card stock. I prefer to use the Multipurpose Liquid Glue and spread it thinly with my transdermal applicator (finger).
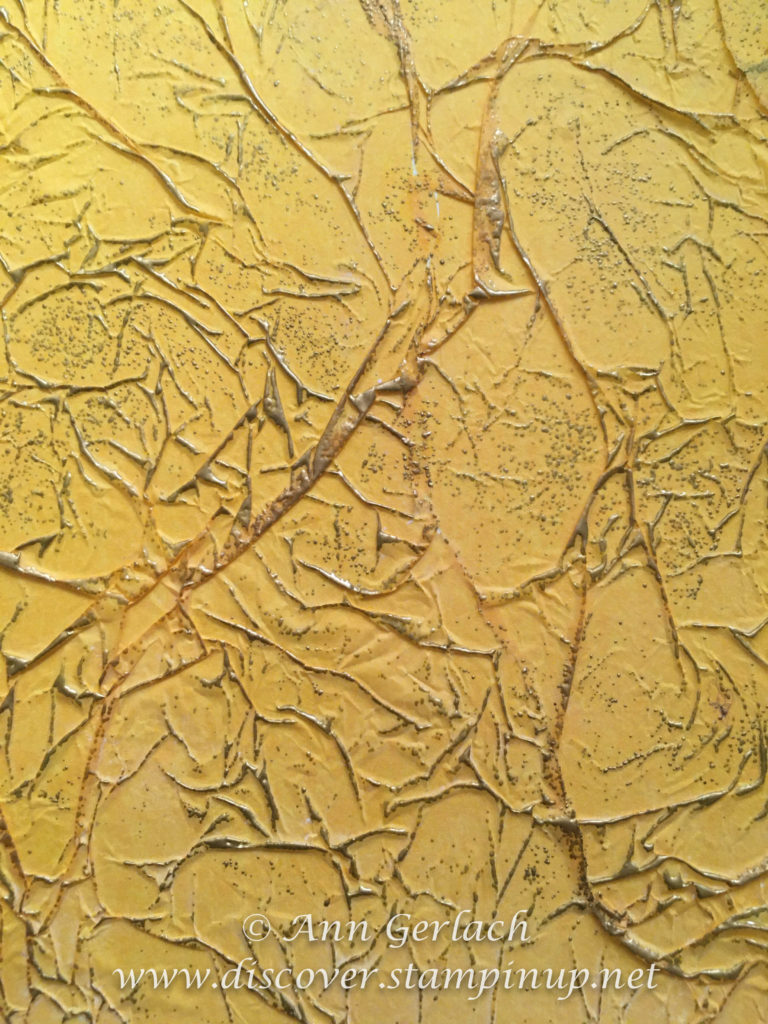
When the tissue paper is dry, flatten it all down and then using Versamark and Gold Embossing powder add a hint of gold highlights to the raised areas.
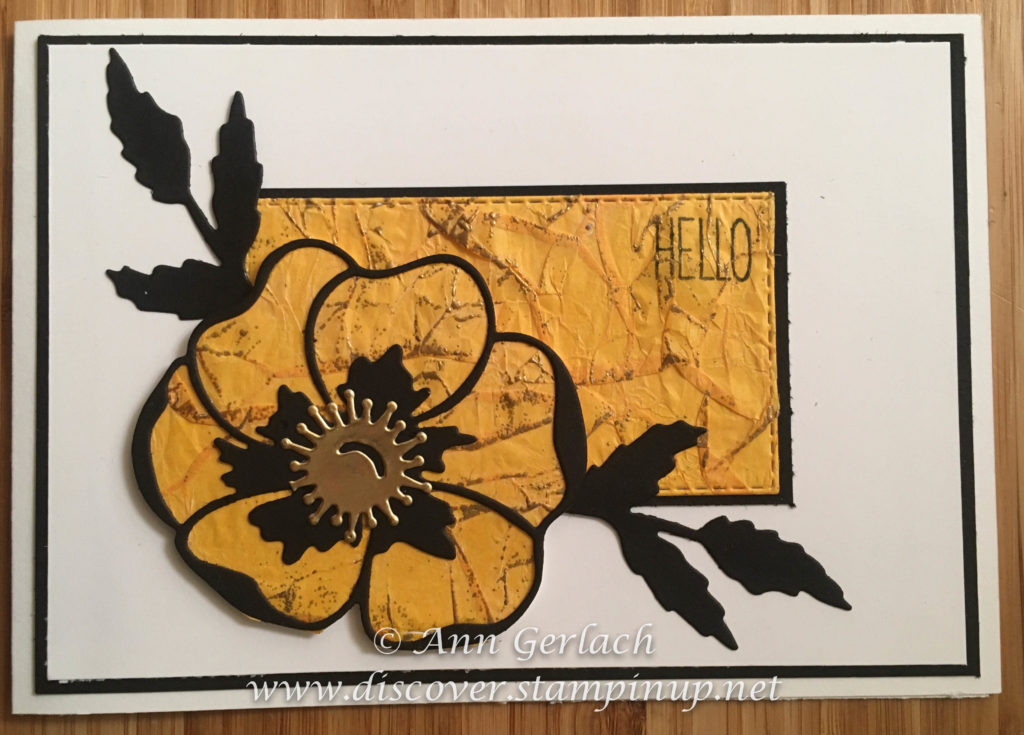
I then use this as backgrounds or elements to make cards with using dies to cut pieces. Here are a couple I have made so far incorporating the Poppy Moments Dies and the Stitched Rectangles dies to give you an idea of how to utilise your new tissue paper – card stock.
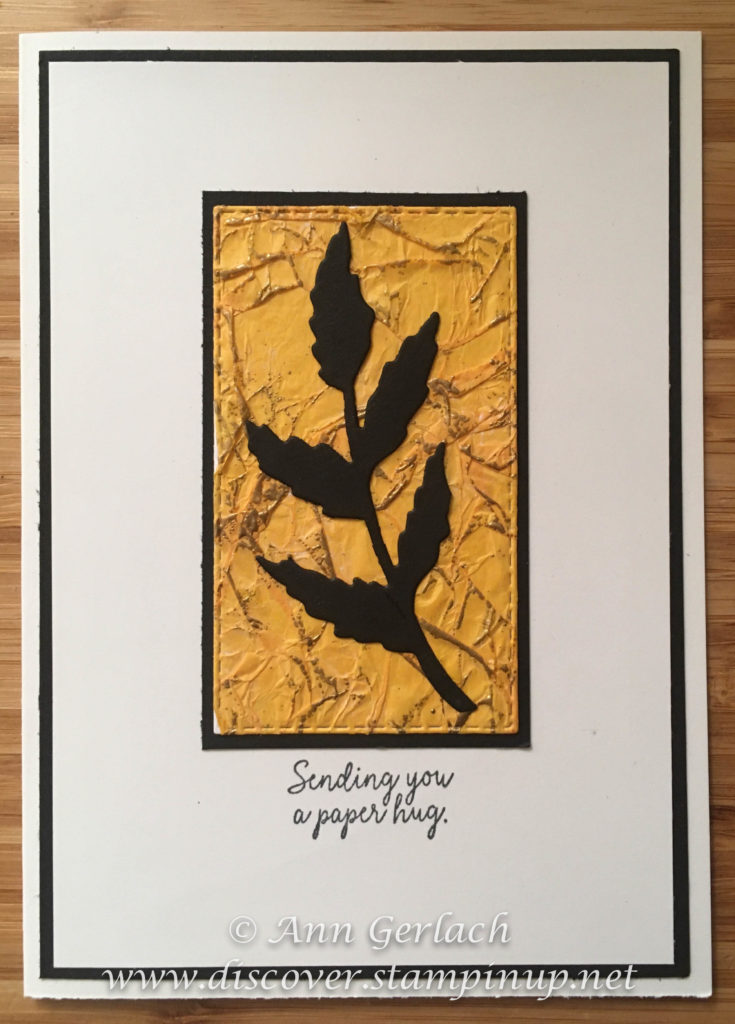
The sentiment on this card was from Comfort & Hope with some gold foil centre highlight and the bases are done on the thick Whisper White card stock which I prefer for card bases than the standard Whisper White card stock.
I will share more cards that I have made using the Box of Sunshine kit soon.